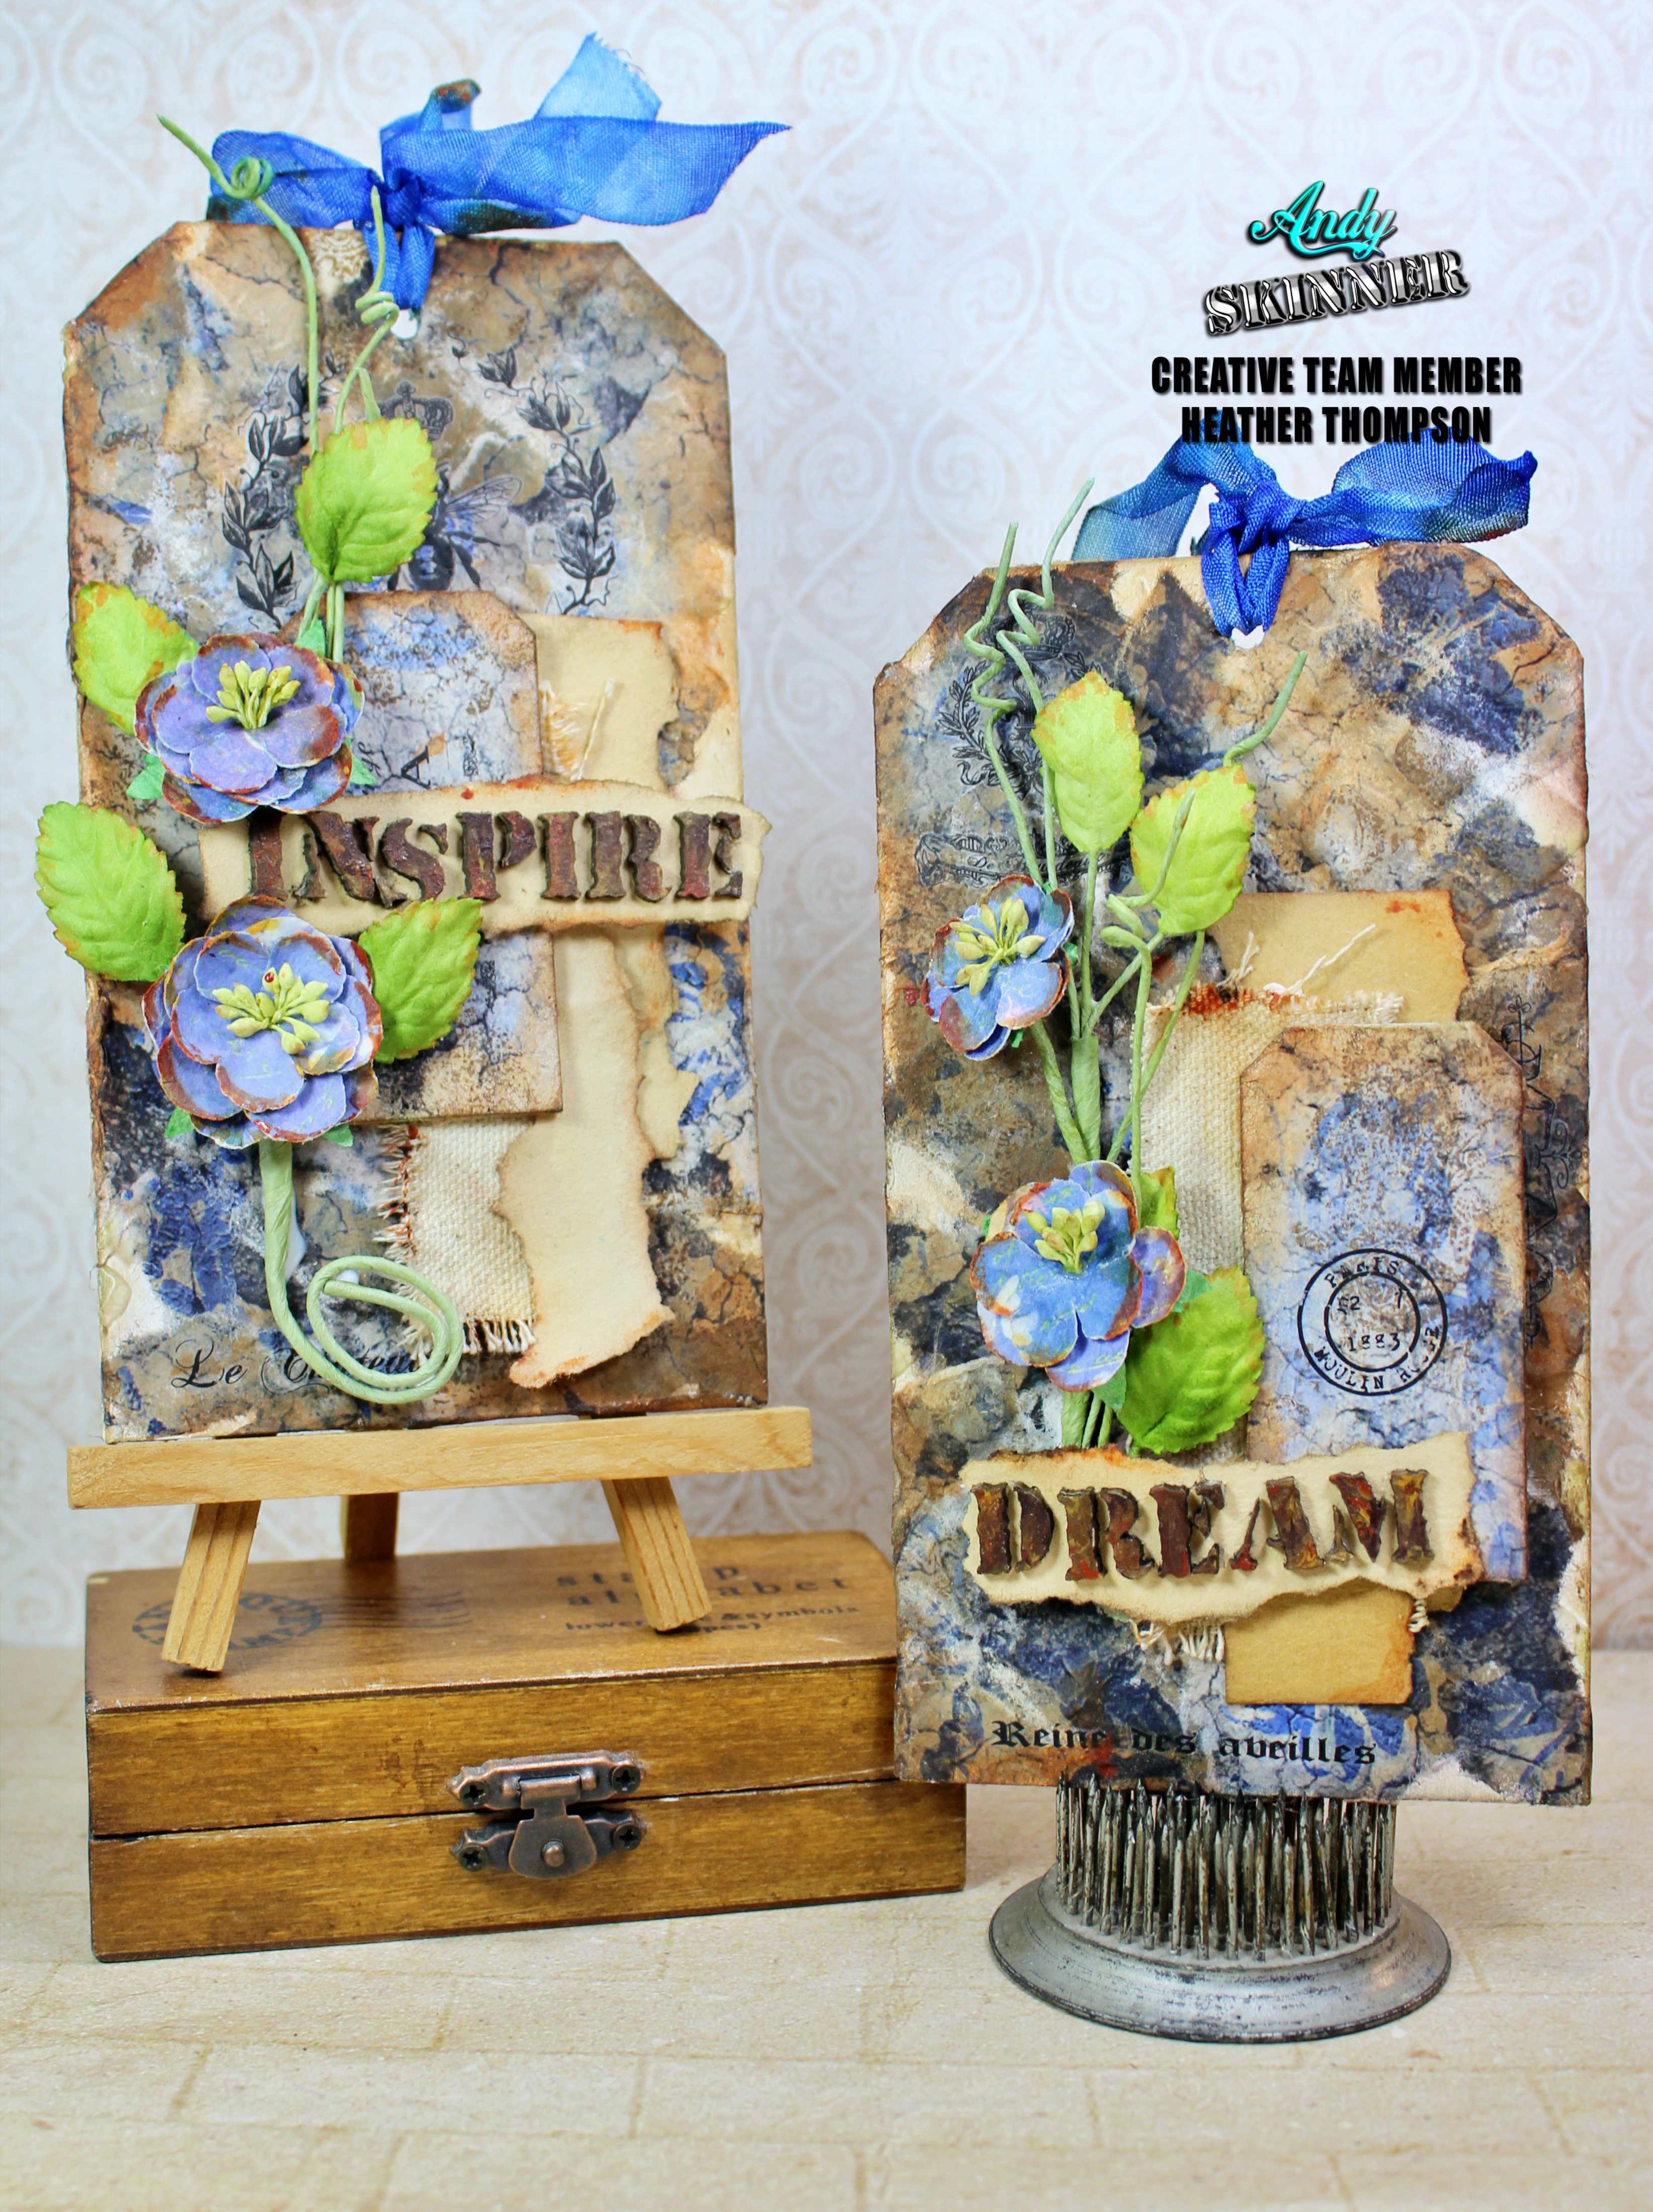
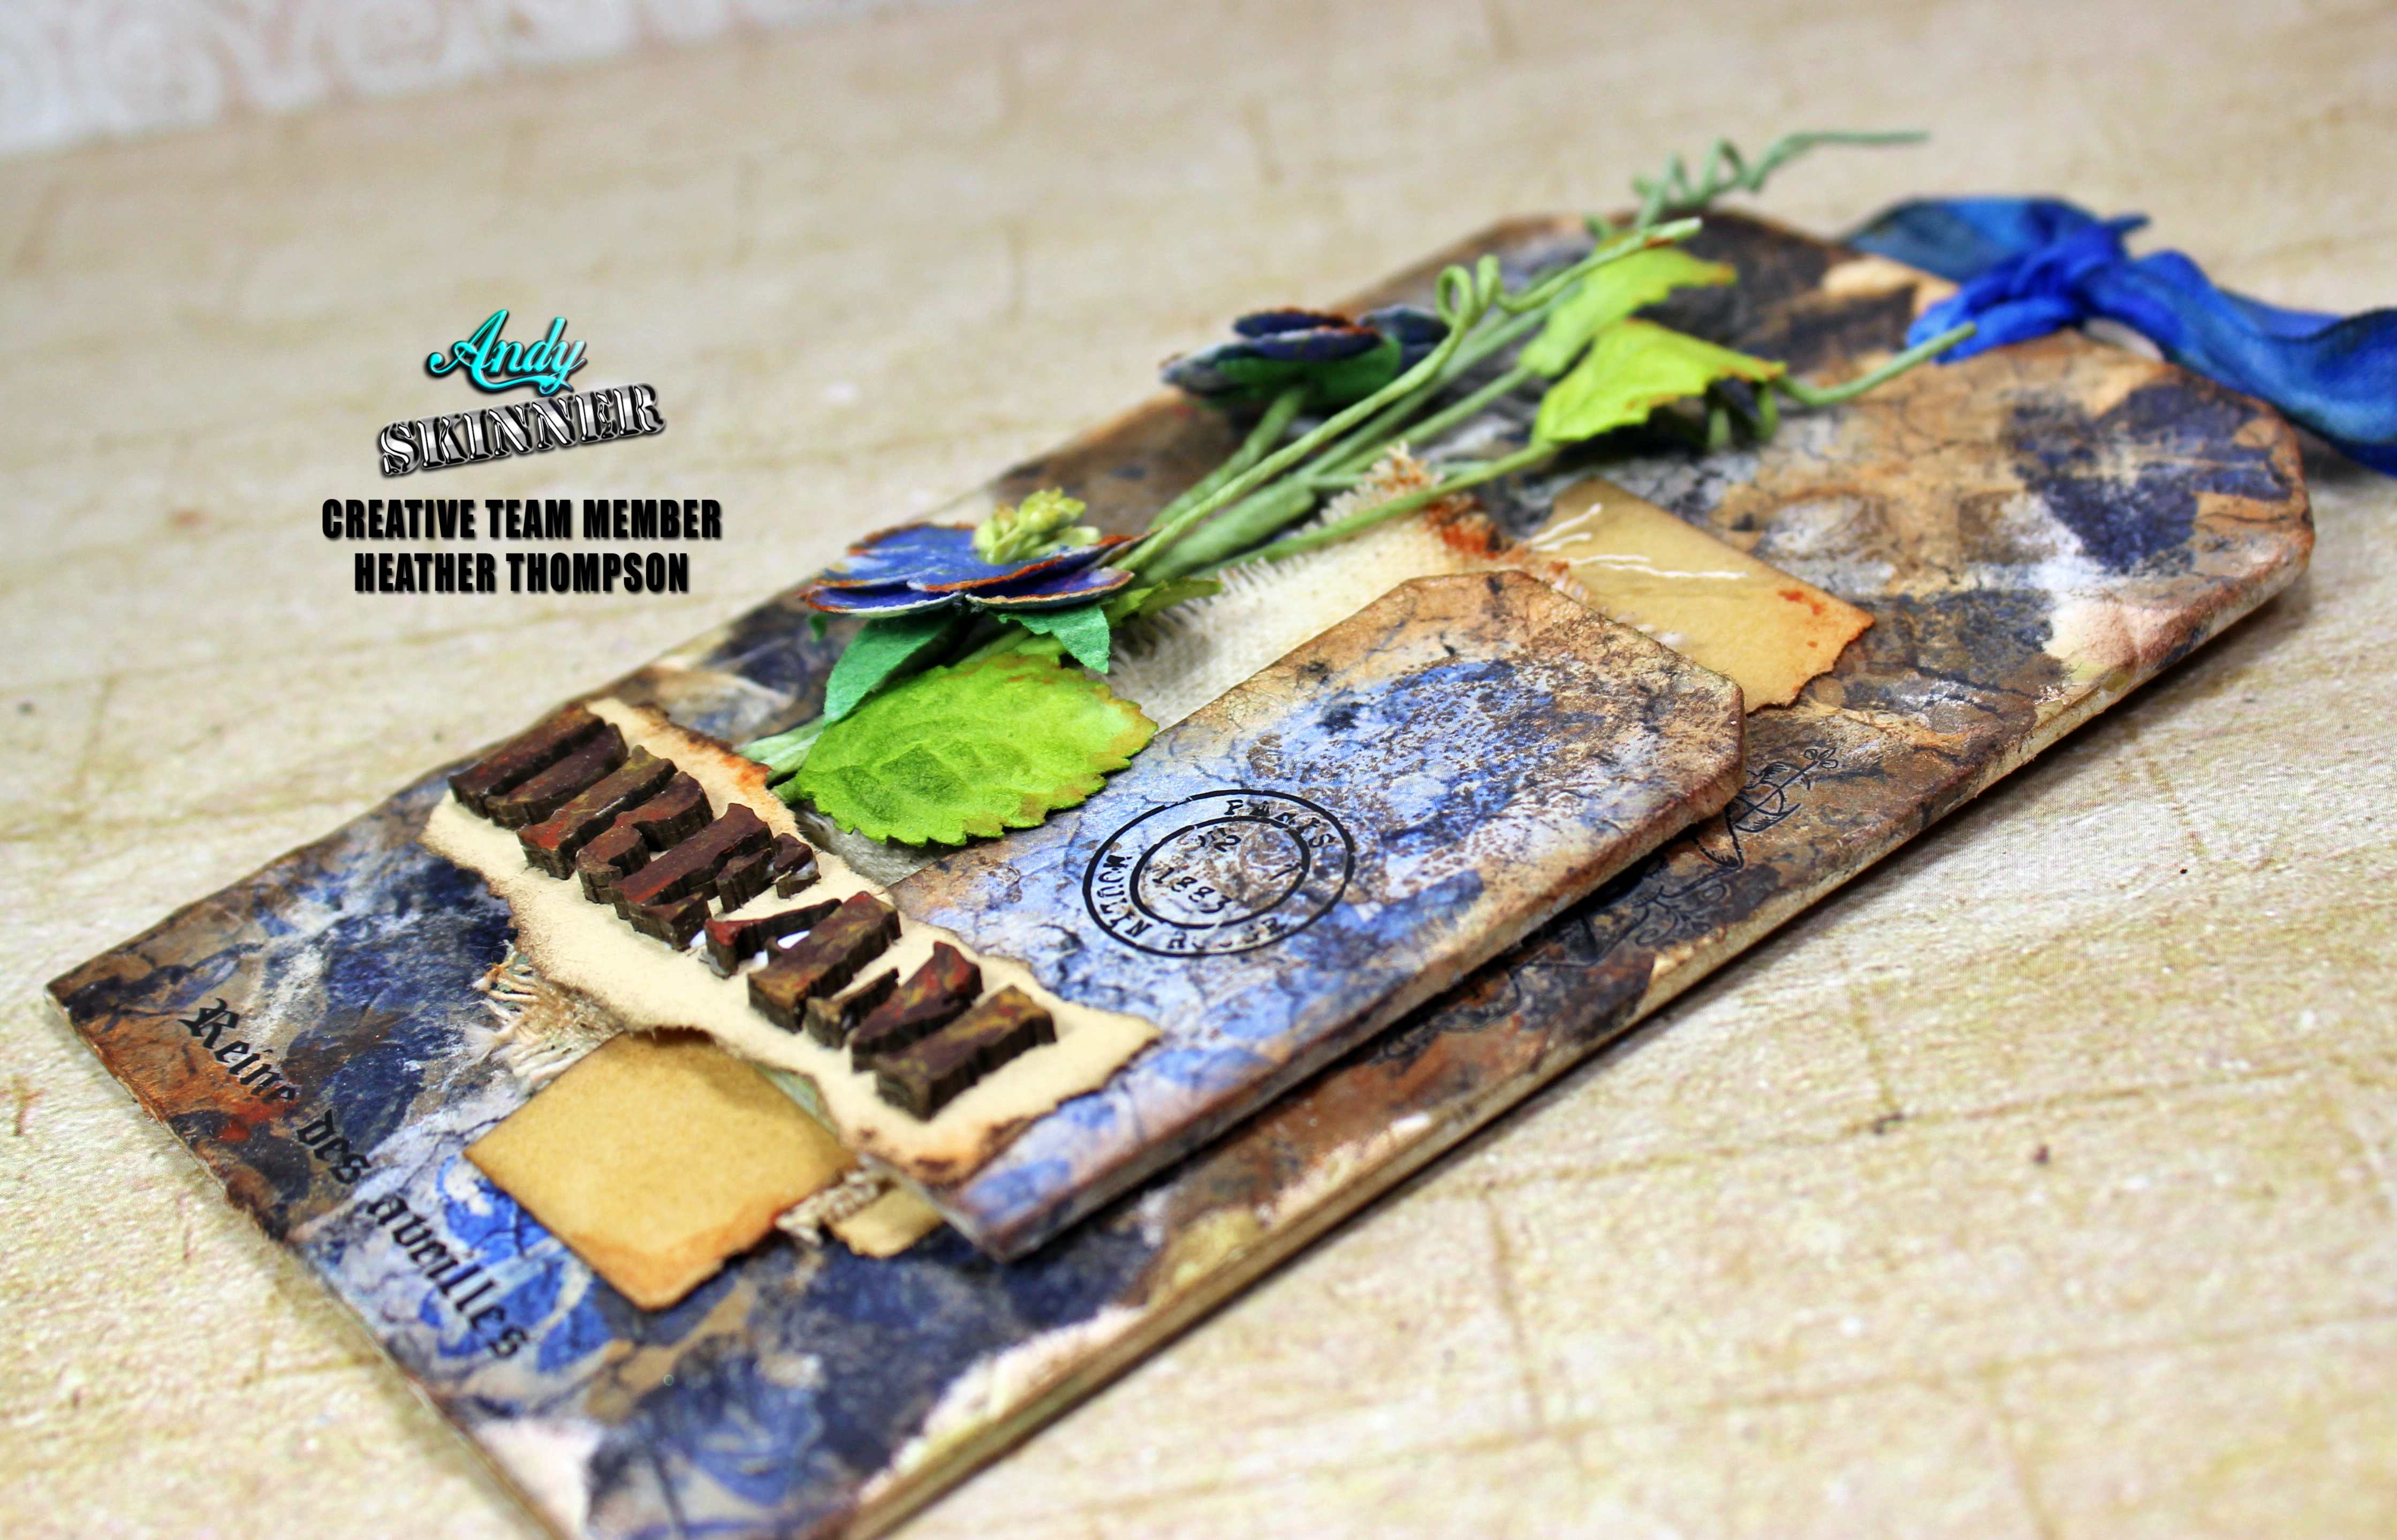
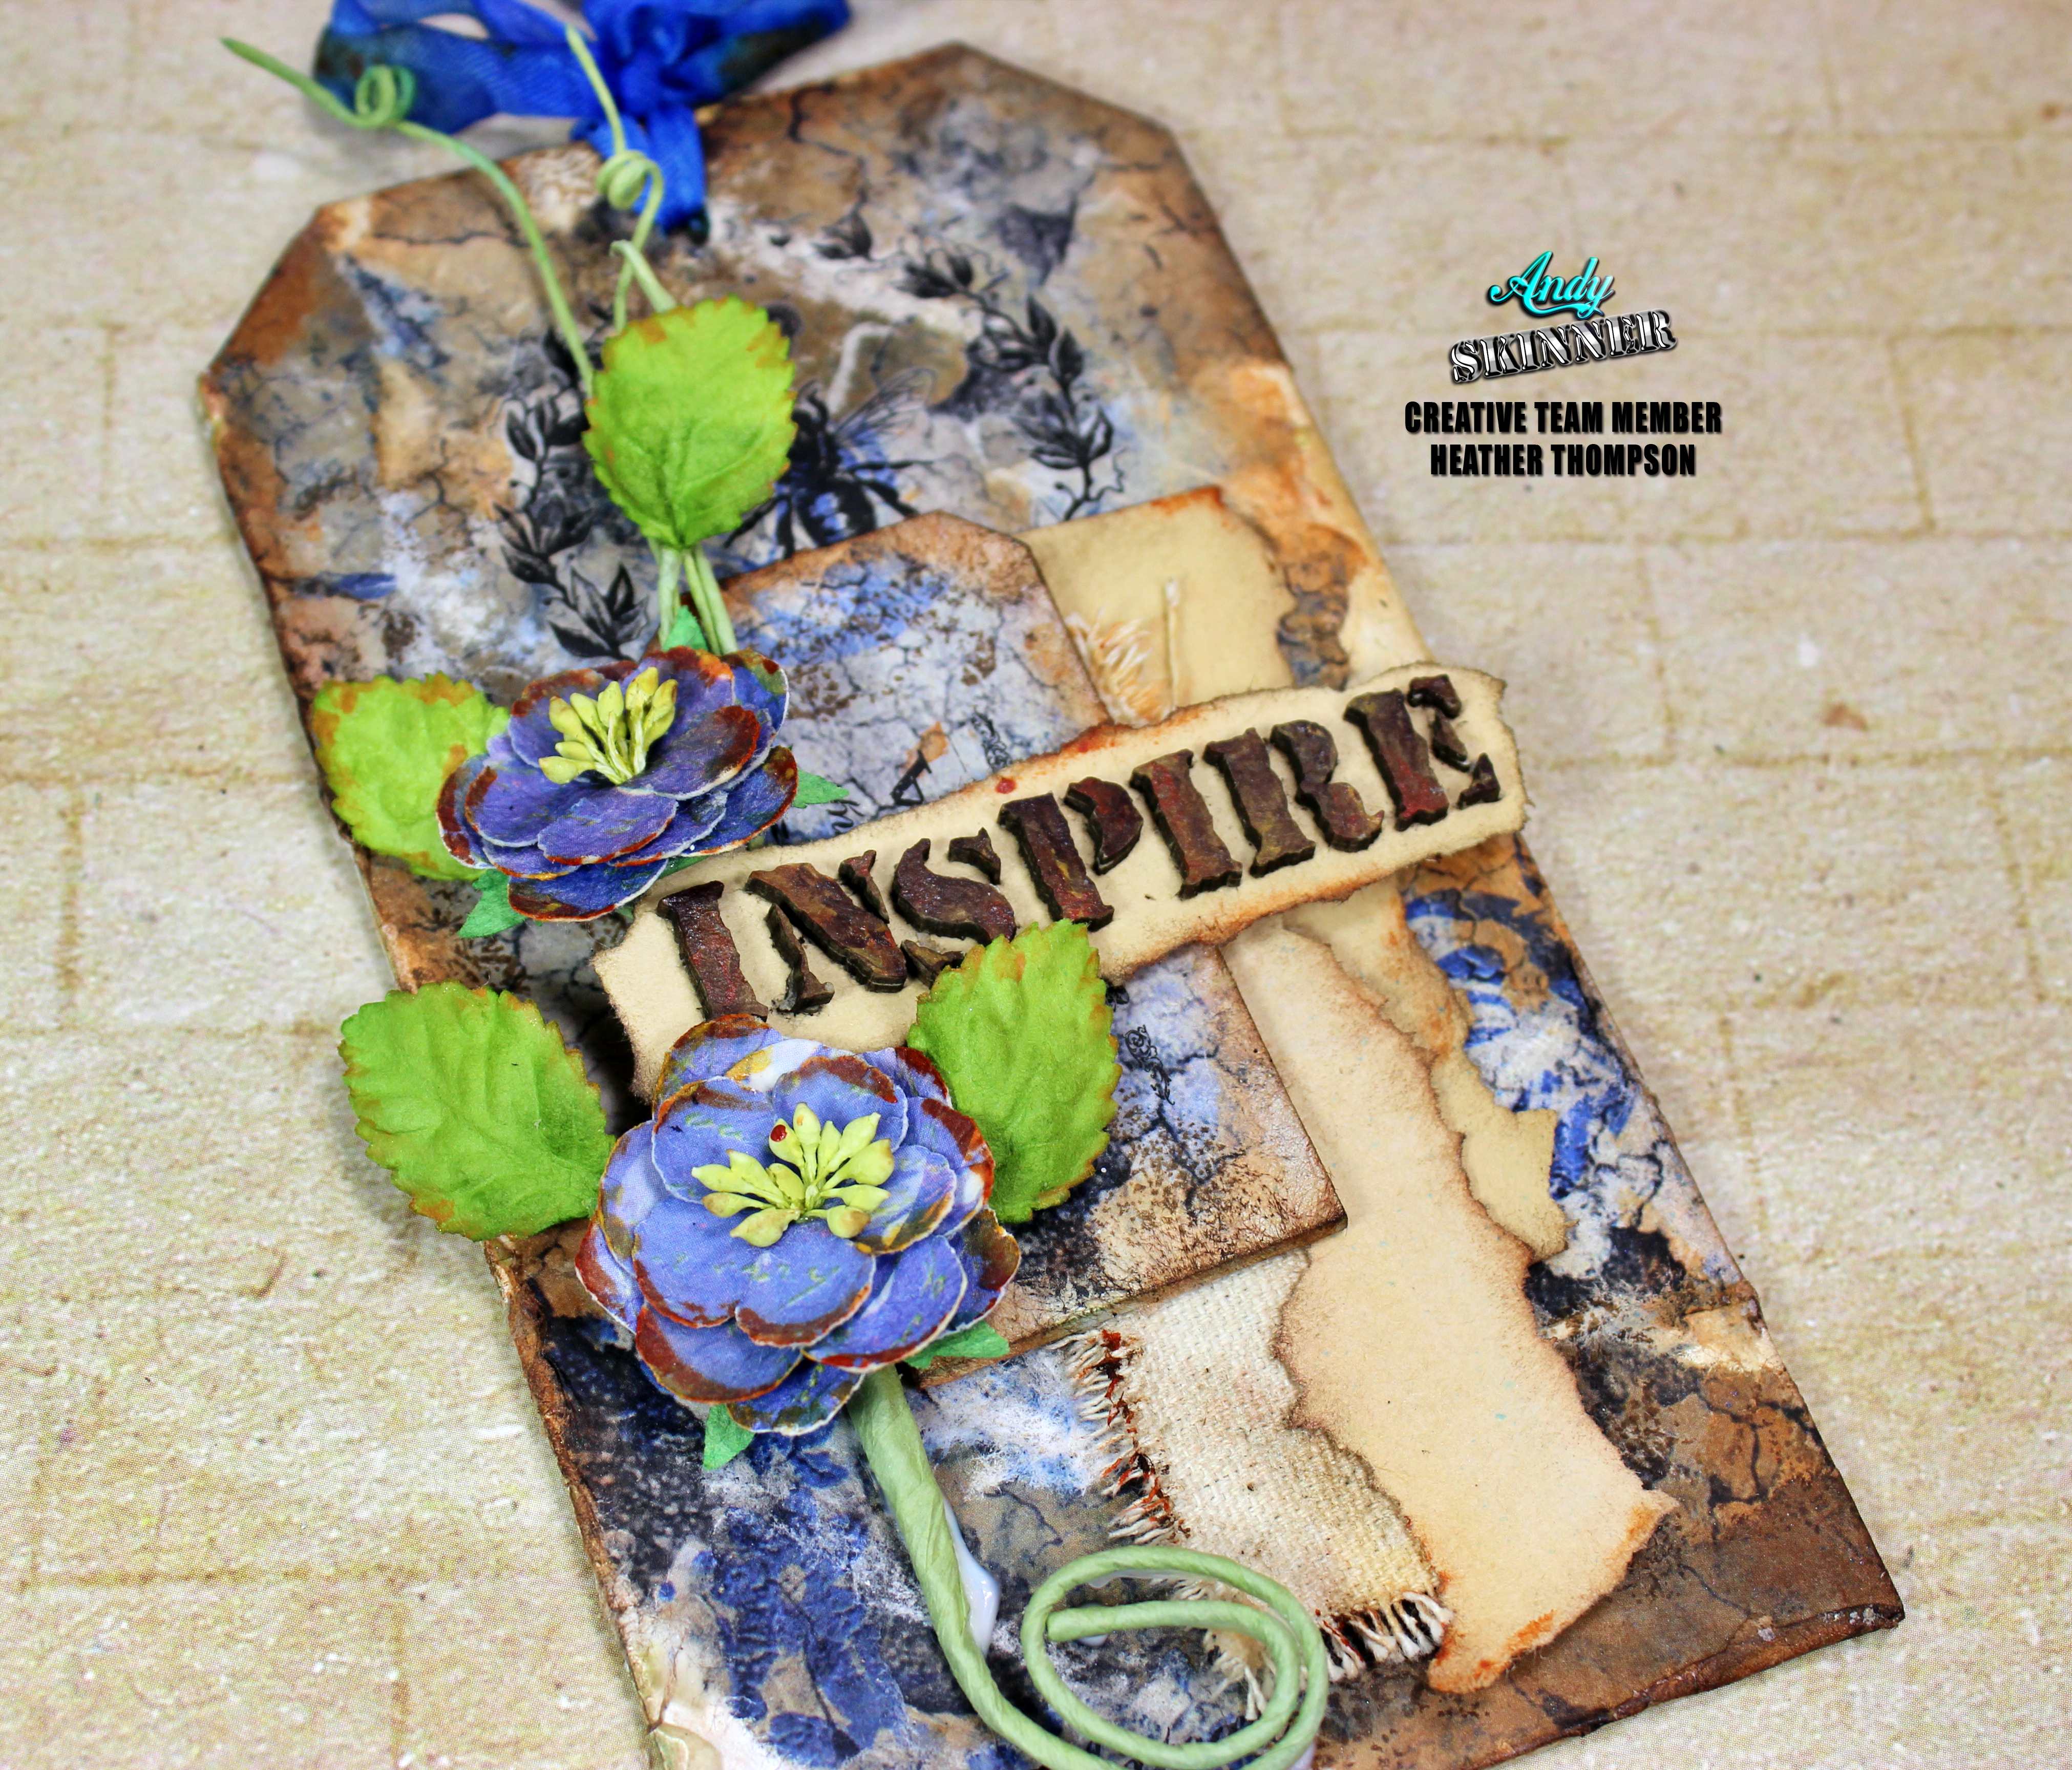
Hello everyone, I would love to share a set of tags I made with Andy Skinner's new Rices Papers. And we are right around the corner for new releases for 2020, and I am so excited to see what will be coming out so stay tuned for those.
I made a short creative video of the process of these tags.
Using the Rice Paper, I added some texture before I put the paper down. I wanted to play and see if this technique would come out how I had envisioned it to come out. I didn't want to cover up the rice paper but wanted to add more feel to the tag.
Using the Rub-Ons I added detail on top of the rice paper and grunge it up a bit.
I added a little colour and shading with Quin gold, Transparent Yellow Oxide and Raw Umber.
A few more close-ups.
Instead of using the word plates, I used the insert and old vintage paper to make the title.
Thank you for stopping by today, have a great creative day.
I'm back this
month with a new project and I decided to share with you something less grungy and more vintage shabby chic.
I
was very much inspired by the French Fancy Transfers set by Creative
Expressions which, as I noticed, coordinated perfectly with the Shabby Chic
Stamp set by Stampendous.
The first thing that came to my mind, was to create some vintage
labels to put on old bottles. Then I thought of making some decorative plates
to go with the bottles. I tried to create all those beautiful vintage items I’d
like to showcase in a shabby chic cabinet.
So,
I went to a toy store and bought some clear plastic party plates. I chose two
different sizes, 6inches and 7 ½ inches diameter. Then, I went to the well known
Swedish home store 😉and bought a set of three small decorative
vases, that looked like apothecary bottles.
First
thing I did, was to paint the plates. I started with a coat of DecoArt Metllics
“Tin” and a second one with Chalky Finish “Enchanted” mixed with some “Everlasting”.
Mind
you, that I as working with plastic plates and couldn’t use the heat gun to dry
up the paint, so I let it dry naturally. Then, I glued the clay appliques on
the plates and let those too dry completely. I brushed some Chalky Finish “Enchanted”
on the appliques, trying to cover the recessed areas and give depth to their designs.
After
that, I created a few washes in grayish and pinkish tones and added them on the
plates with a piece of natural sponge.
I
decorated the centers of the plates with designs from the stamp set and the
transfers. For the bottles, I used some metal dies and cut the labels out of
scrapbooking paper. I used the transfers to decorate them. Then I distressed
them and glued them on the bottles with DecoArt Decoupage glue.
In
order to age the bottles, I applied several washes on them in gray, pink and
brown tones. I sealed them with DecoArt Matte Sealer.
As a finishing touch on the appliques, I used some Cosmic Shimmer Embossing Powder "Super Nova".
In the video below, you can see how I did it. Because heat is necessary for the embossing powder to melt, if you're using plastic plates like I did, you'll have to do one section at the time. You have to let the plates cool down in between sections, otherwise they'll warp.
I hope you like the idea and I’d love to read your
comments.
Till next time
Happy weekend!
You can find Natassa Blazaki - Art Recipes and More in:
Hi Everyone, it's Brenda here from Bumblebees and Butterflies and I'm really excited to be publishing my first project here on Andy's blog as part of his new Creative Team. Some of you will know that I love Andy's grungy style and have learned masses from him both from his on-line workshops and real life workshops, his teaching has helped me develop my own style over the years I have known him.
I'm calling this look pretty grunge because it incorporates a bit of Andy's style and a lot of mine, to me there's a sort of feel of masculinity about it but plenty of femininity too. So with Valentine's Day coming up I thought I would throw in a heart and some fabric and use some of the red and pink colours in both the DecoArt media acrylics and the chalky finish paints to create background layers and focal elements in what might also be called a shabby style.
The Tando Creative chipboard elements here are from one of Andy's new kits coming out that will be released on the 18th February at the Stitches trade show in Birmingham. I have been lucky enough to have a pre-release play and apart from the fabric, ribbon and arrow everything else is from the kit. If you saw Dee's fabulous post last Friday she used the same set but different elements so you will see it is really versatile. I added some other bits from my supplies like this arrow which shows how you can mix and match with your own collection of embellishments.
Cheesecloth is my favourite go-to item when playing in the shabby style and it fitted in perfectly with the elements and style.
The heart has lots of layers of paints, stenciling and stamping before a coat of clear crackle glaze and don't you just love the cracks that appeared after I rubbed in some white antiquing cream?
Do keep your eye on both this blog for lots of inspiring projects yet to come and also on Andy's Face Book page for more projects and to keep up with all the news.
If you would like to see the process steps of how I put this together then they are all over on my blog.
Thank you for stopping by, Mark here with my first make for the new Andy Skinner DT and wow what an honour to be part of this amazing team, Thank you Andy for inviting me along.
For my first make I have decided to go down the up cycling route and heavily distress a wine crate that was given to me a little while back.
This is how the crate started life,
I started with layers of Decoart Chalky Finish paint sanding back between layers to get a nice naturally distressed finish, added some extra detail with some of Andy's Decoart Stencils as well as stencils from the Chalky Finish Line.
To start with the aged and grungy process I used the dark cream wax's wiping off the excess wax almost straight away to leave a dark stained finish.
Additional distressing was added using Decoart Media Fluids, Quinacridrone Gold and Carbon Black added as colour washes.
The whole crate was given a coat of Decoart Decor Satin Varnish and the handles were added to finish off.
Thank you for stopping by and having a look, keep popping back as we share more creations from the new Design Team.