Andy Skinner New Rice Paper Release
Welcome back to another post here. Today I am sharing a canvas I made with Andy's new Rice Papers released in collaboration with Decoupage Queen. These rice papers are amazing and they come in a selection of different sizes and designs. There are 10 new designs and various sizes.

Now on to my project.
I would love to share a project I made with the Raven Returns Rice paper.
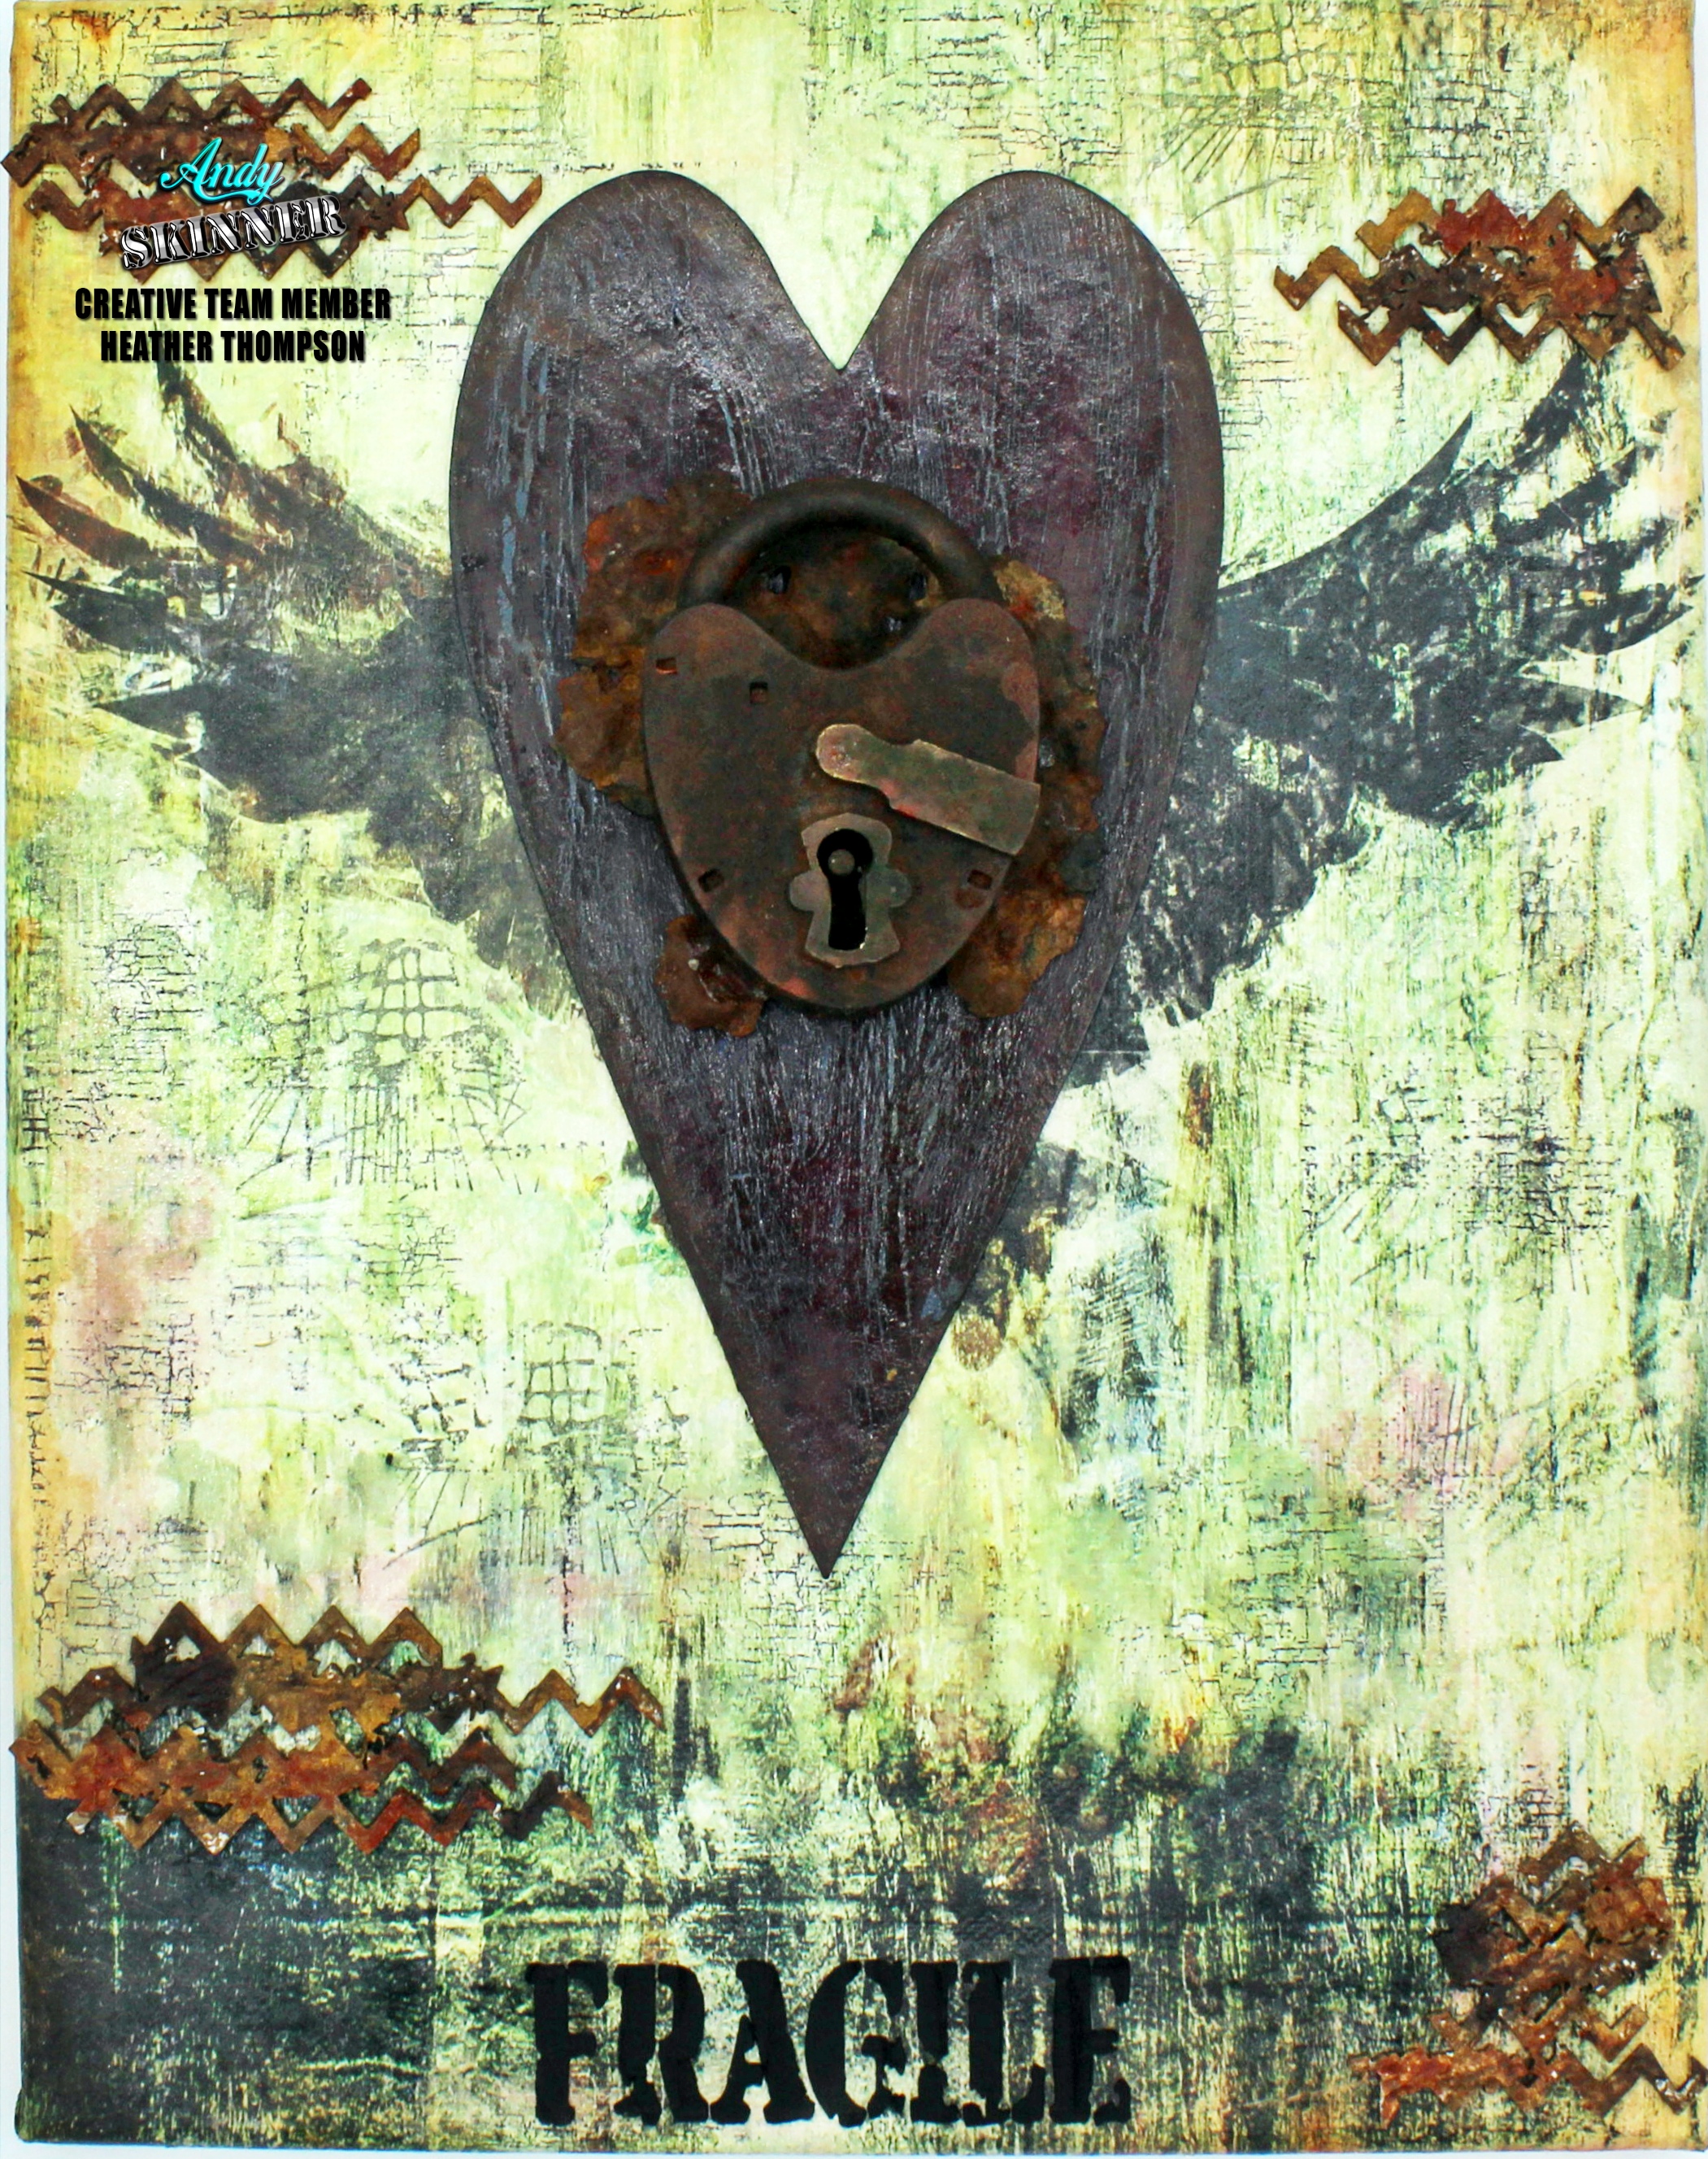
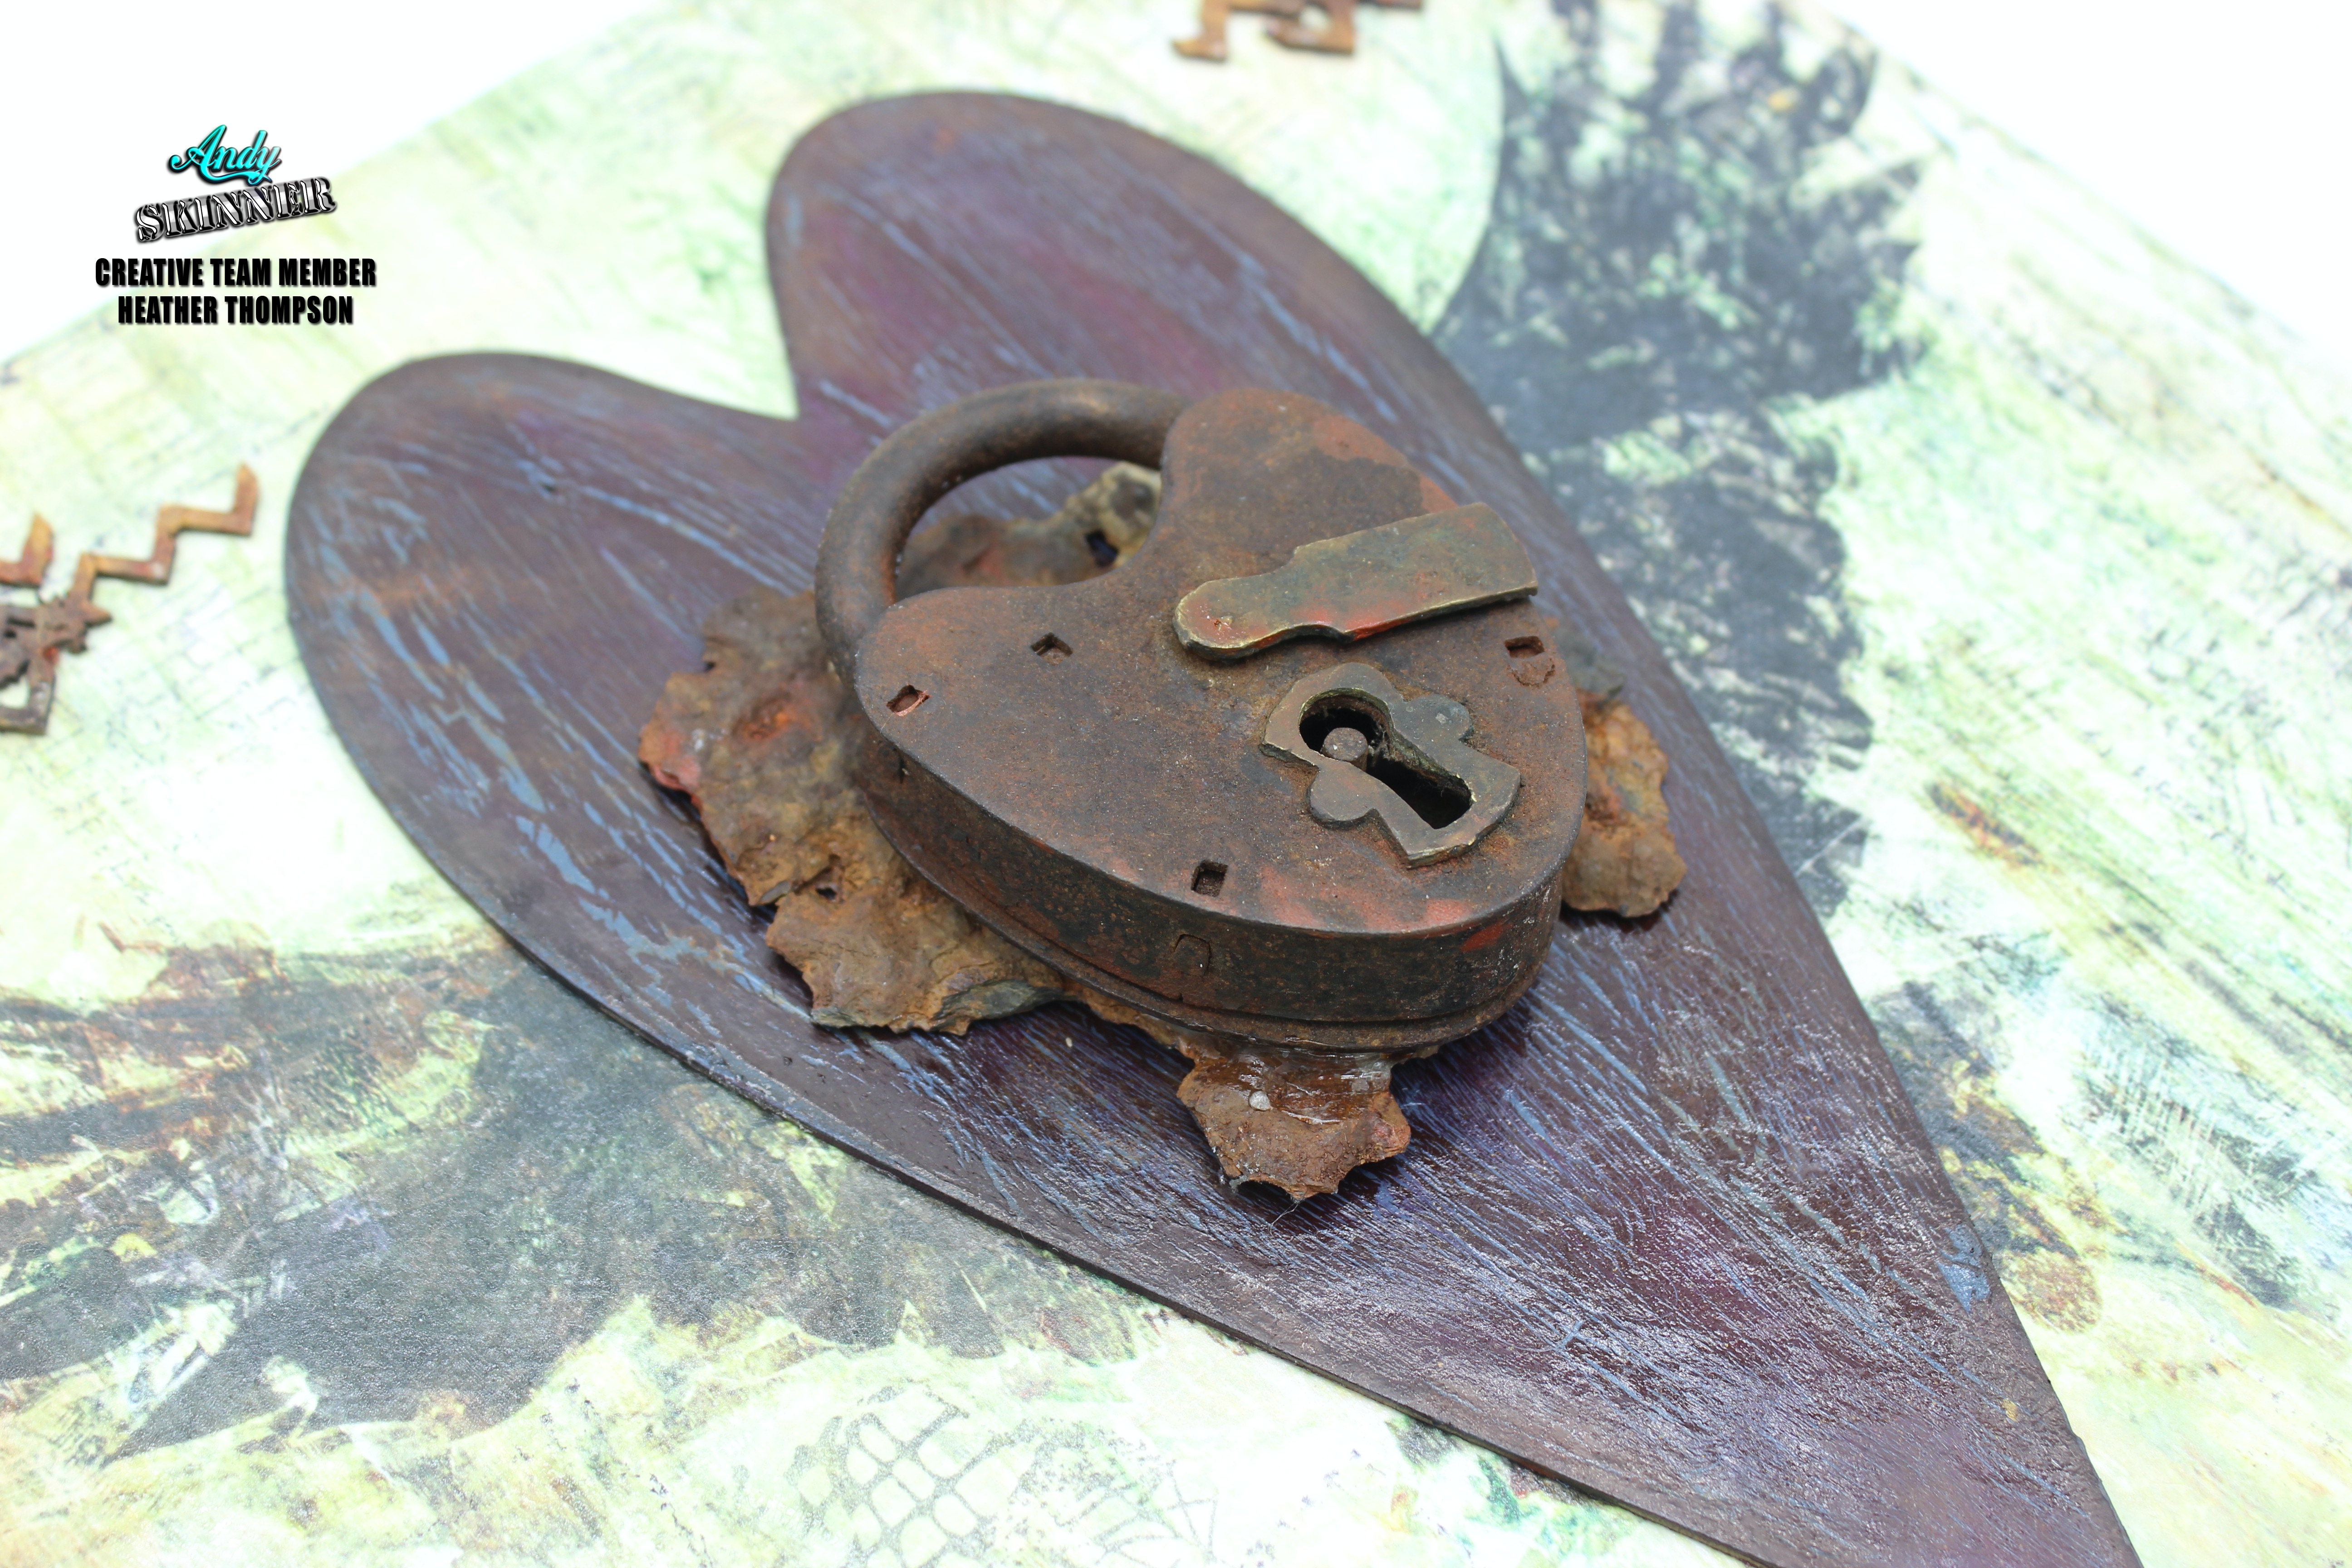
This canvas was made with so much thoughts and emotions. I have this old rusty heart locket, missing the key, but in the shape of a heart. The key forever will be lost. The locket forever will be locked and safe from heart break and disappointment from here on forward. The heart surrounding the locket, cracked and damaged from years of wear, tear and abuse. Always giving and prioritising others before it's own.
Here is the creative video:
I started the background on a reverse canvas, then realised I really didn't like it. It was not calling to me. I flipped the canvas over and painted over what had seeped through on my first attempt. Then using the Ultra Matte Varnish, I adhered the Raven Returns Rice paper to the canvas.
I used a variety of paints and stamps on the background. I started with the he Cracked Up Stamp, and topping it off with the Burlap Stamp from Creative Embellishments. I really didn't need to do much blending on the background the Rice Papers are so detailed and amazing that very little is needed. I did do some shading with some Quinn Gold and Transparent Yellow Iron Oxide.

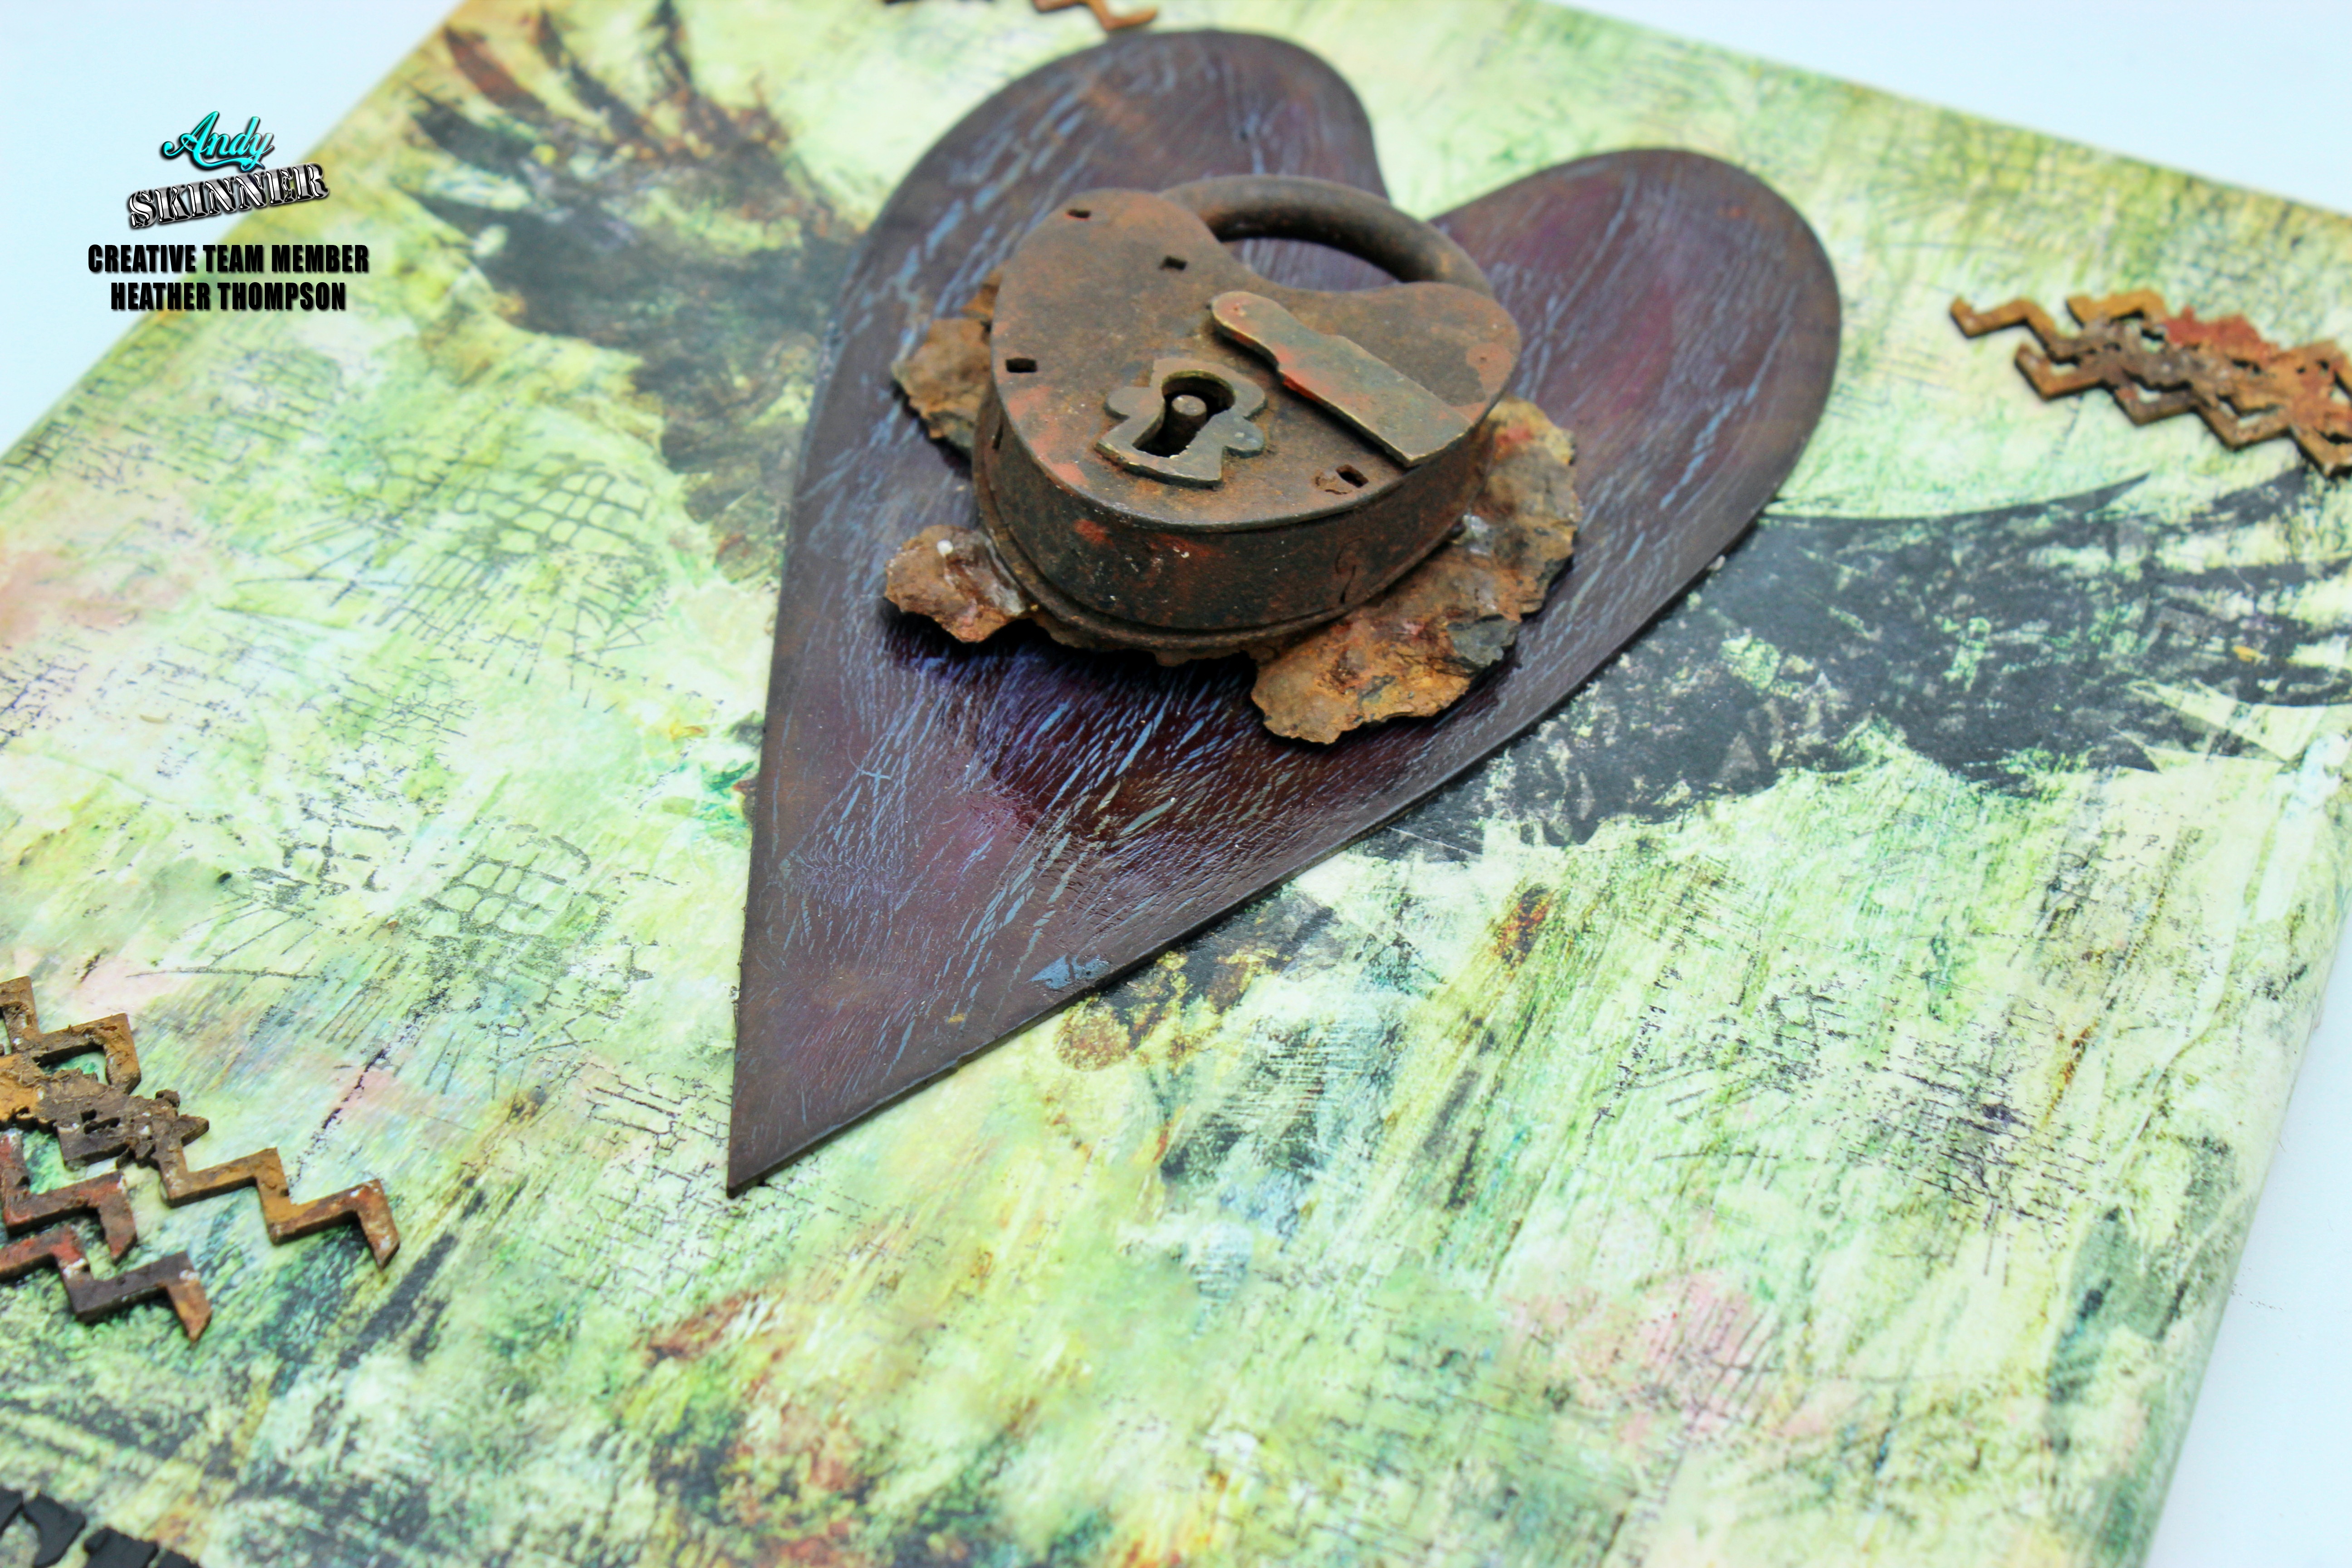
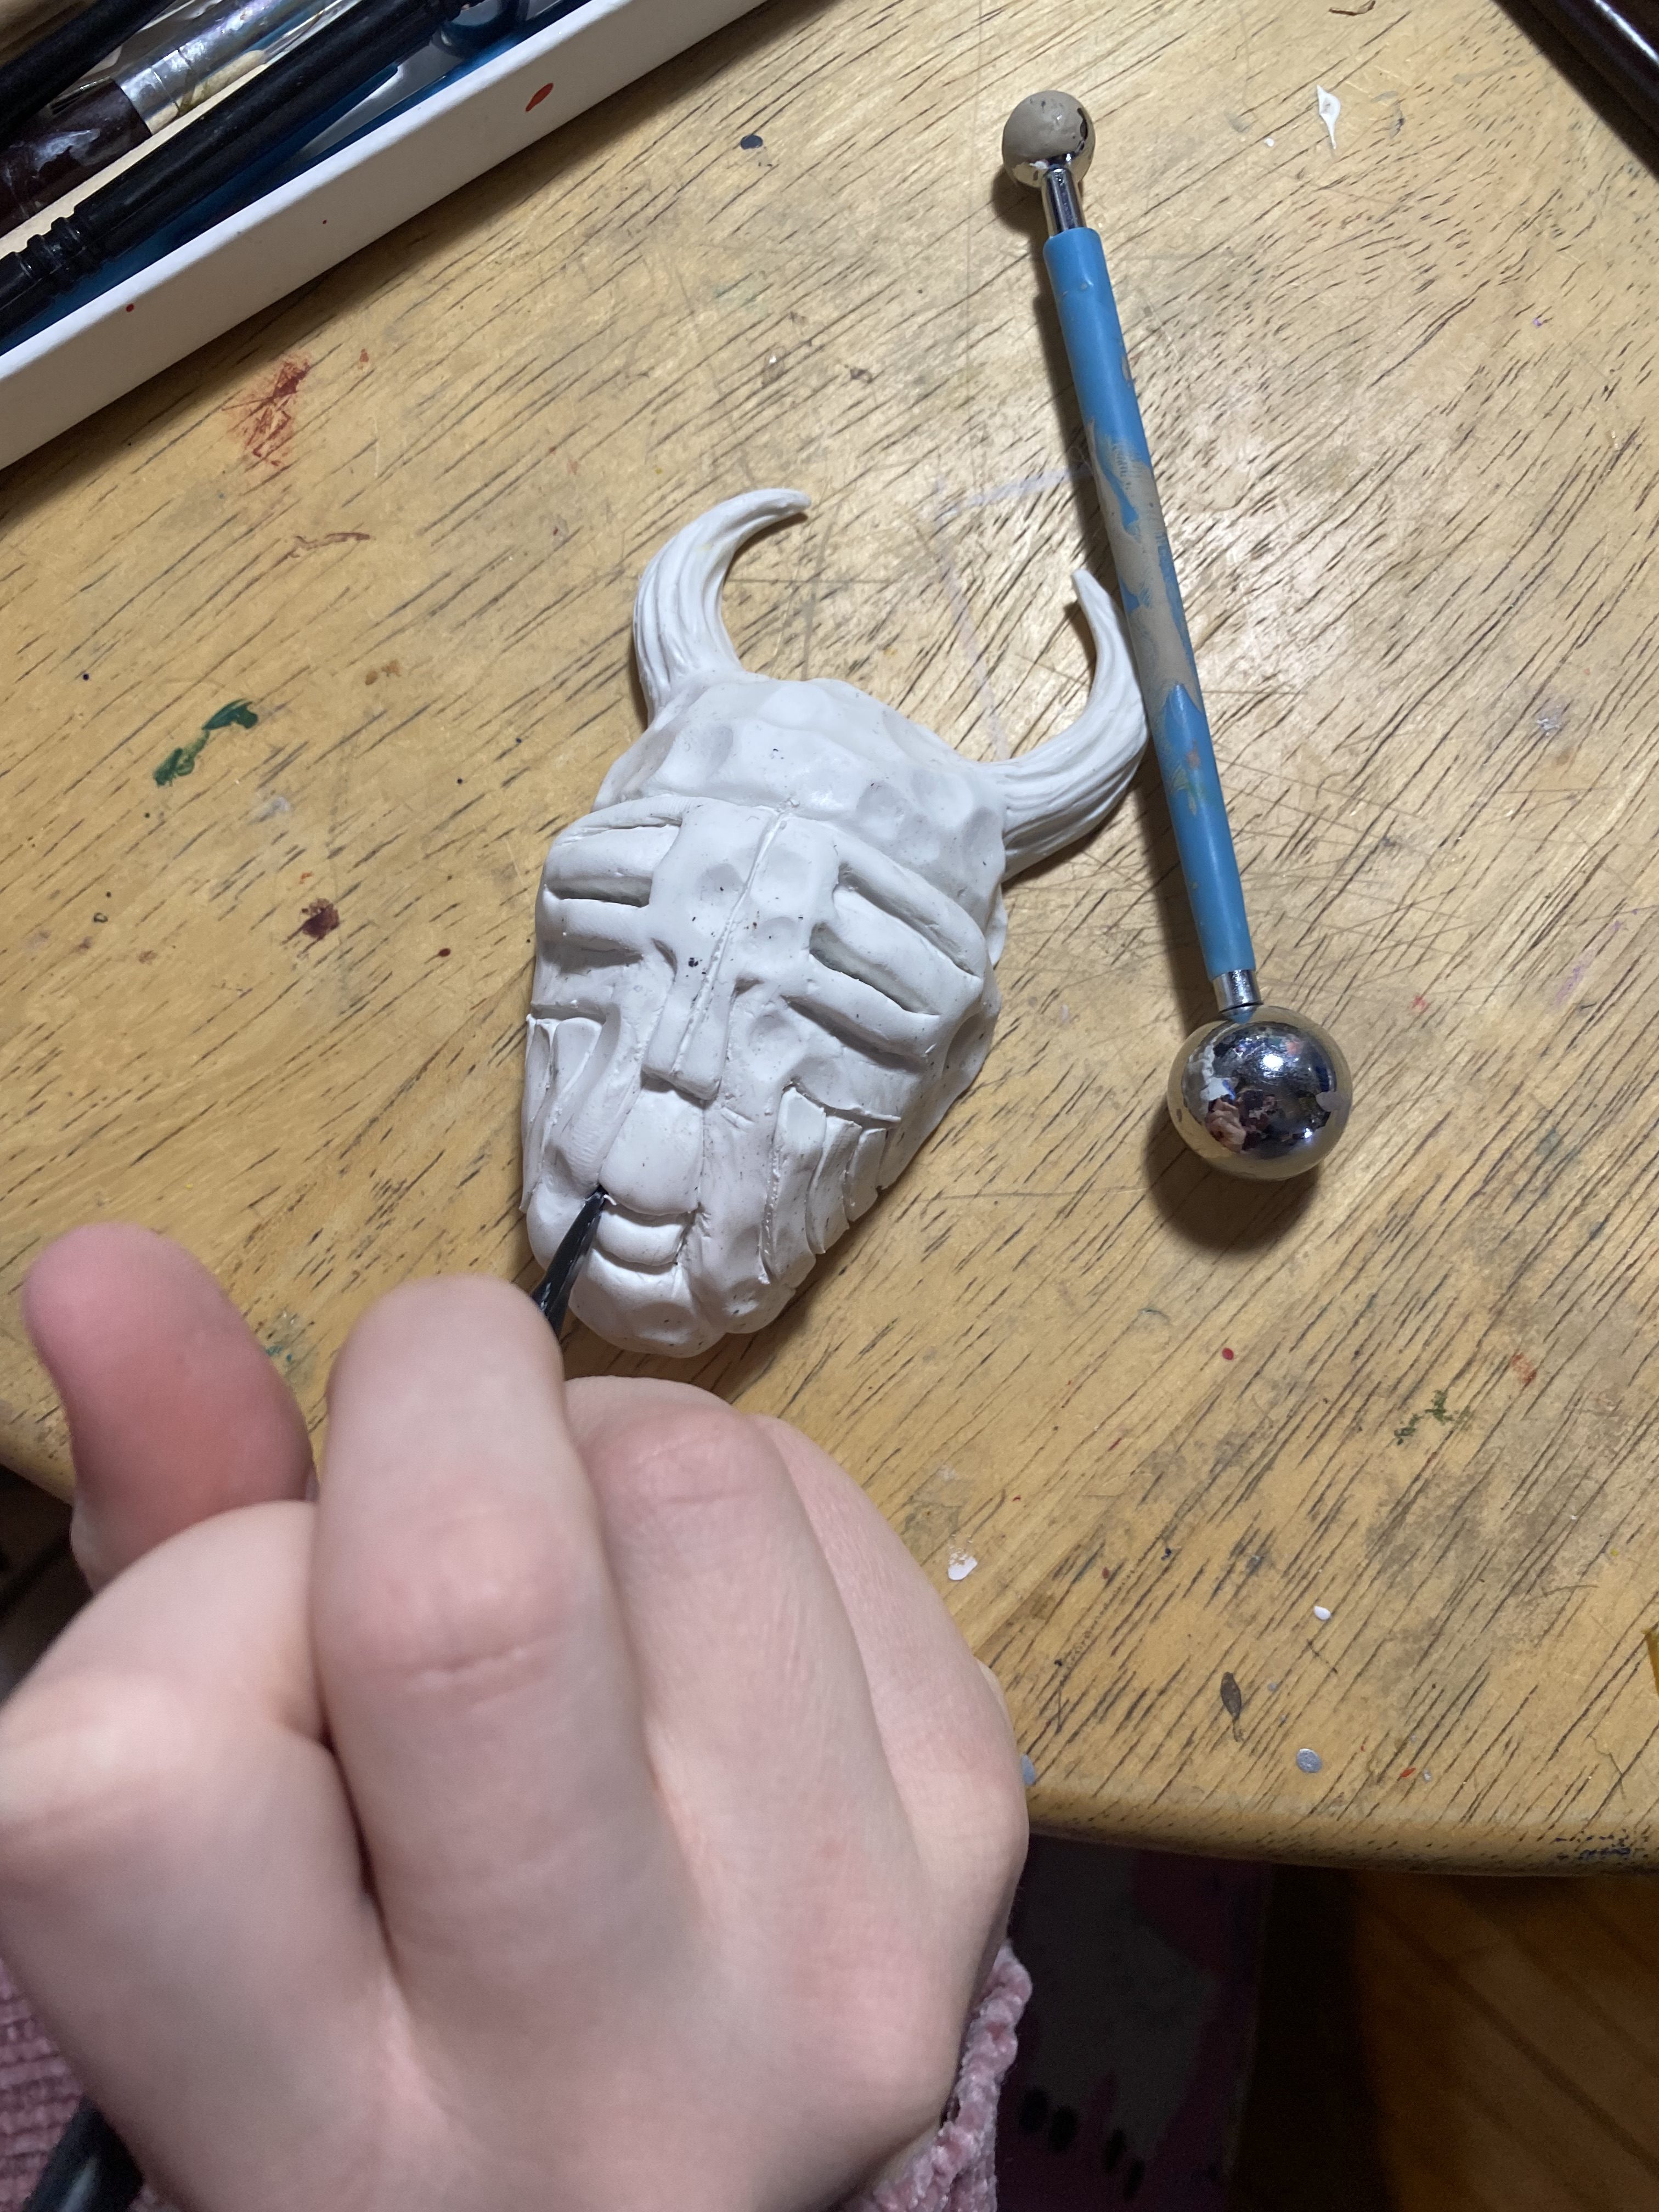
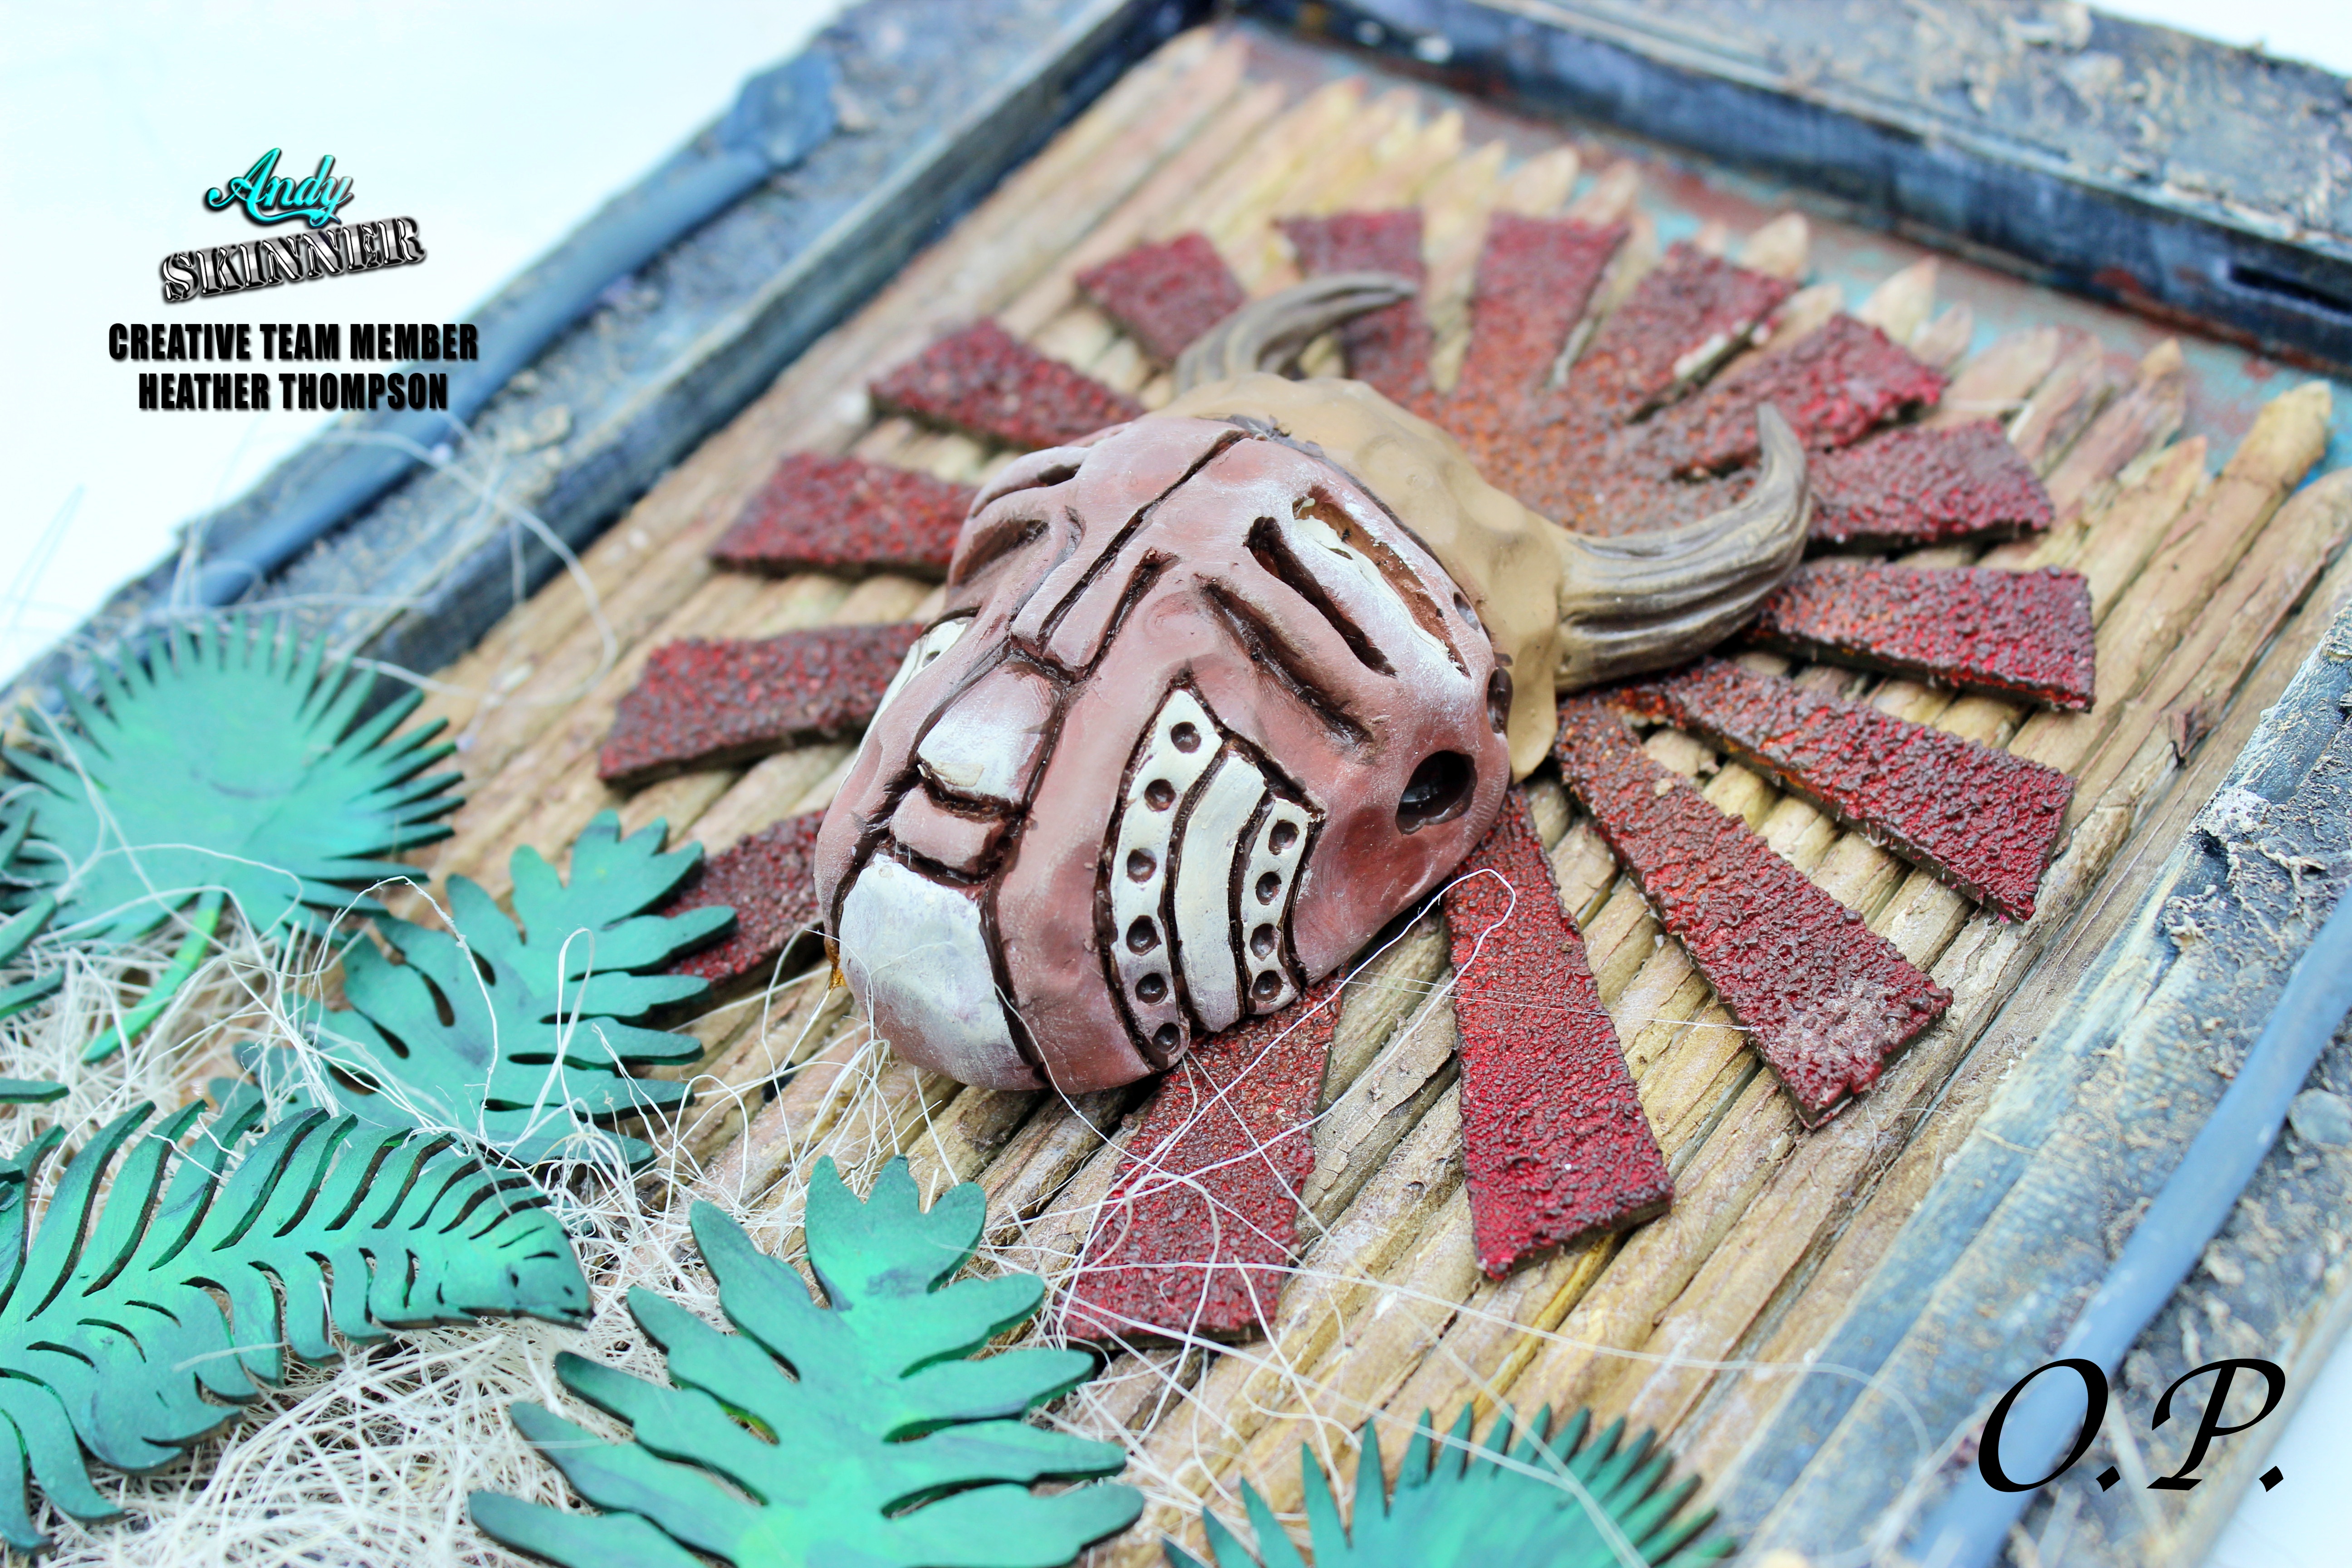
I used a variety of Andy Skinner's Paints to blend and layer the heart with along with a crackle medium. Blending Primary Magenta with Paynes Grey to get the burgundy colour, and topping it off with some Quinn Gold to add some rust to it.
Olivia found a piece of rusty metal on our last family vacation, I decided to layer the rusted metal over the Large Heart and glue the heart locket over the Raven on the Rice paper.
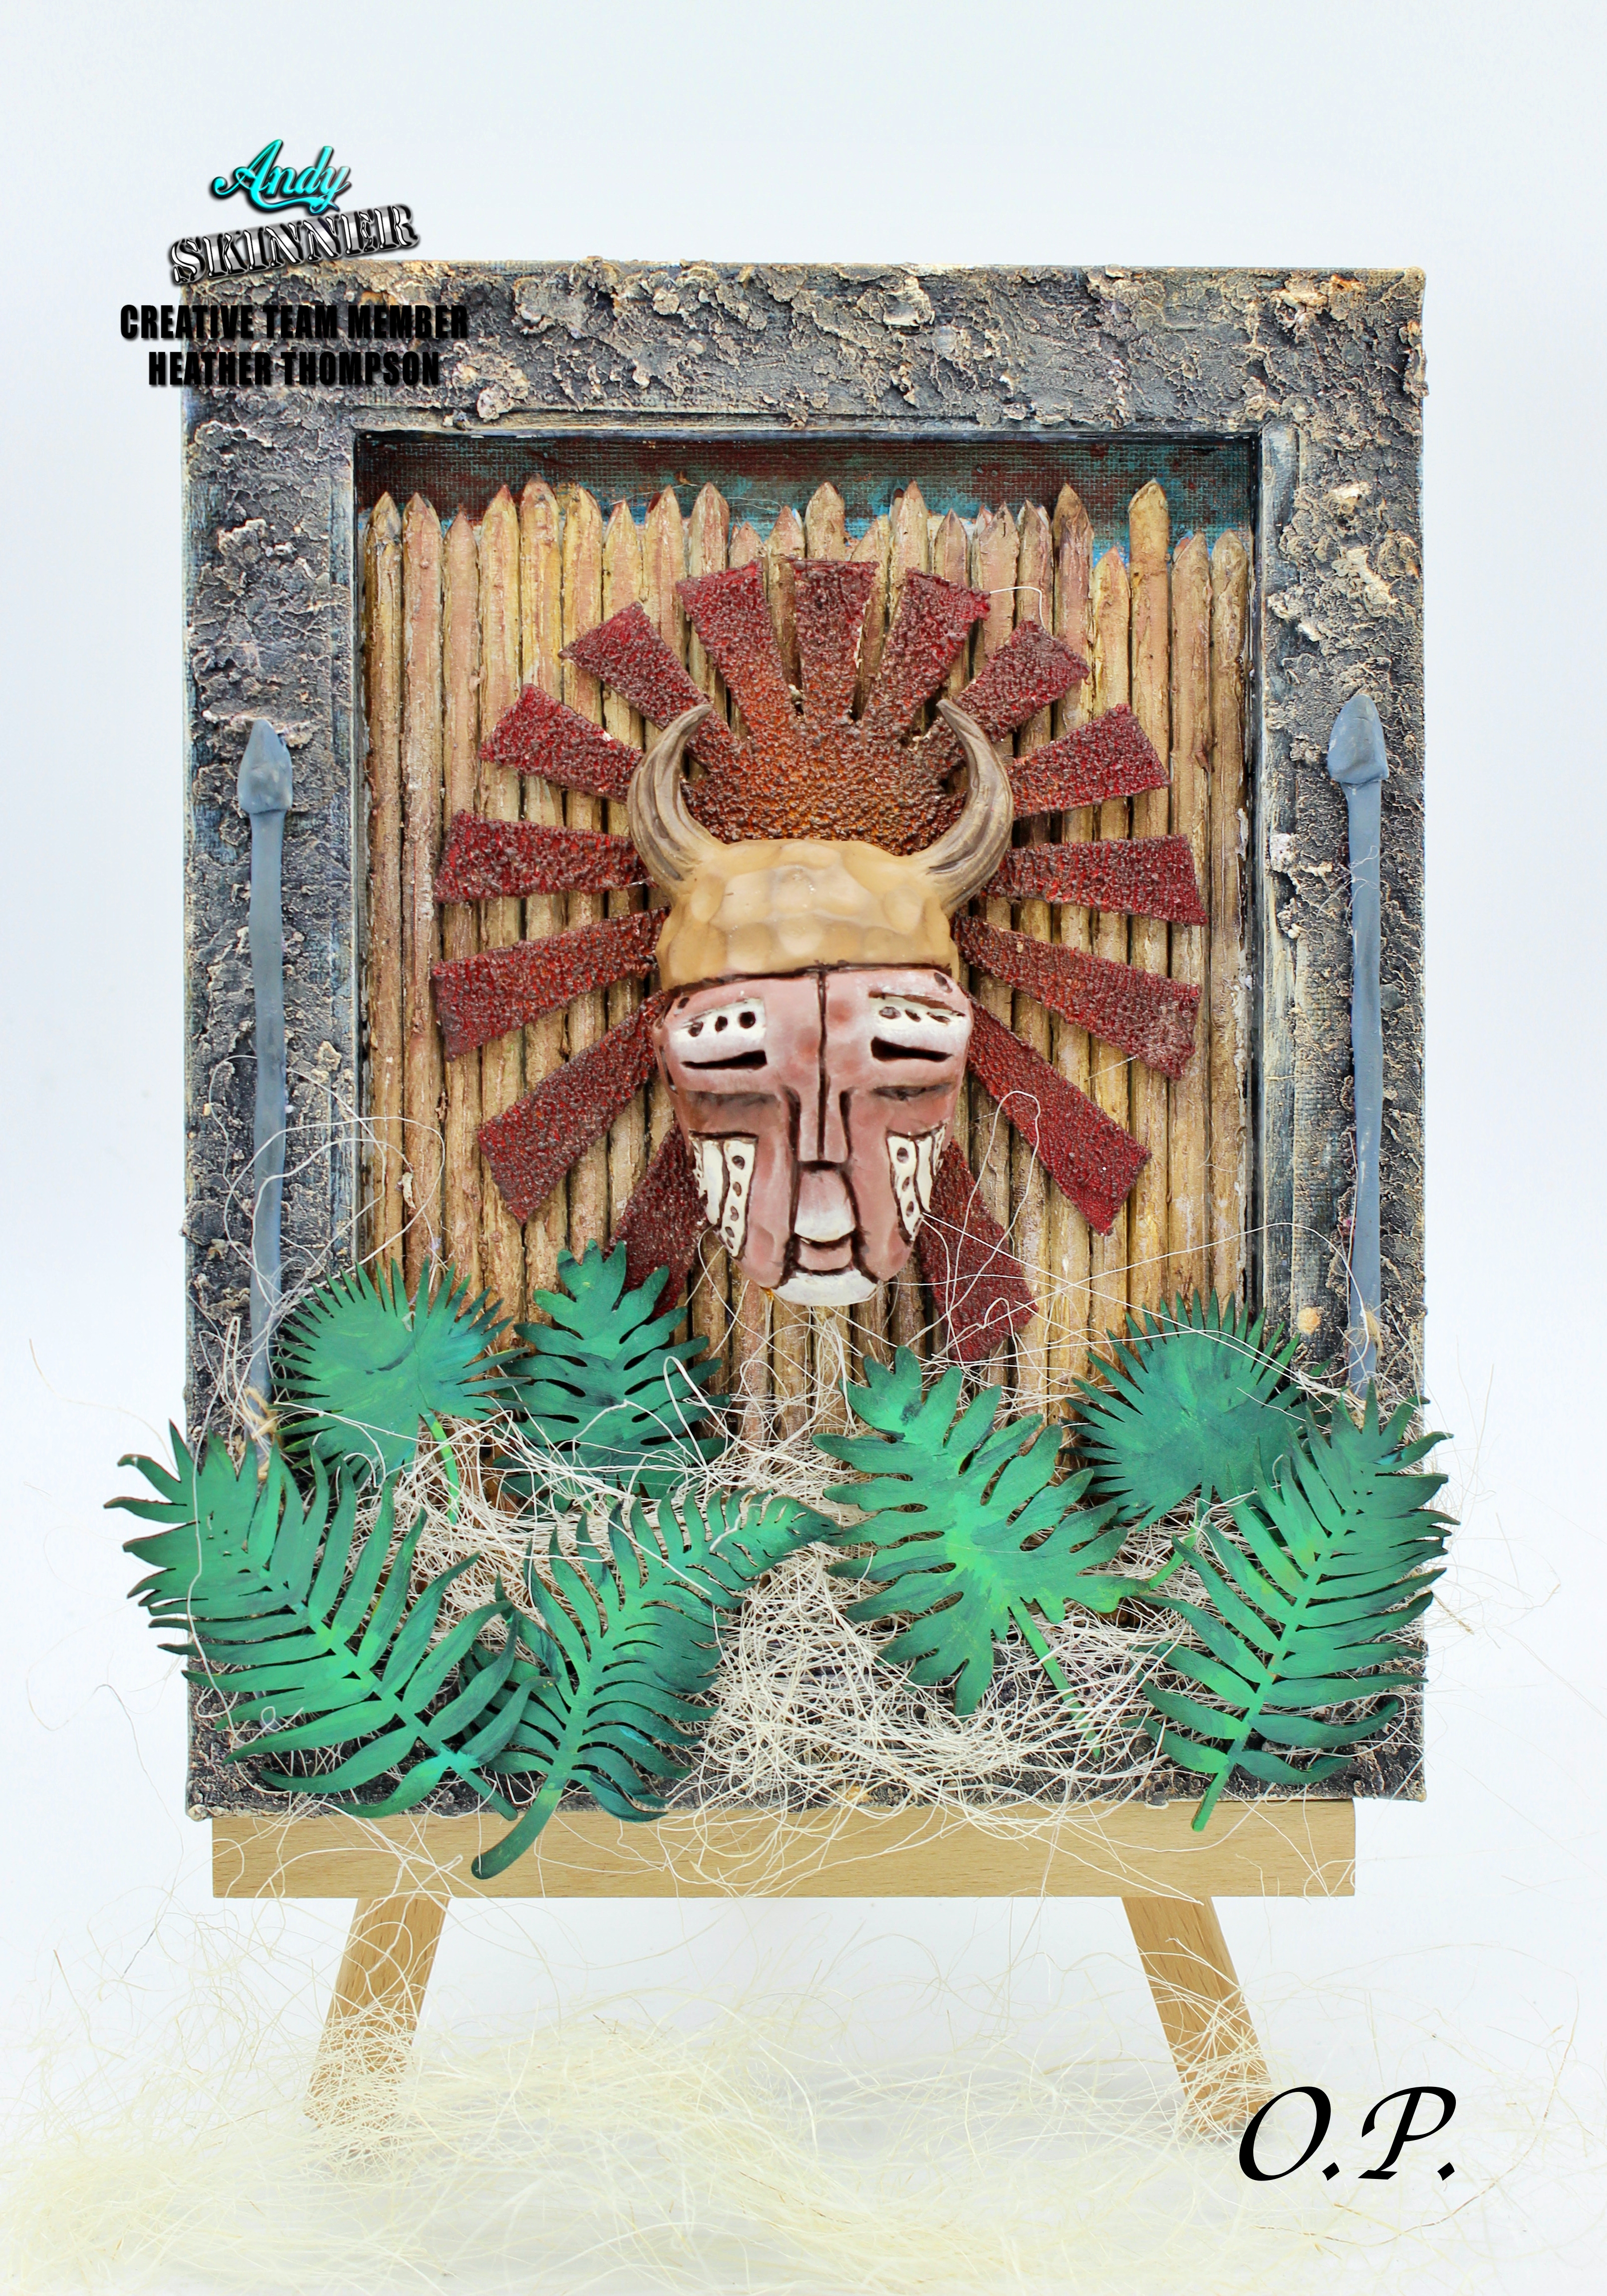
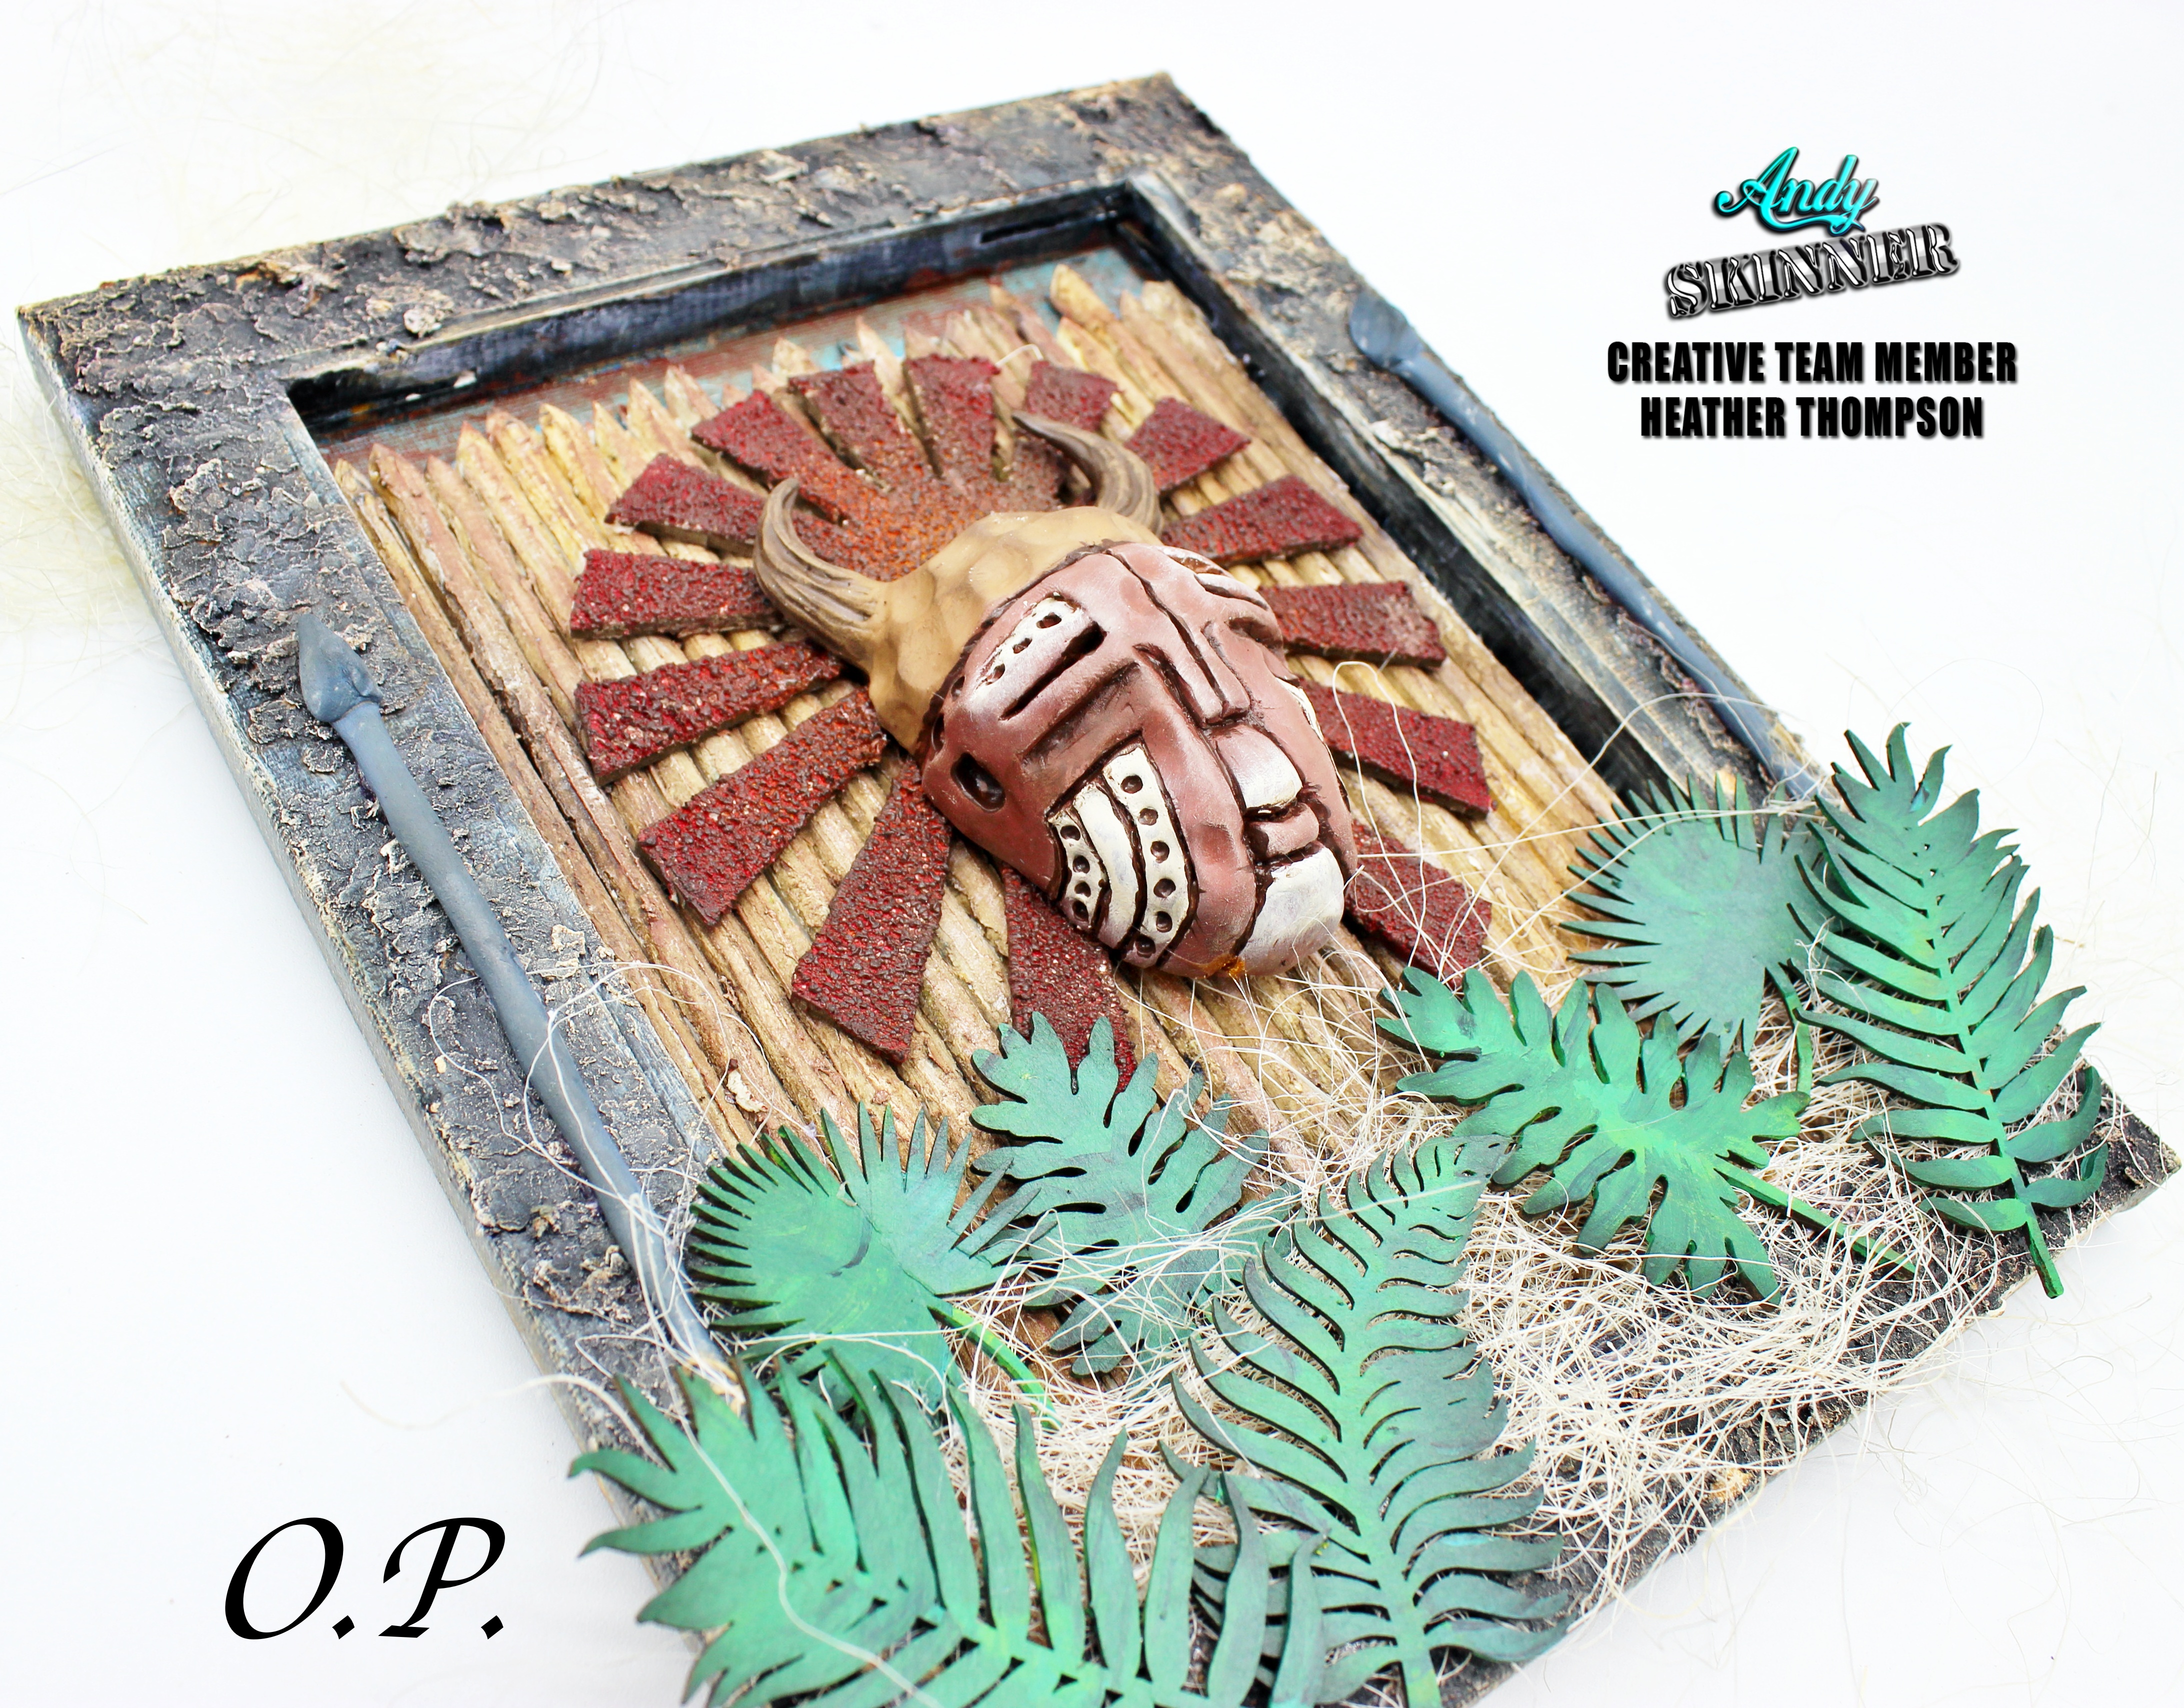
Using some Chevron Pieces from CE, I added a texture and then Used Andy's combo of Quinn Gold, Burnt Umber and Transparent Yellow Iron Oxide to Rust them up a bit.
I hope you enjoy the project and dont forget to check out all the amazing New Rice Papers from Andy Skinner and Decoupage Queen.

Supplies:
Decoupage Queen Andy Skinner Raven Returns Rice Paper
CE Cracked Up Stamp
CE Andy Skinner Quinnacrodone Gold Paint
CE Andy Skinner Paynes Grey Paint
CE Andy Skinner Transparent Iron Oxide
CE Andy Skinner Burnt Umber
CE Andy Skinner Ultra Matte Varnish
Creative Embellishments: Chevron Pieces, Burlap Stamp, Large Heart
Tando Creative Fragile Stencil


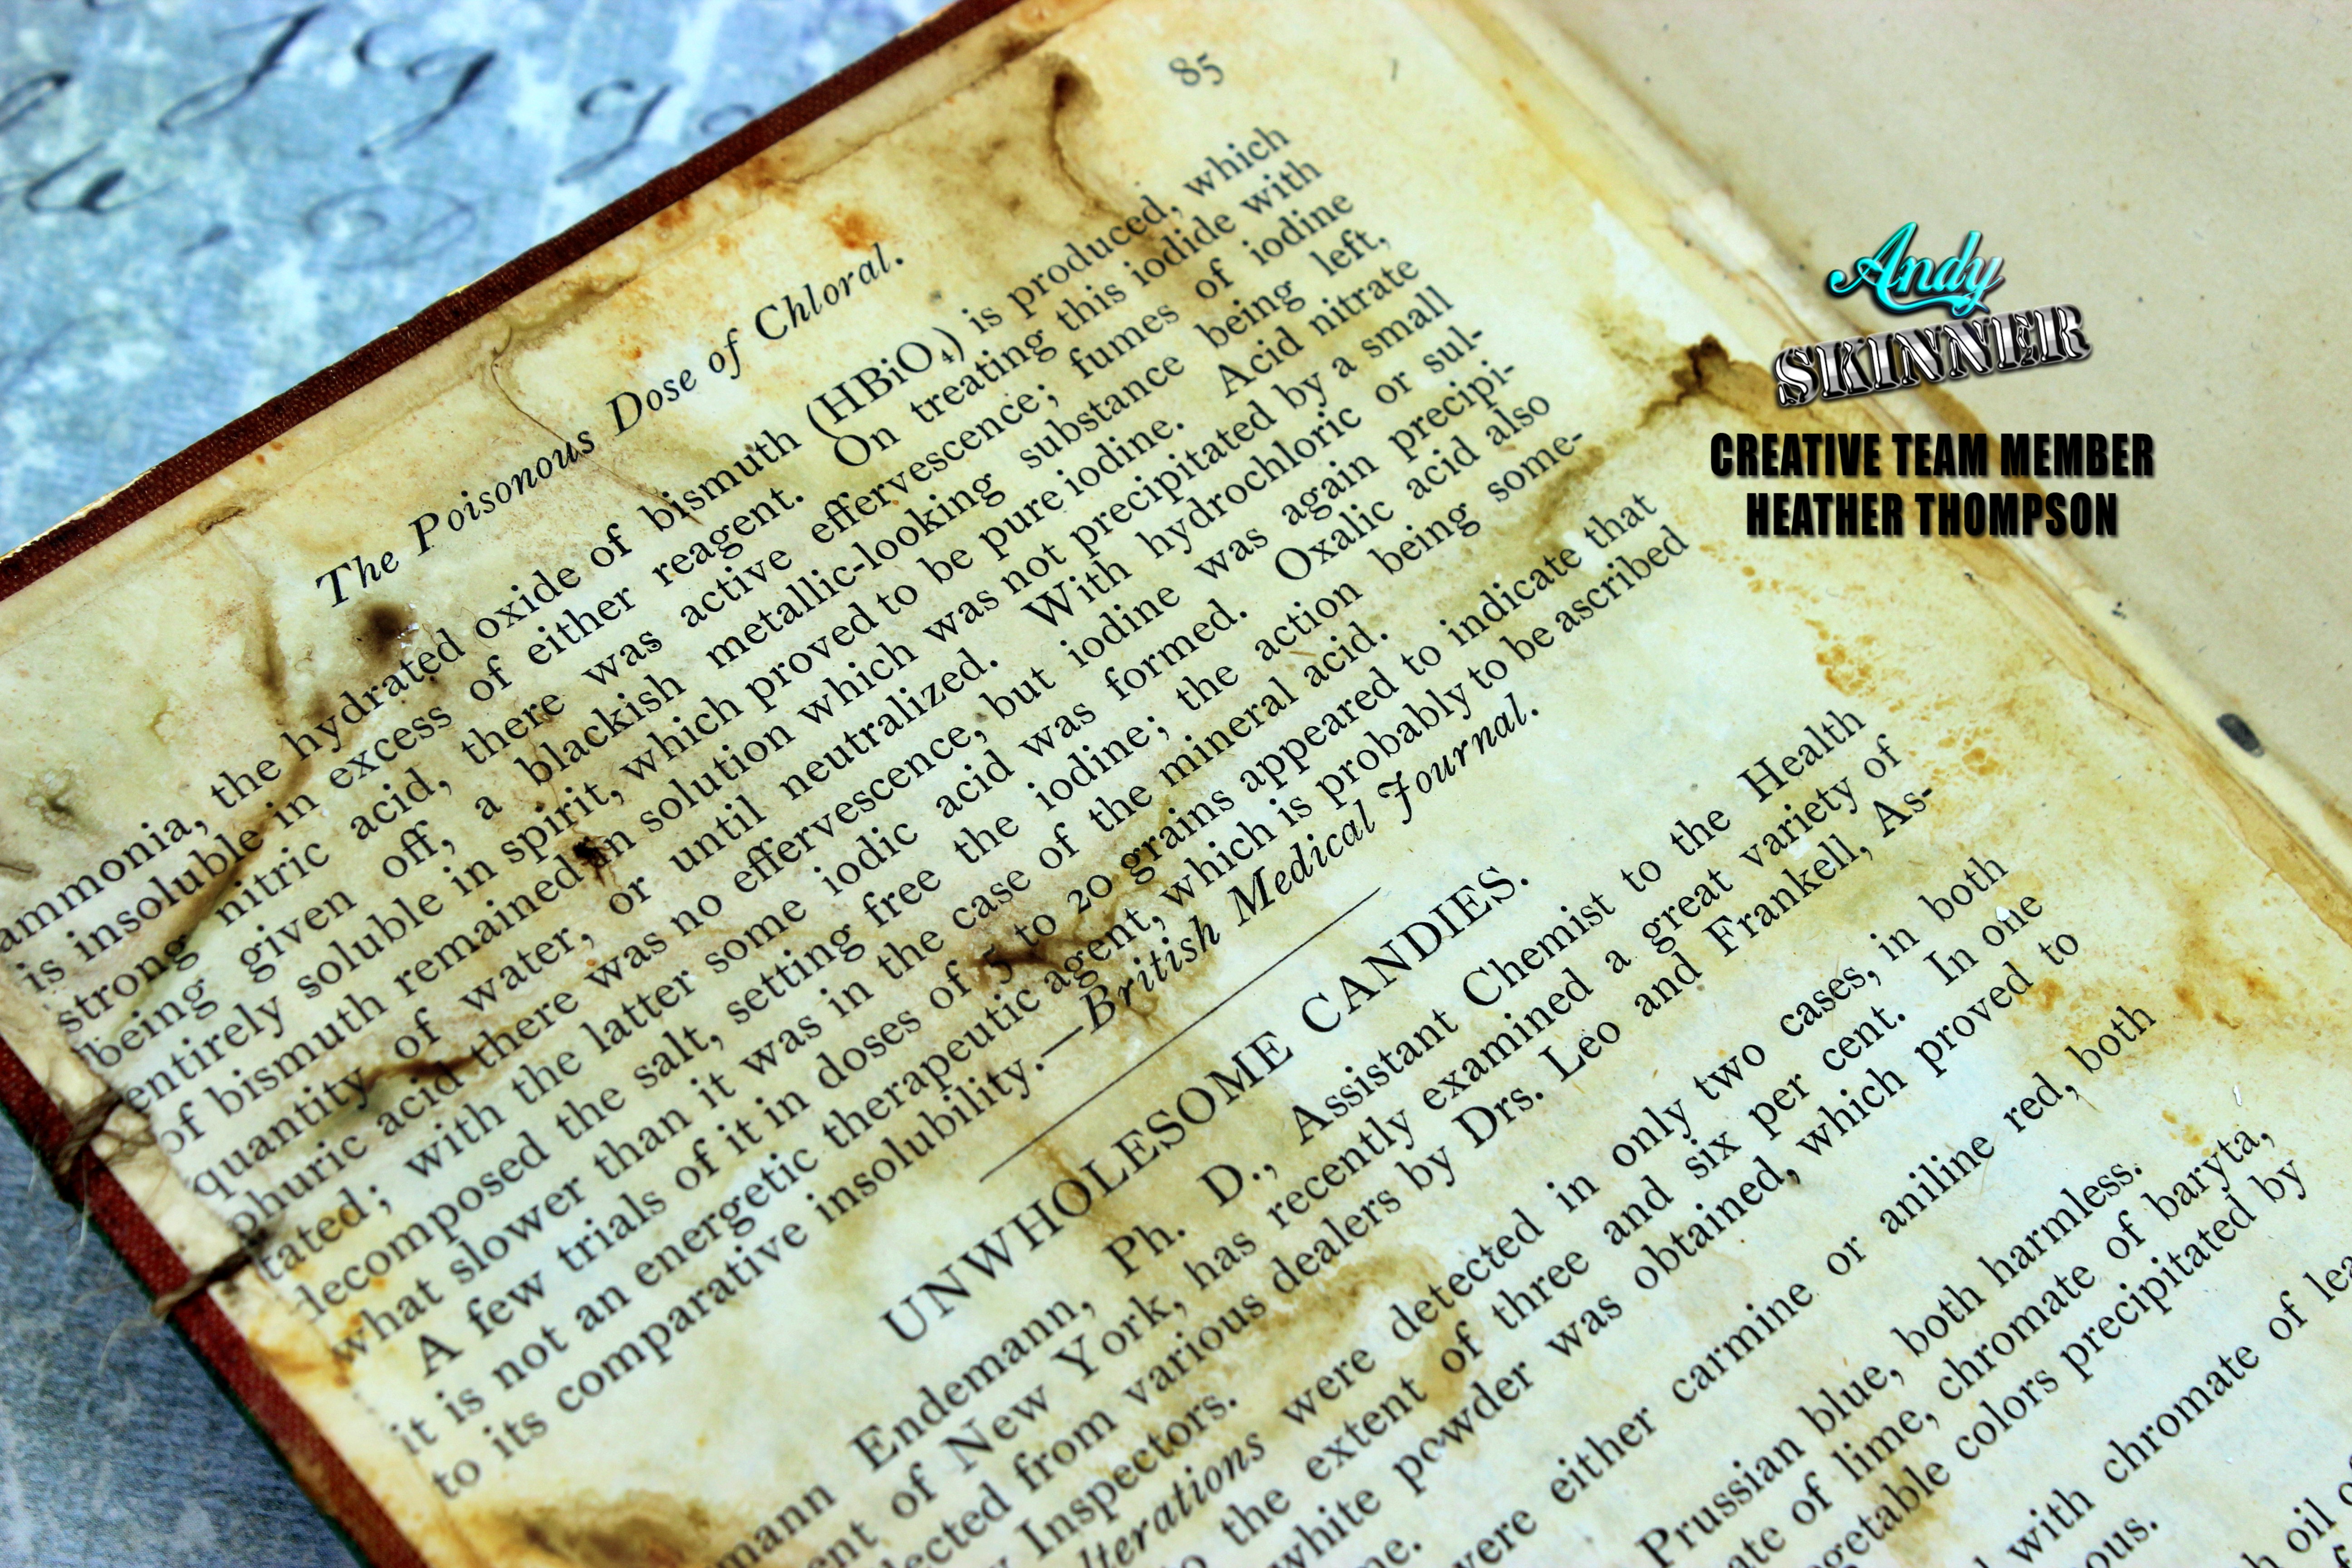 I need to cover the inside of the book, I find some old morbid paper from the late 1800's. Using Matte Vanish I decoupage the inside covers of the front and back of the