Showing posts with label Tutorials. Show all posts

Tuesday, 6 December 2016

Quick Mixed Media Background Tutorial

Once in a while Tracy Weinzapfel and I have a virtual painting session via video link-up in order to come up with ideas for Dare 2 Create. Normally we set a theme and/or colour palette as our starting point. The rules for this week were to get texture by applying the background paint with a palette knife only, I also used the Phthalo family of paints for the background.


Step by Step

1. Apply a thin coat of white DecoArt Media Gesso to your substrate. This is just to prime the surface and stop the paint from being absorbed too much but it will be covered with texture so there is no need to be even or neat - just slap on a quick layer!


2. Mix DecoArt Media Fluid Acrylic colours with gesso for texture, apply with a palette knife or a credit card with very little pressure using vertical strokes. I have used these 3 colours: Phthalo Green Blue. Phthalo Blue. Cobalt Teal Hue (Tip: I cut some of my credit cards into pieces; it's useful to have different sizes for different sized substrates and also to create different effects).


3. Once dry, lightly skim the surface witha palette knife using white gesso - keep it light so that it just picks up on the peaks of the texture.


4. Stamp with a stamp of your choice using a permenant black ink


5, Add a little water to your brush and apply a thin coat of Media Transparent Yellow Iron Oxide.


6. Side load a flat brush with Media Dark Grey Value 3 and float around the edges.
Once dry repeat with Quinacridone Gold.


7. Seal with two coats of DecoArt Media Ultra Matte Varnish, allowing each coat to dry before applying the next.


8. I finally applied a generous coat of Americana One Step Crackle, once dry I applied Media Black Antiquing Cream, dried and wiped back to leave the cream in the cracks. (If I am honest I like it better before the crackle but we have to experiment!)


To finish off I embellished with some of the cogs from my Tando Industrial set, a rub-on (my own printed design) and a stencilled word detail.


Products used:
  • Andy Skinner Industrial Elements
  • Tando Creative Mixed Media Tag
  • Printed rub-on

DecoArt Media Fluid Acrylic colours used:
  • Phthalo Green Blue
  • Phthalo Blue
  • Cobalt Teal Hue
  • Dark Grey Value 3
  • Transparent Yellow Iron Oxide
  • Quinacridone Gold
DecoArt Mediums used:
  • Media White Gesso
  • Media Ultra Matte Varnish
  • Americana One Step Crackle
  • Media Black Antiquing Cream
Hope you've enjoyed this tutorial. If you have a go at following it, I'd love to see what you make so do share either below in a comment or on Facebook.


Wednesday, 2 September 2015

Decoart Media Matte Medium Image Transfer onto Fabric

Today I am sharing a technique for image transfer onto fabric using DecoArt Media Matte Medium. For this tutorial I have used cheesecloth but have also had success using this technique on cotton and t-shirt material.

What you will need:
  • Laser or inkjet printed image which has been reversed (note both printers can be used but crisper results are achieved with a laser print)
  • DecoArt Media Matte Medium
  • Flat brush
  • Material (I used cheesecloth)
  • Brayer
  • Sponge
  • Water
  • Heat tool
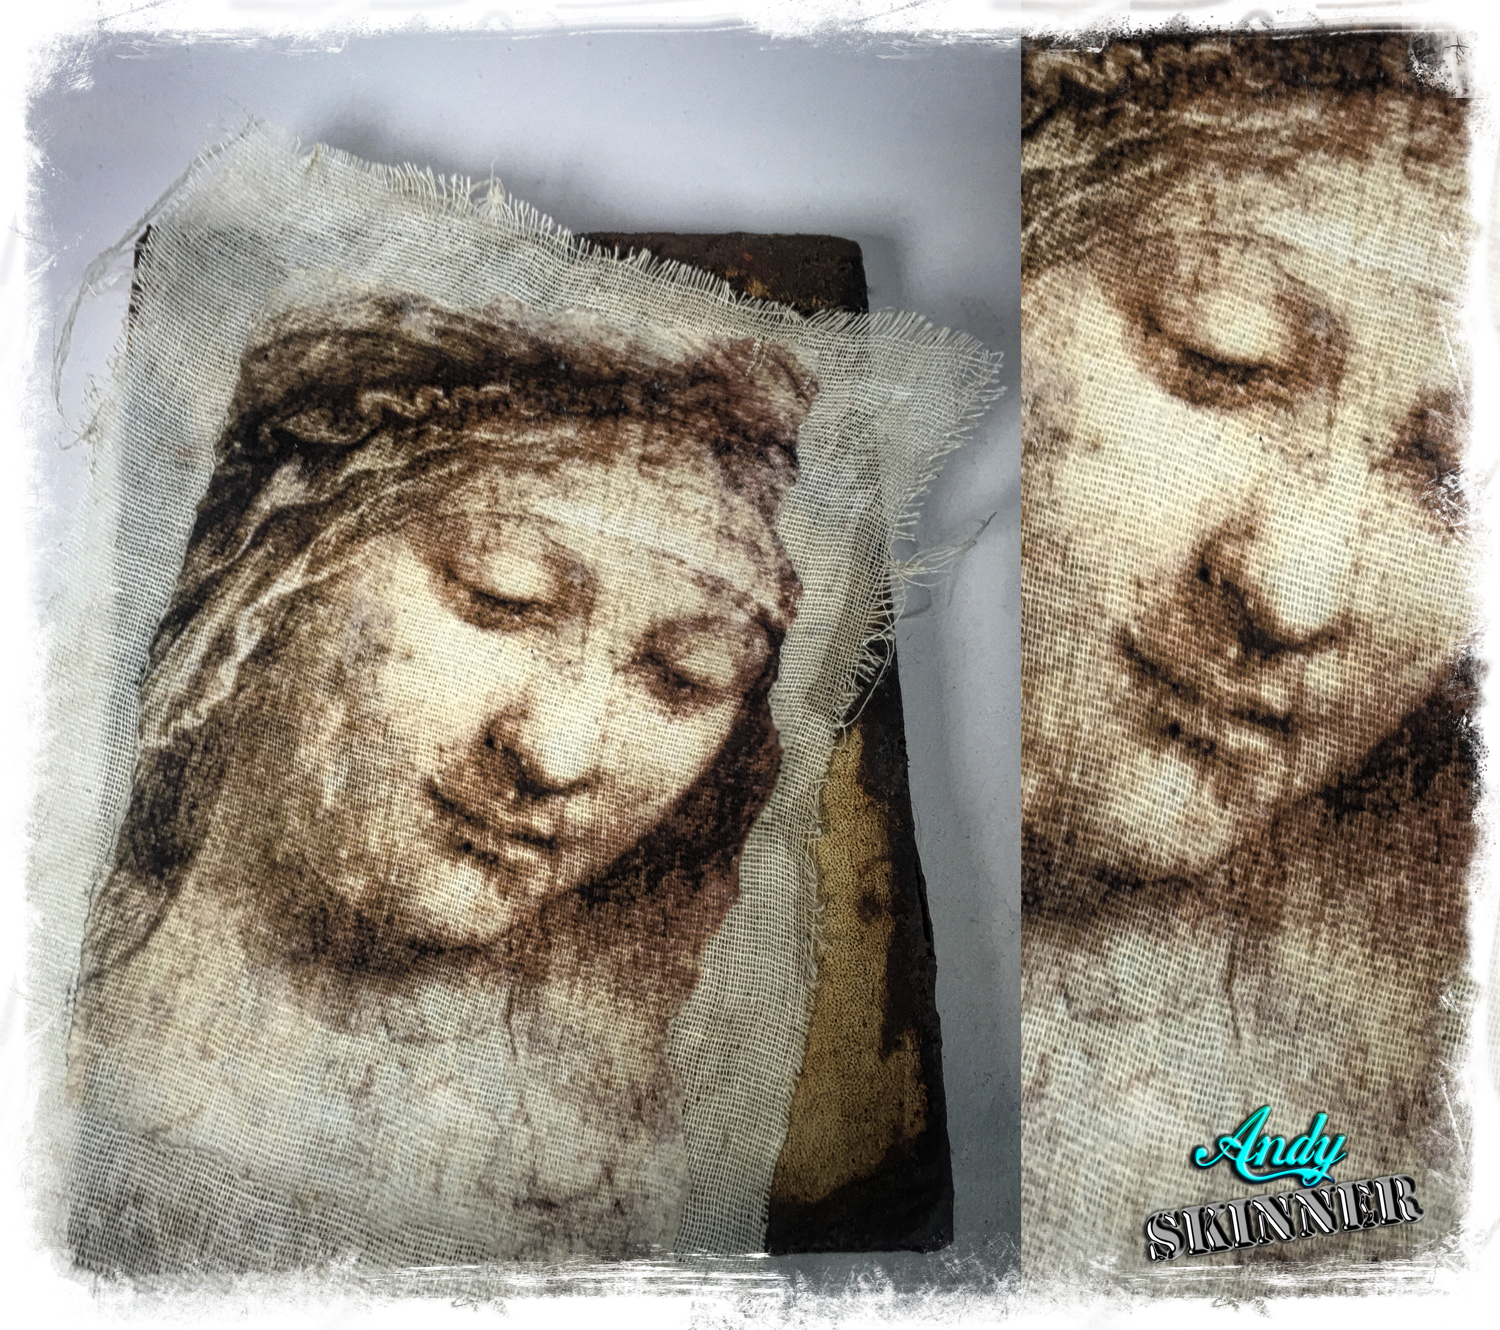
The image I have used is Study of a Woman's Head by the great Leonardo da Vinci and can be found as a free download on my website here.

Here's how to create your transfer:
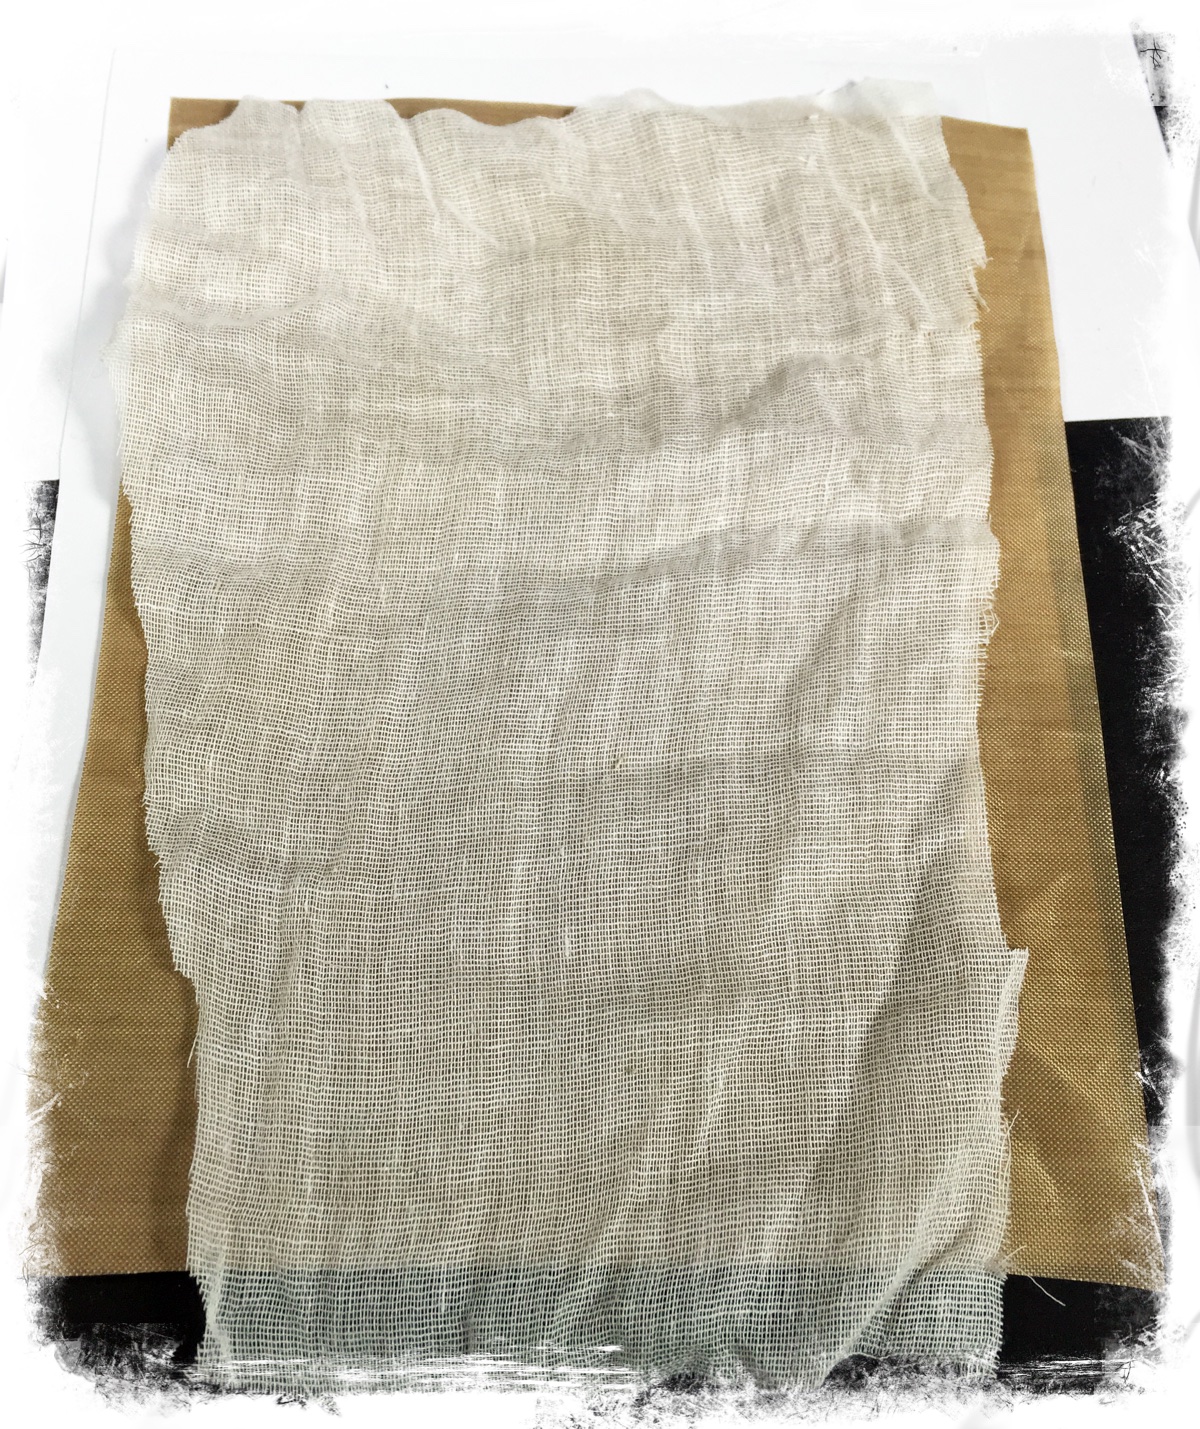
  1. Lay your fabric on a non-stick surface, I am using a Teflon sheet.

2. Apply a generous coat of matte medium to the fabric.

3. You want to cover an area just slightly larger than the image you are using.

4. Apply a coat of Media Matte Medium to the printed side of your image and dry with a heat tool.

5. When the matte medium on the material has turned tacky, apply a second coat to the printed side of the image. 

6. Immediately lay the image in place on the fabric, face down as shown.

7. Brayer over the surface, removing any air bubbles or excess matte medium.

8. Peel the material away from the non-stick surface.

9. Leave to dry over night or alternatively place in front of an electric fan heater on high for a couple of hours (not too close!).

10. Once dry moisten the surface with water using a wet sponge and leave to soak in for 1 minute.

11. Take your wet sponge and start rubbing the surface gently using circular motions to remove the paper.

12. Continue doing this until all the paper is removed, dry with your heat tool. If you see any white paper remaining after drying continue with the sponge to remove it.

13. You should be now left with a very flexible image transferred piece of material to use in your mixed media projects - you can even use it for sewing.

I would recommend if attempting to wash the fabric that you do so by hand in cool water.

I hope you've enjoyed this tutorial - if you make something with this technique please do share it with me in the comments below.

See you soon,
Andy

Wednesday, 27 August 2014

It's been a while but I'm back on Blogger!

Hi everyone,

Firstly can I apologize for my absence, things got so busy that I just could not find the proper time to keep up with the blog so over the next few weeks I will attempt to catch up those of you not following my FB Page on what's been happening.

The production of the Media Paint line was severely held up but it's now getting out there into the shops so I will be sharing more techniques now and to start here are a couple of tutorial videos on Image transfer, one of them just uploaded today.... Hope you enjoy :)


Back soon,

Andy

Friday, 28 June 2013

Acrylic Dripping Technique

I first saw this technique in a youtube video by artist James Kruse, you apply acrylic paint to a wet canvas,  then spritze with water and let the paint run and move.
It takes a little practice as to how much water you use and do but an old cloth under your easel to soak up any paint that runs off the canvas.

Here is a little test piece to show you the idea, I found translucent colours work very well and its important to have strong pigmented paint..

Spritz the canvas with water first and apply your Traditions acrylic paint with a wet brush.


Then gently start spritzing until the paint starts to move


 Too much water and you can end up with a blank canvas but you can keep adding layers of colour.


My first attempt was a bit of a disaster I thought, although I did like the colours. 
It was the small 10 x 15 cm canvas pictured below.


I put it to one side with the idea of covering it with gesso and using it again at some point.
Later that evening after a couple of glasses of Chablis it has to be said, I looked at the canvas again this time vertically and a picture started to appear.... can you see it?


No? Maybe this picture will help you.


Thats the beauty of this technique, it's so random but you can look into the canvas and start to see something, often as the paint is moving, this was the case in this Waterfall painting.


Here is  Jame's Kruse's Video.


Thanks for reading,

Andy


Wednesday, 26 June 2013

Moroccan Shabby Patina Tutorial

Hello,

In this tutorial I want to share with you a simple but very effective way to achieve a Shabby patina effect.
I have demonstrated this on an old metal Moroccan lantern pictured below as this technique works better on items that have detail and texture.


Here is the lantern with its new paint job,


Some close ups of the effect.


OK, what you will need:
Decoart Traditions in Quinacridone Gold.
Americana Multi Surface Satin in Dolphin and Coastal Waters.
Similar colours if using standard Americana would be Bahama Blue and Slate Grey.


Americana Frost Gloss Enamels in White.


The inner glass tube was removed from the lantern and it was base-coated using Dolphin Multi Surface Satin, I have used the multi surface Satin paints because the item is metal and I would like it to go outside in the garden and these paints once cured adhere amazingly without the need for priming.

If you wish to use standard Americana then I have given colour options above but would advise using a metal primer if attempting this effect on metal.

Ok for some reason my picture with the base-coat was corrupted so apologies but you are going to have to imagine the lantern with a grey base-coat :)


Once the base-coat was good and dry a coat of Coastal Waters multi surface Satin was applied,  before it dried it was wiped back on the raised areas using a baby wipe to reveal the grey below.
It's a good idea to paint sections at a time and wipe back rather than paint the whole item because the paint may have dried by the time you get to wiping it back.


I think it looks great after this antiquing effect and it could easily be left like this but there is one colour that I can not resist using time and again to really age this piece.


Whats the colour? Quinacridone Gold... I love it!
Apply Quinacridone gold to small sections at a time and wipe back from the raised areas using a baby wipe.
This colour is very translucent and gives you lovely green tones when laid thinly over the Coastal Waters.


Continue this process until every area has been covered and wiped back.


Its can be very effective if you leave some of the Quinacridone Gold slightly thicker in some areas as pictured below.


The inner glass tube was a little plain so White Frost gloss Enamels were pounced through a stencil with Cut and Dry for an etched glass effect.


And there you have it.... Simples!


Thanks for reading,

Andy