Showing posts with label Andy Skinner Creative Team.Andy Skinner DecoArt Media. Show all posts

Friday, 20 July 2018

Altered Steampunk Clock

Hi Everyone! I must be the crazy lady with all the huge altered projects. I was at the discount store and saw this awesome clock, bought it, and tore it all apart, added a number of Andy Skinner Industrial Elements, and altered the daylights out of it. Clock Andy Skinner
For photo purposes I took the glass out. But this is what the clock somewhat looked like after I tore it all apart. 
IMG_4196.jpg 

 I took the back panel off and the outer ring.
  IMG_4199 
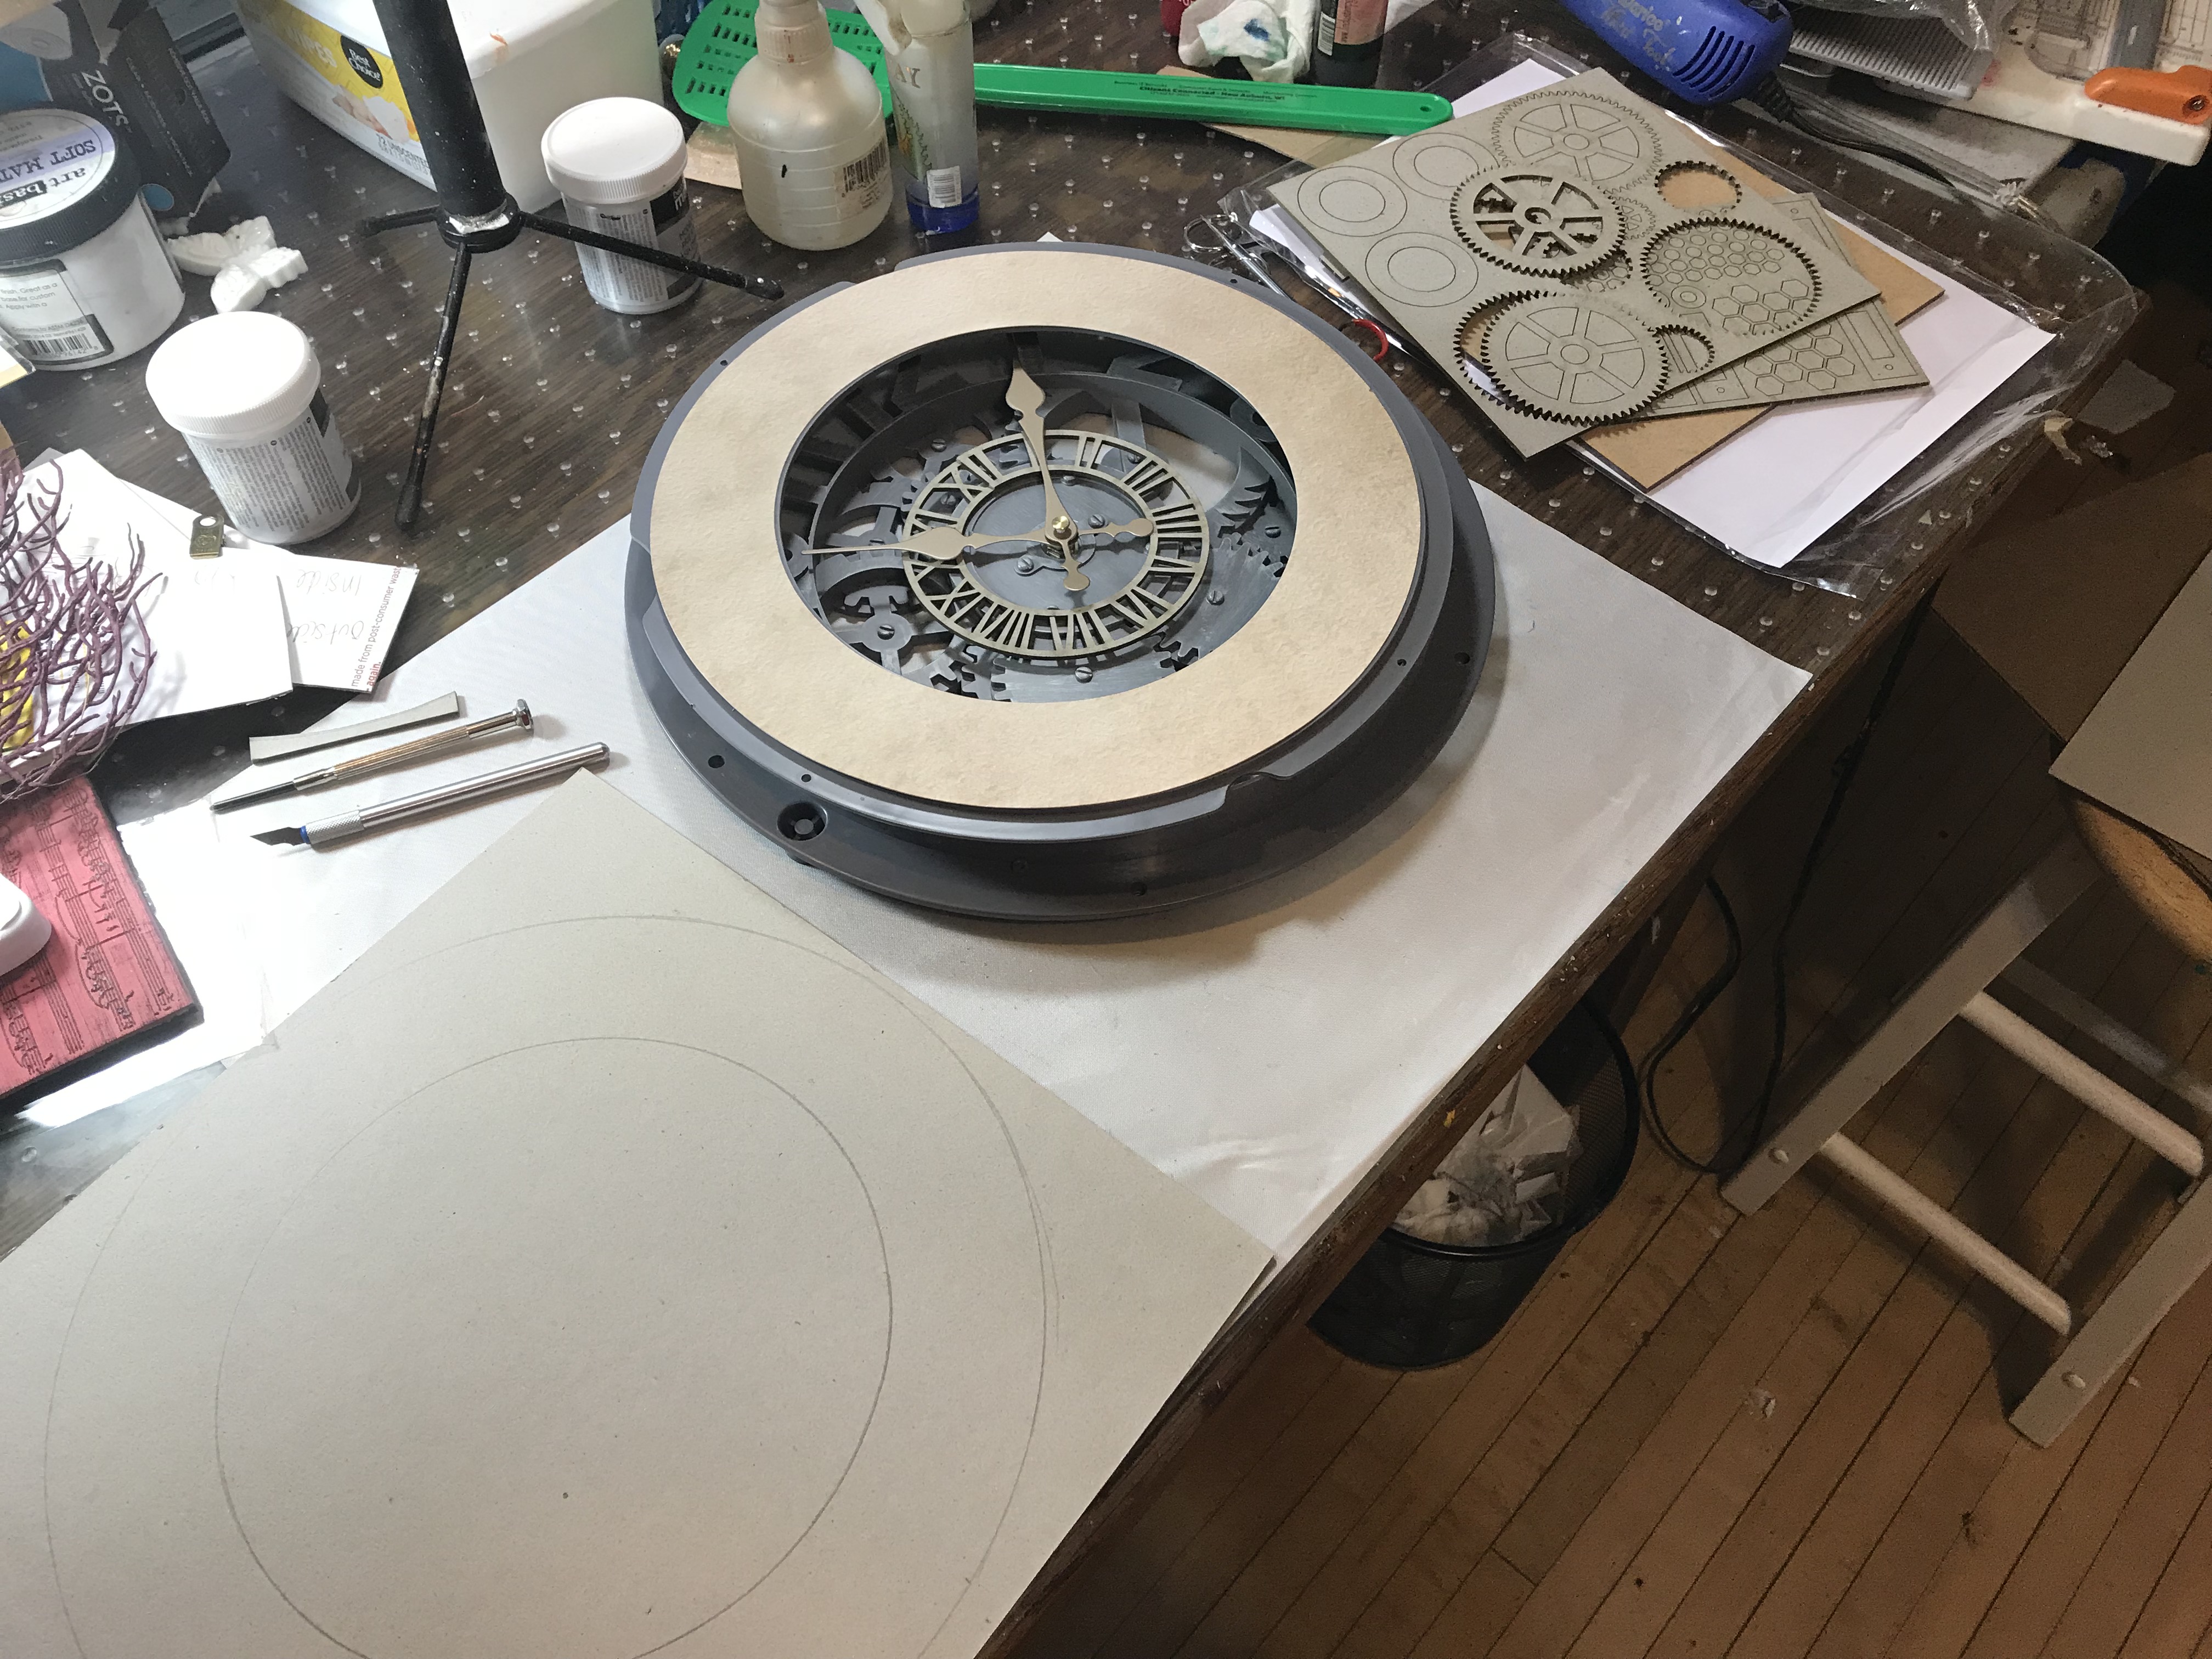
 Using a thick piece of cardboard, I traced the outer circle and cut into smaller pieces. IMG_4202 
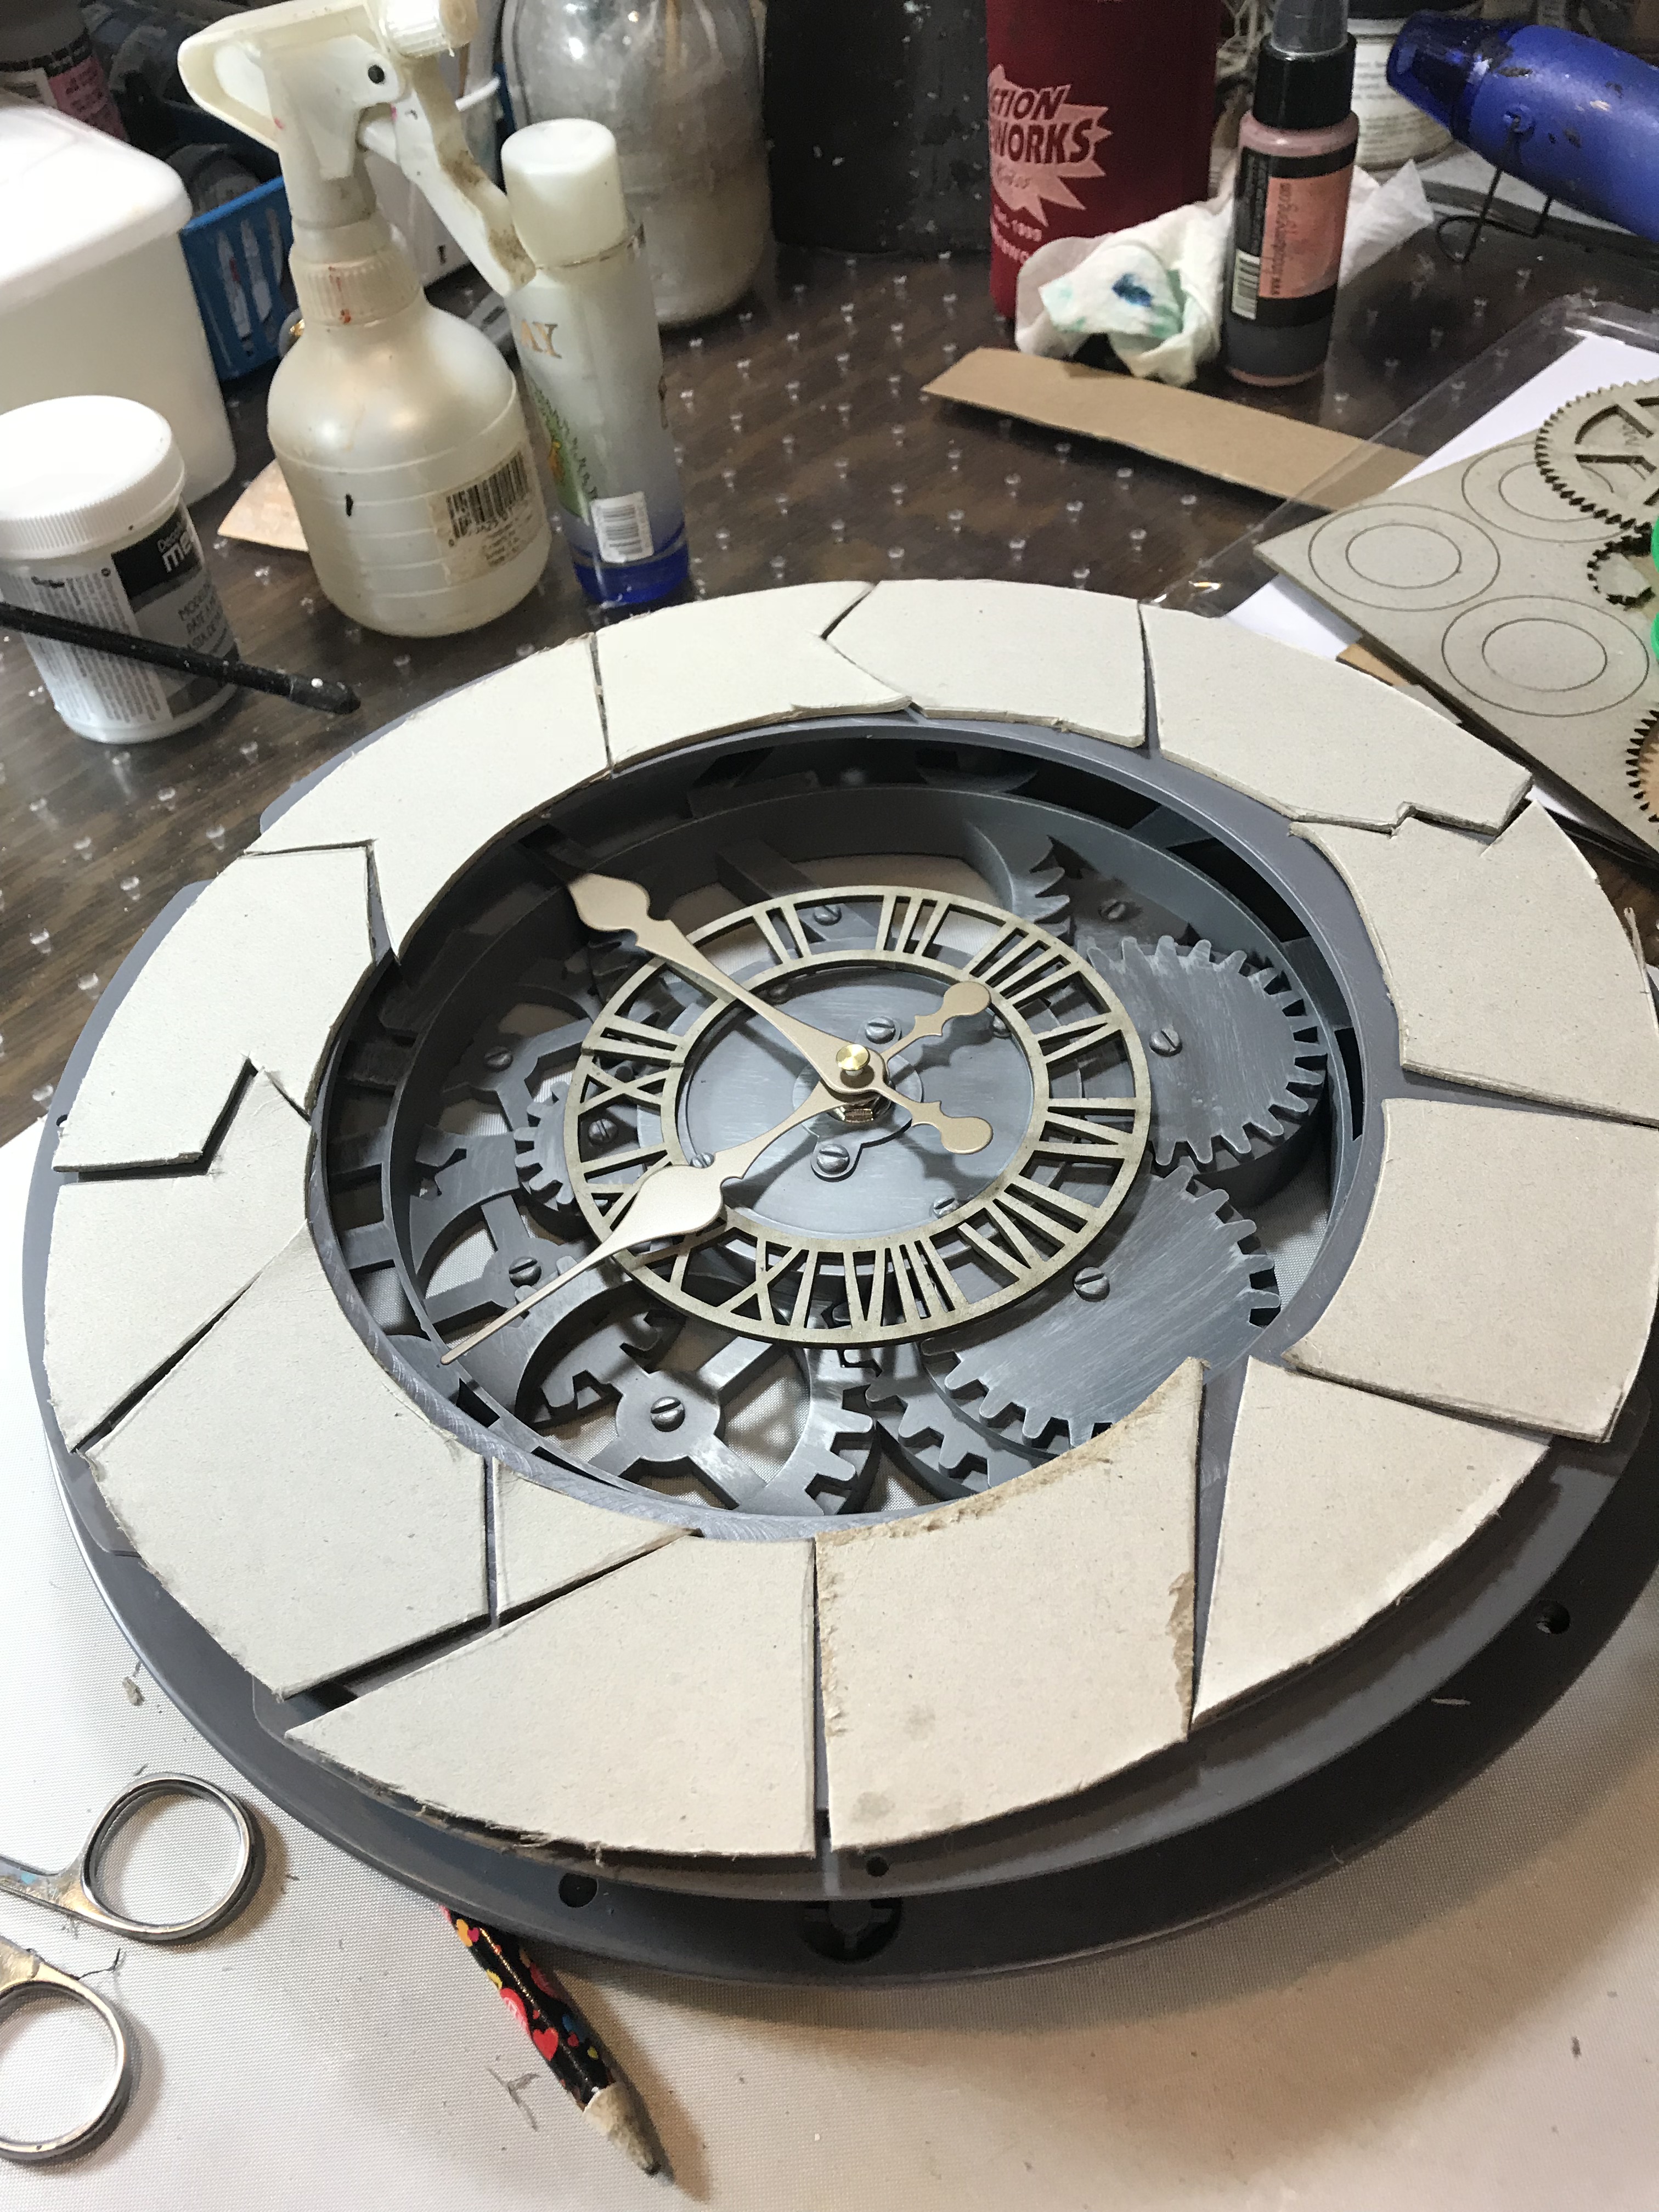
 I distressed the edges of each piece and then glued it all together. IMG_4207.jpg 
 After I added a layer of gesso, I painted with layer after layer of DecoArt Fluid Acrylicsfor just the right grunge look. 
IMG_4208

IMG_4224.jpg 
 After I got the background really how I like it. I decided to wrap all the numbers on the clock with metal tape. Using a thick crackle glaze to get the aged look, I used a bit of a dirty wash to highlight the cracks on the numbers. 
  Clock Andy Skinner close up 5
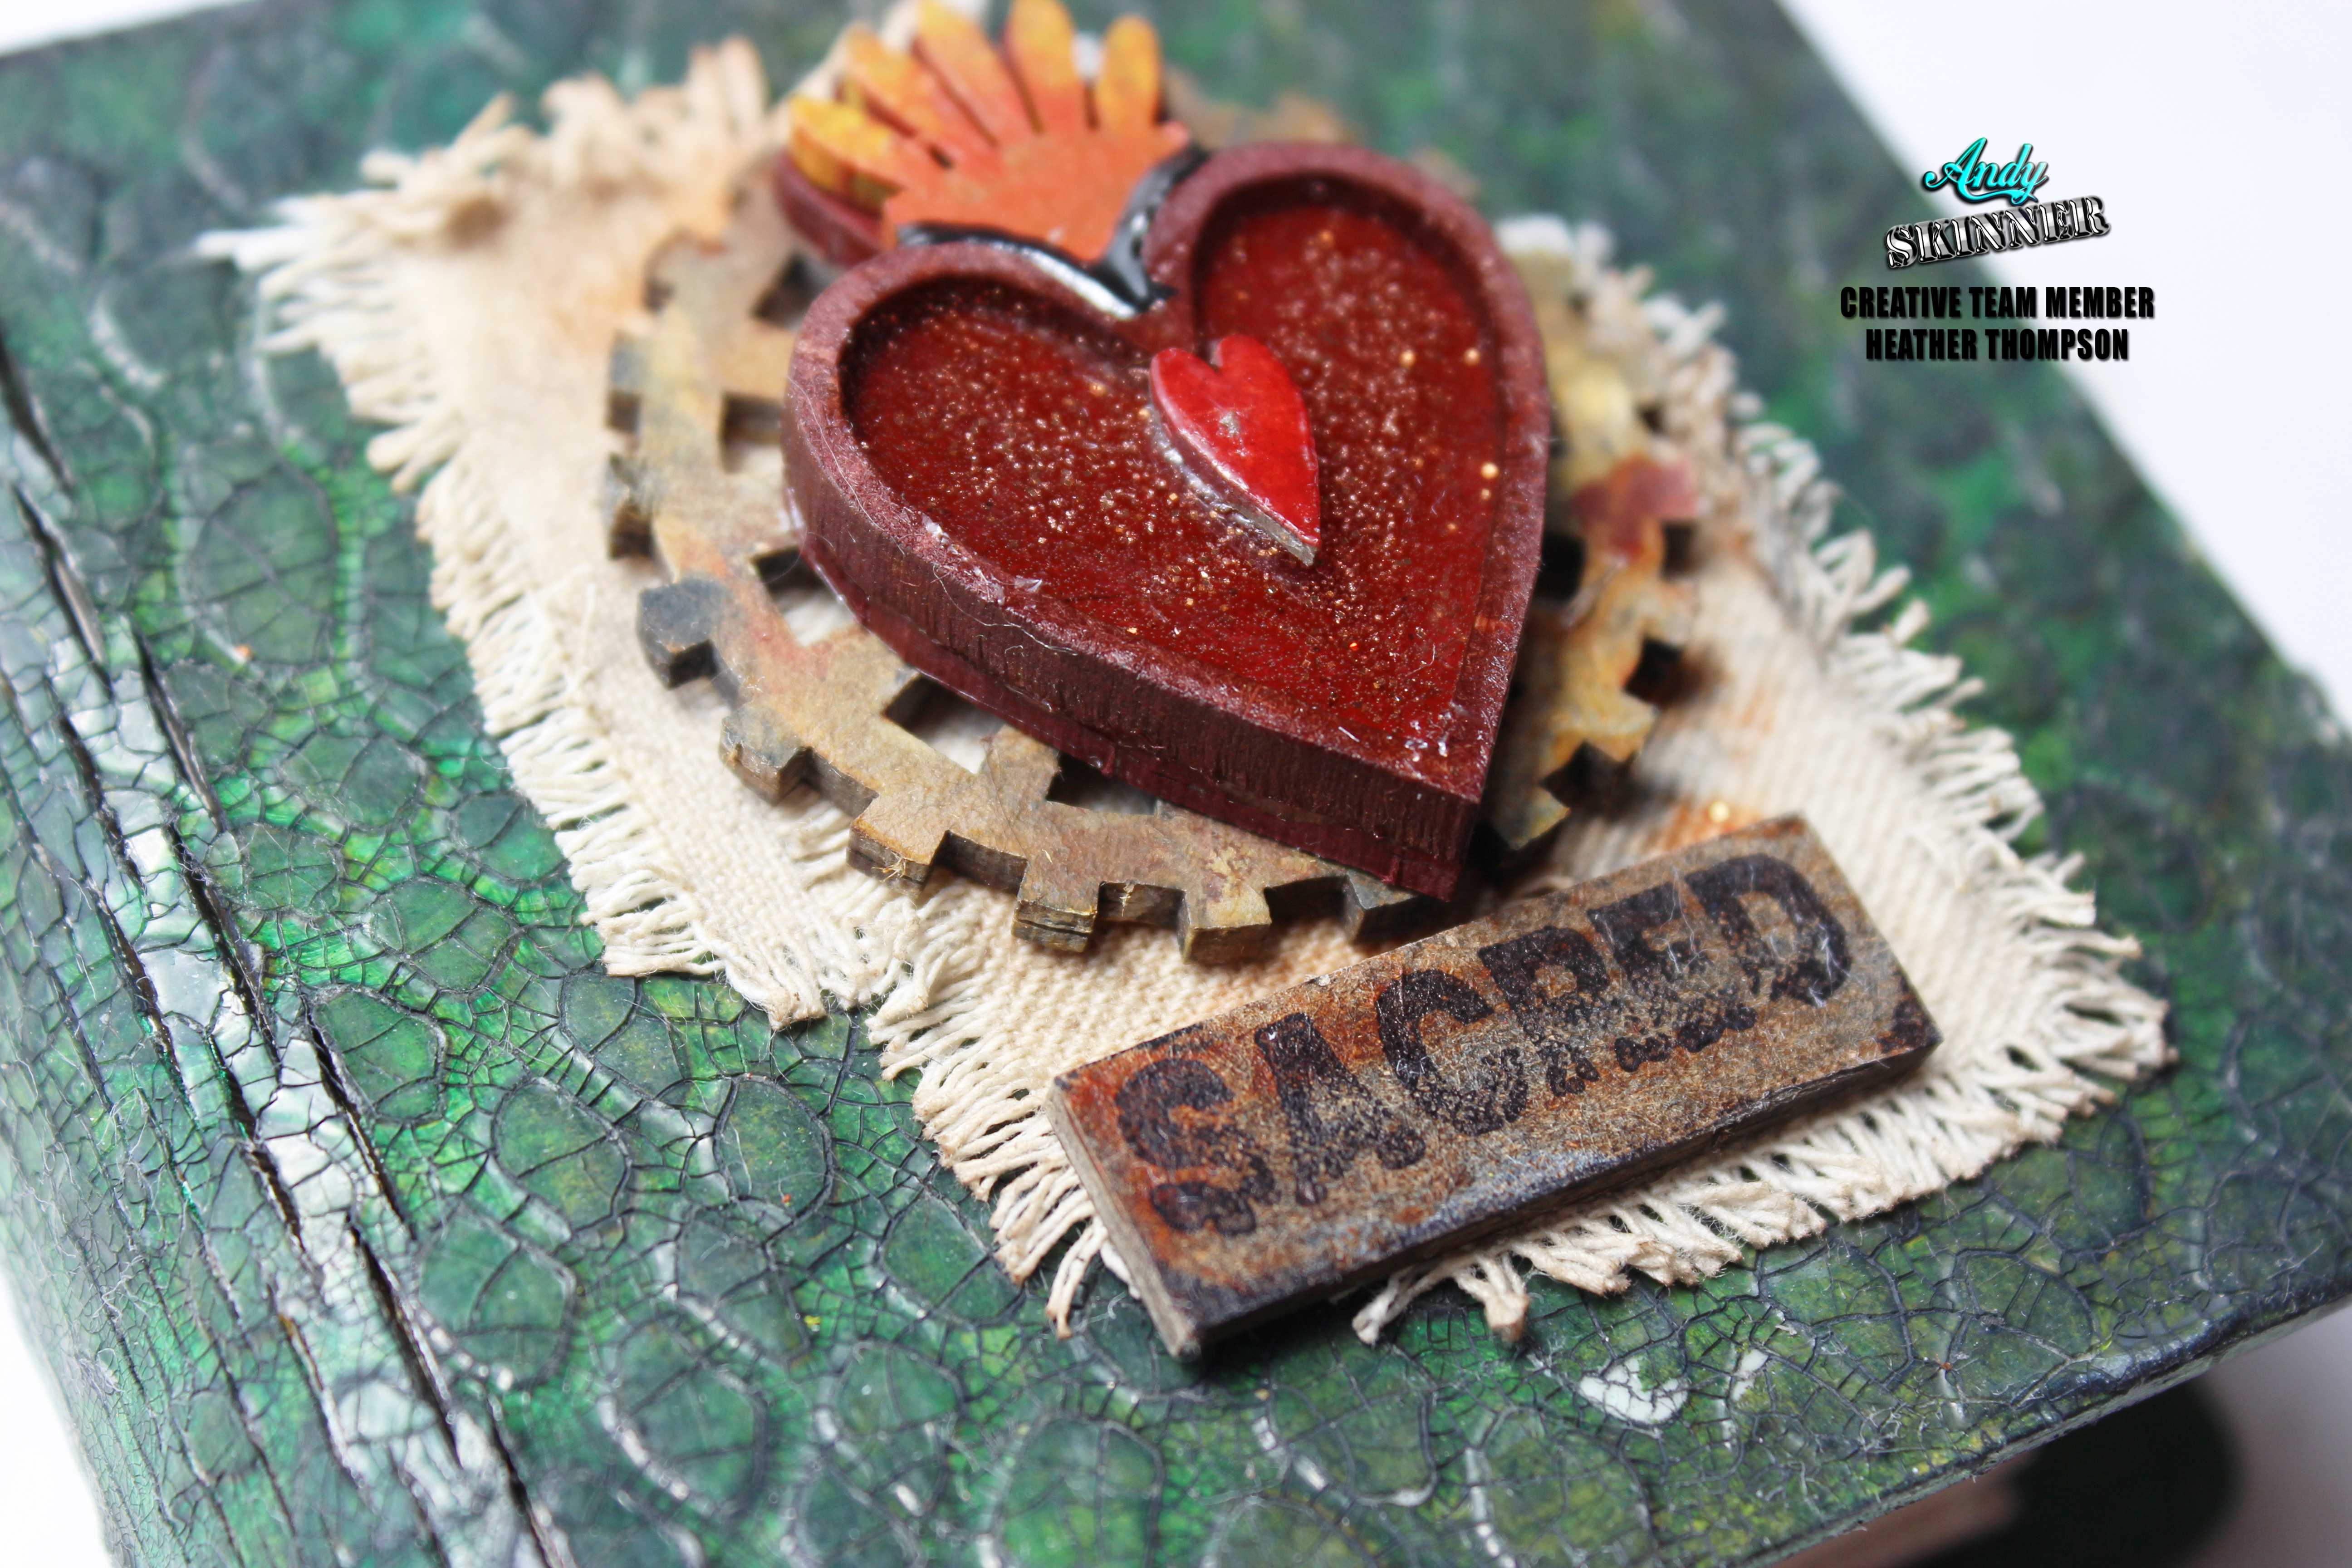
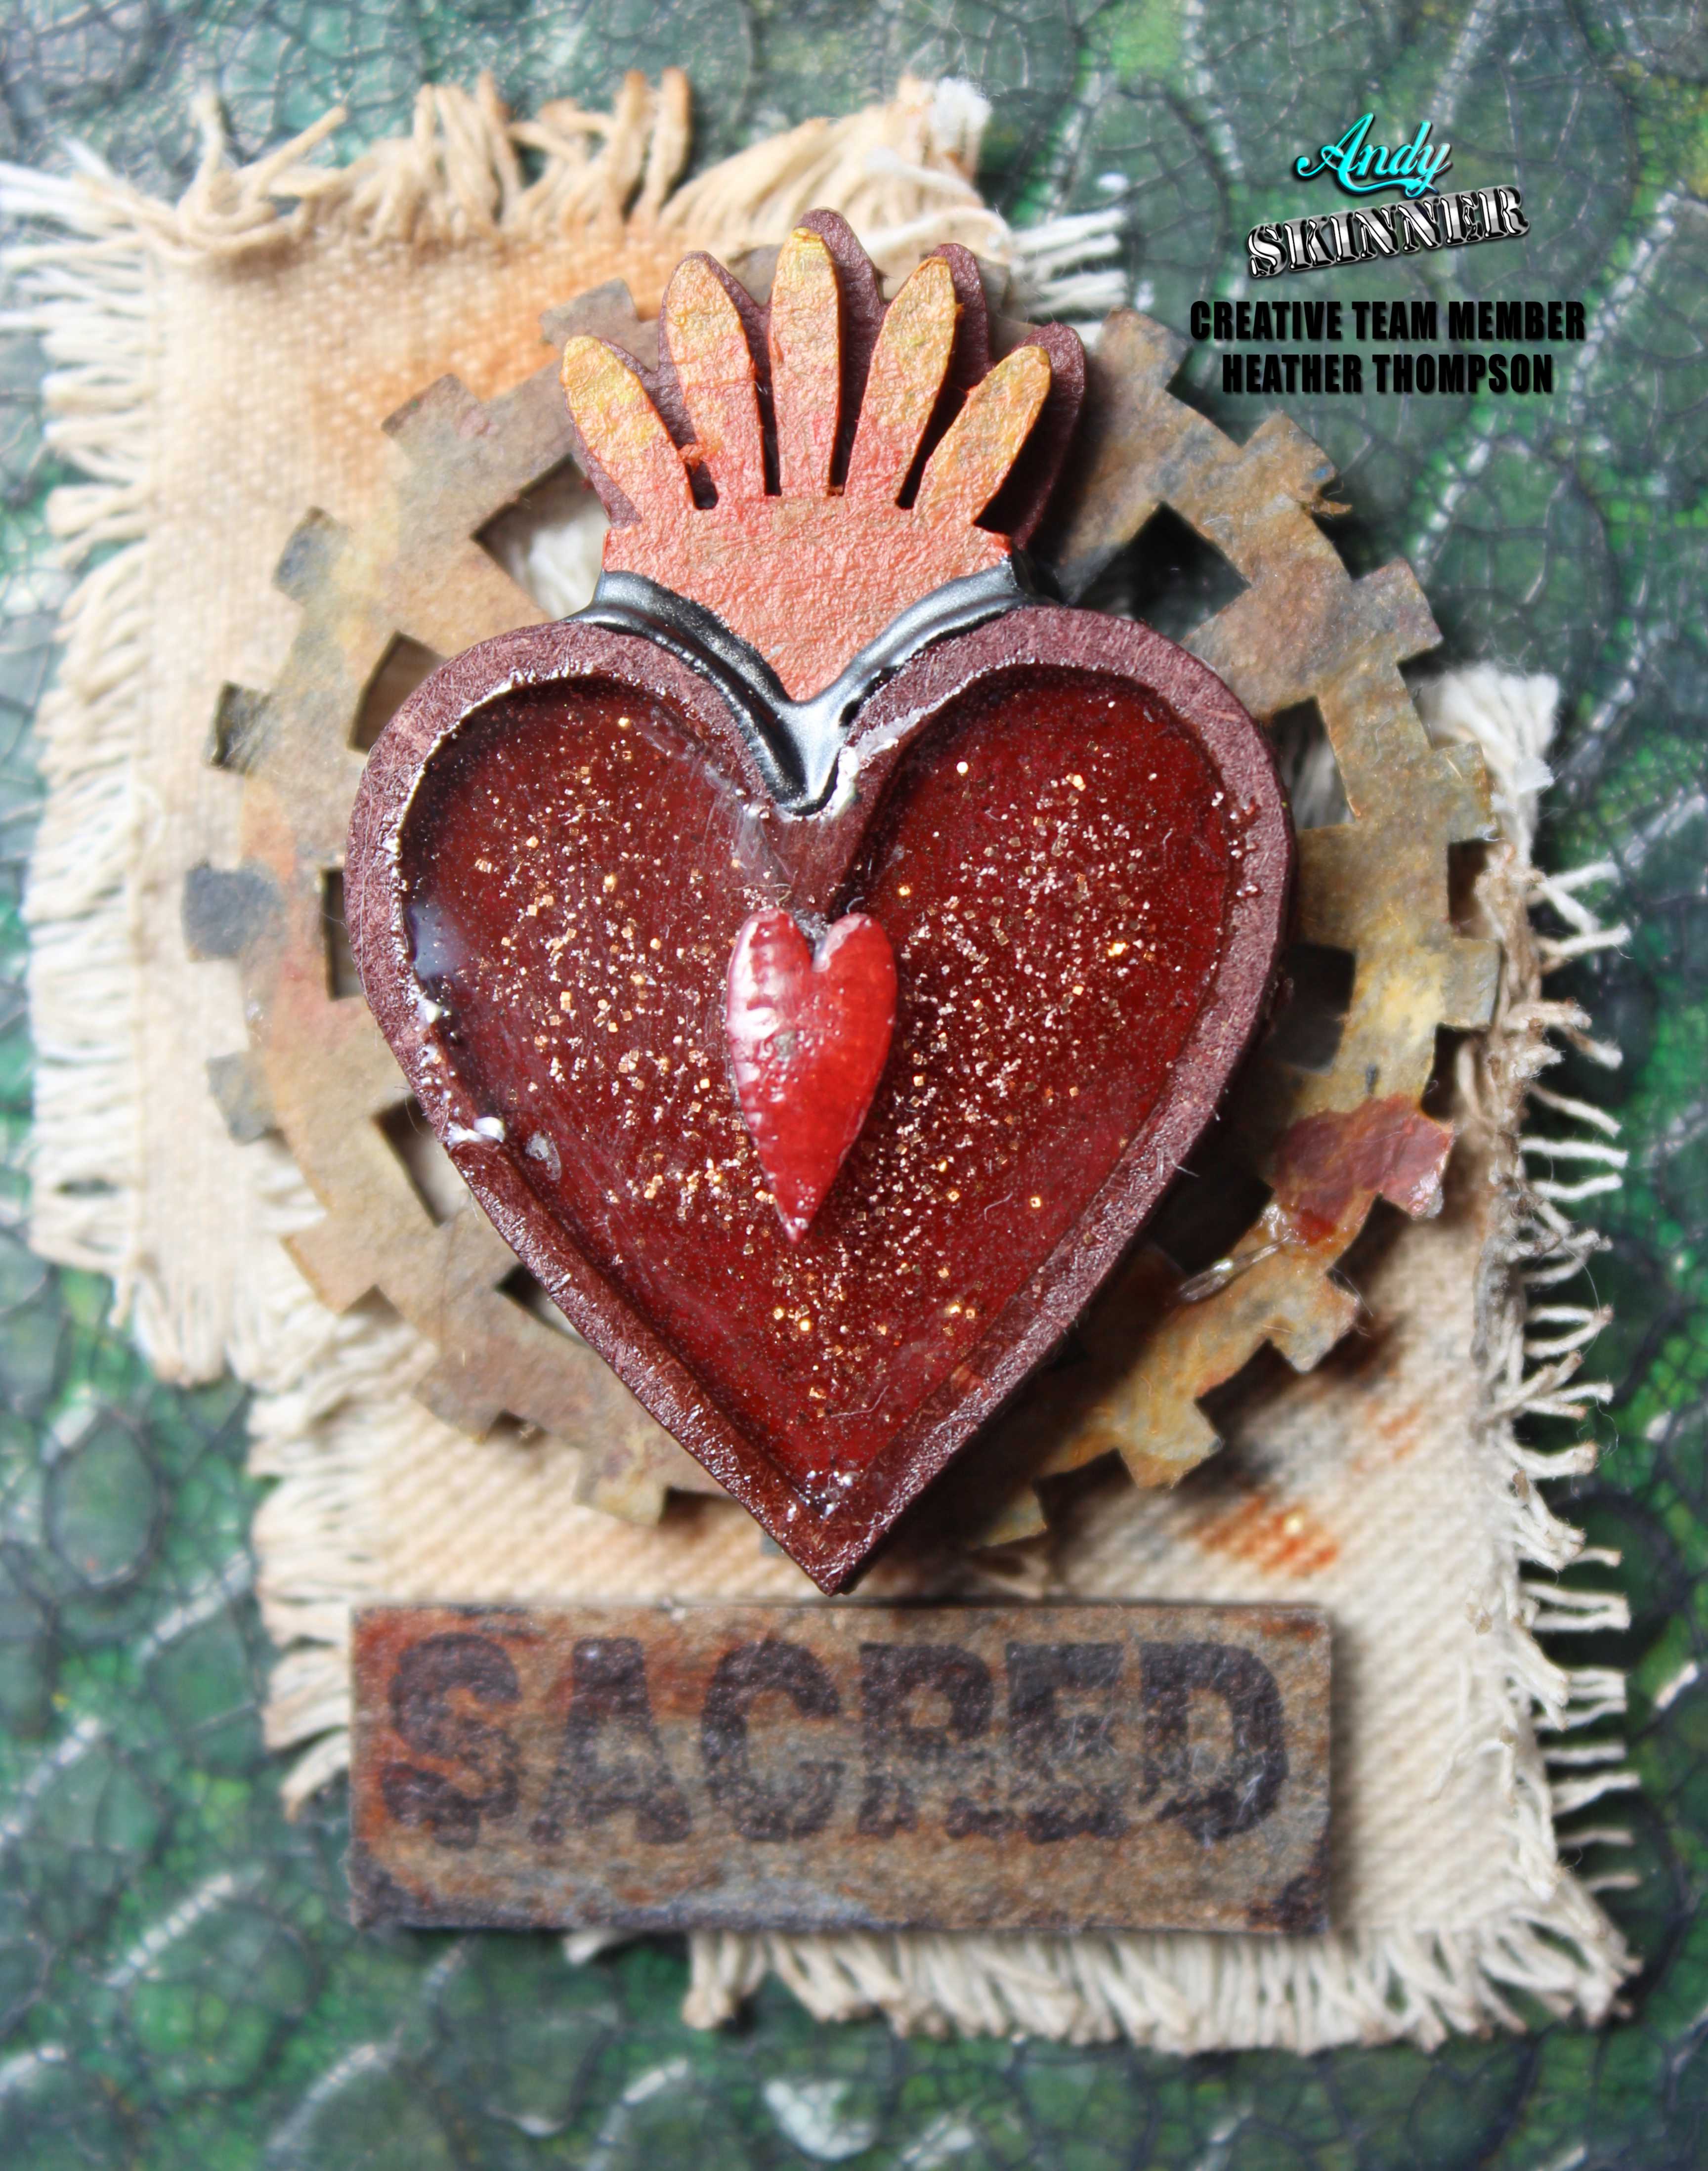
I thought the centre of the clock could use something so I added an additional clock face from the Compendium kit in the centre. Altering the Industrial Elements I added more gears, and bolt heads. Clock Andy Skinner Close up 1
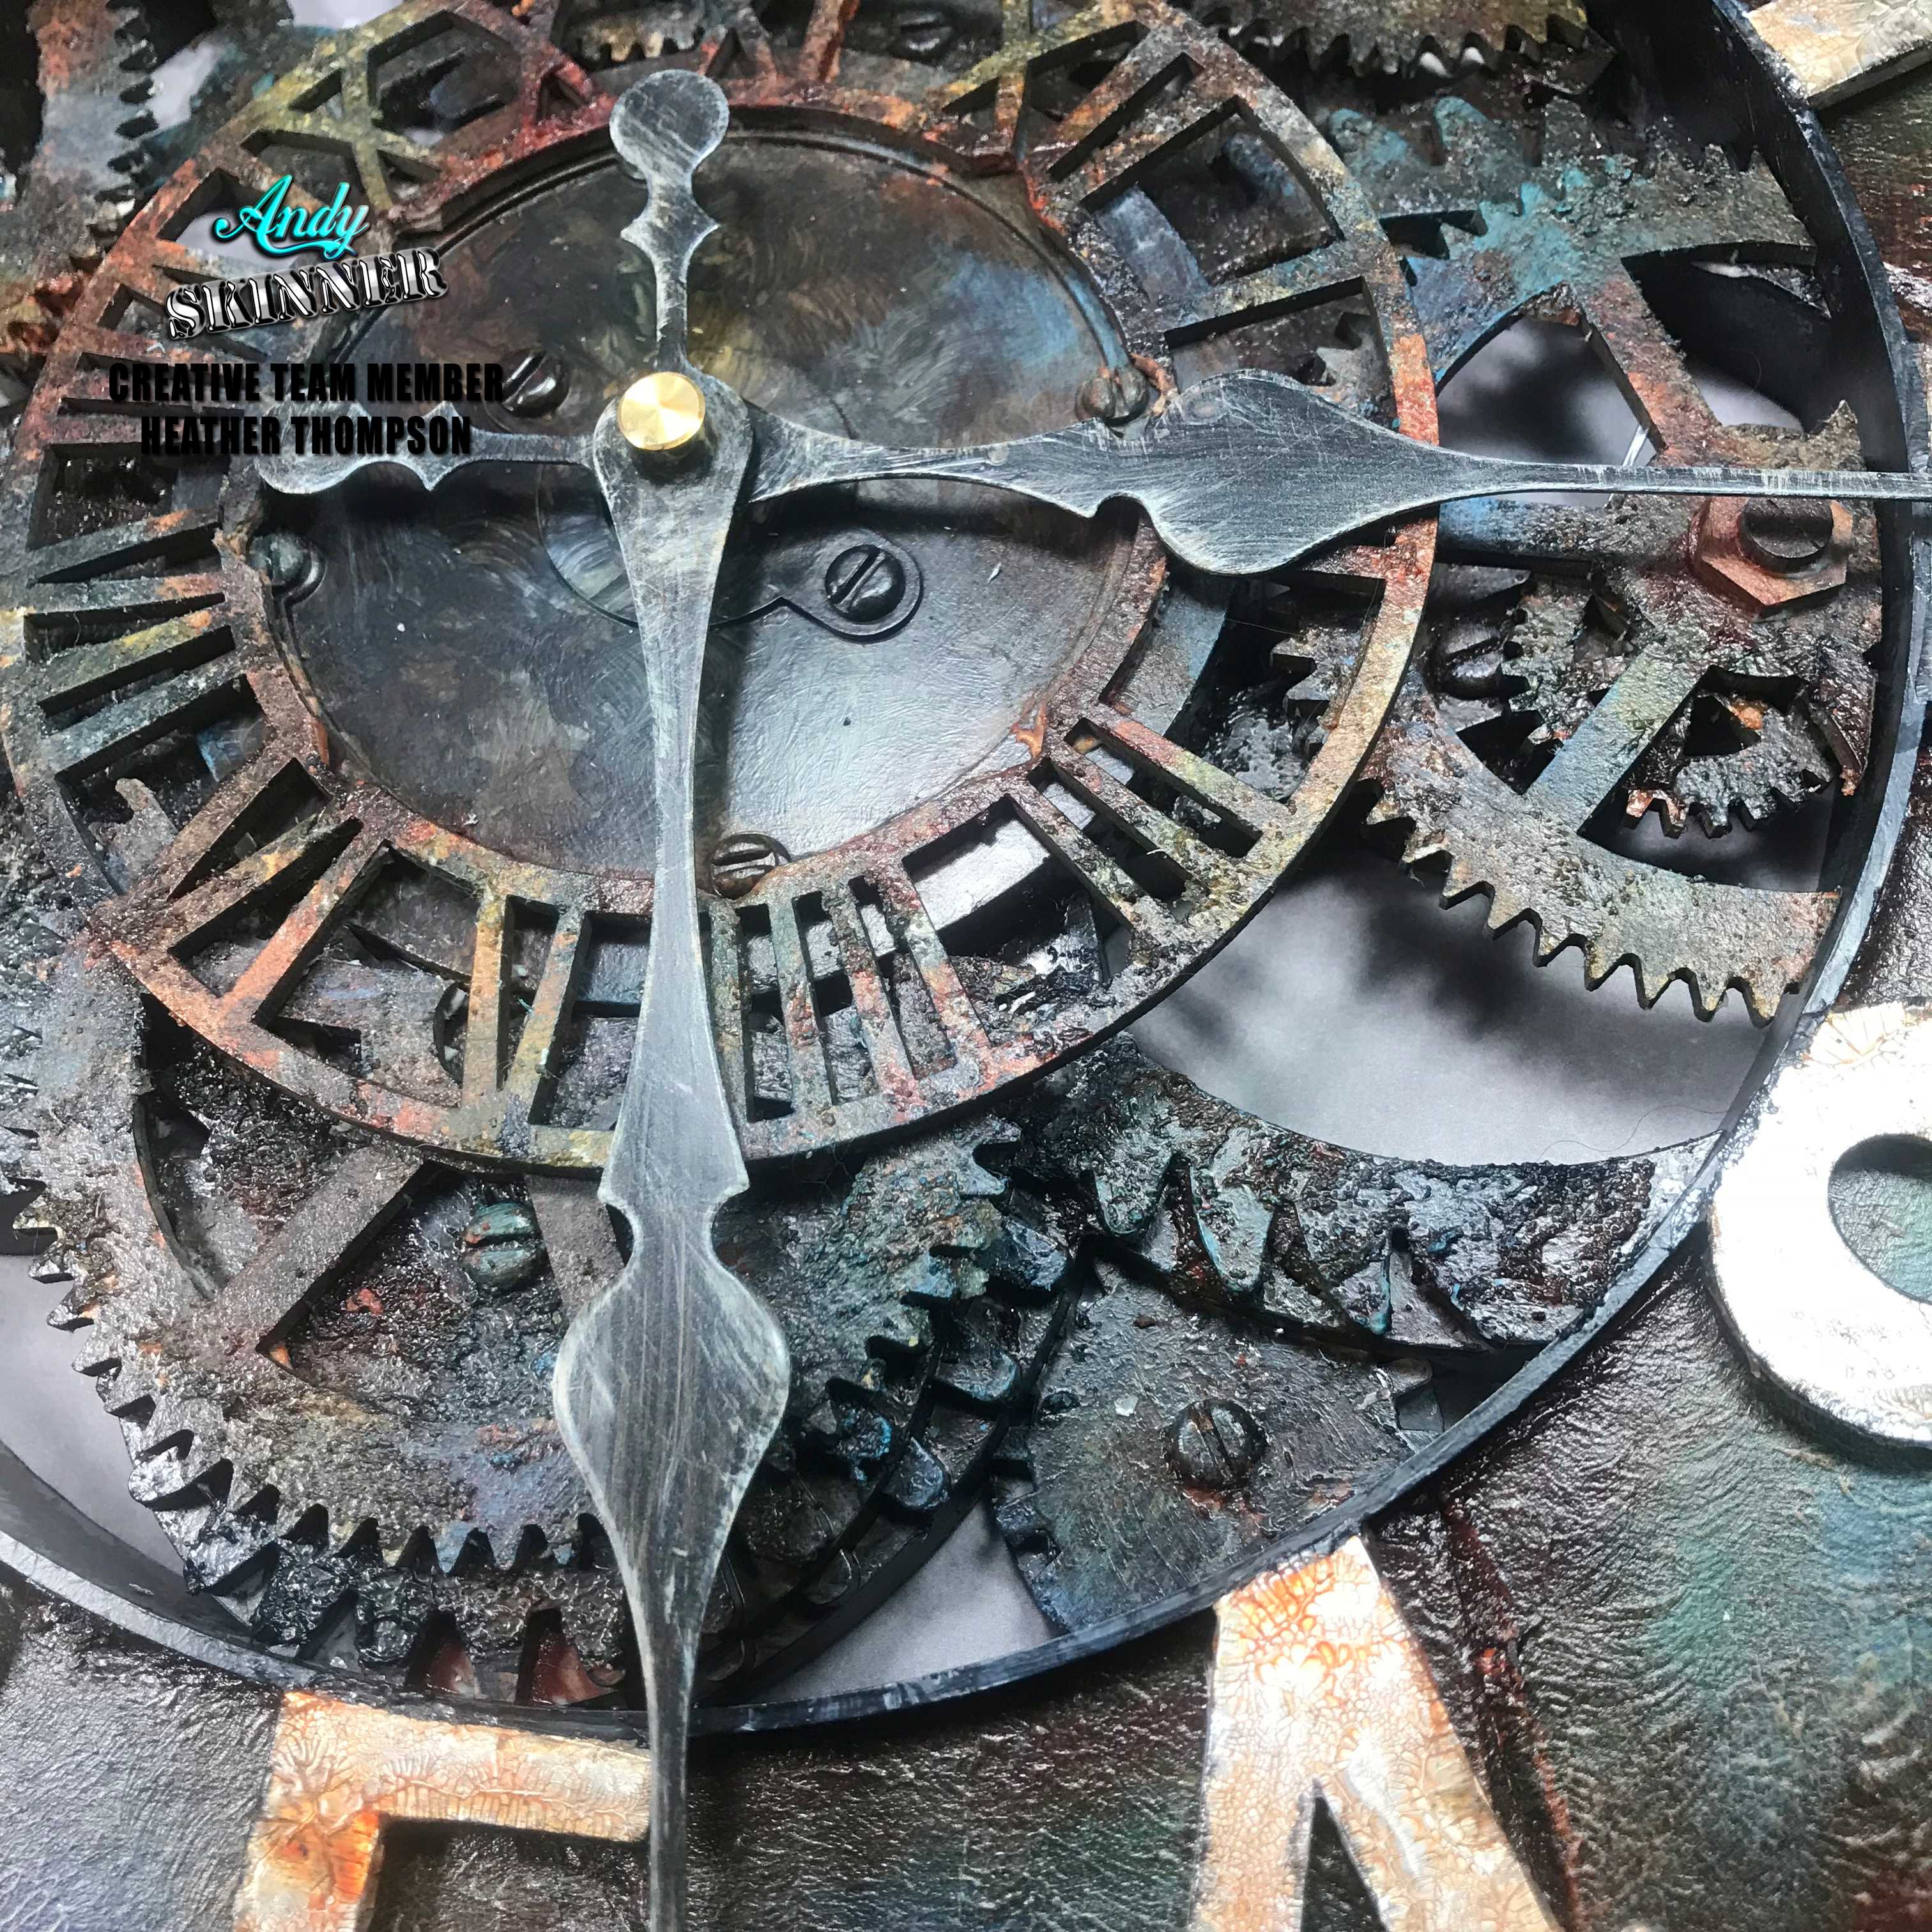
I used the texture sand paste to add more details to all of the pieces and with fine attention to details. I fit extra gears in here and there.

Clock Andy Skinner cloe-up 3 
 After all was said and done, the inner rim was a little tight and needed some trimming but it all came together great. I put in a battery and perfect, the clock actually worked, It still would have been a great project even if the clock didn't work, but I am so glad it did. clock Andy Skinner cloe up 2
I hope you enjoy the project and look forward to my next crazy project.
Have a great creative Day!
black and white head shot
Supplies:
AS LOGO
Supplies:
decoartlogo
Titian Buff
Paynes Grey
Burnt Umber
Dioxozine Purple
Phthalo Turquoise
Transparent Yellow Iron Oxide
Cobalt Turquoise Hue
Quinacridone Gold
Carbon Black
Ultra Matte Varnish
Tinting Base
Modeling Paste
Crackle Glaze
Texture Sand Paste
tandologo

Saturday, 19 May 2018

Sacred Book

I have survived another Ministry of Mixology in Coventry this last April. Along with such great people and creativity, there is always Di and Toni's on sight Tando Store. So many fun products you get to see in person, feel and touch.
Well I fell in love with these Mini Books.
IMG_4586
I decided to give it a try and do a faux alligator skin. Using Andy's shedded stencil, I added a thick layer of modeling paste.
IMG_4589
After the paste dried, I painted and blended and then added a layer of crackle glaze to add to the layers of the book. Topping off with some antiquing cream to emphasize the texture of the book.
IMG_4593
The inside was a little tricky, I wanted to have multiple pages, it was a matter of getting the inside to close and fold appropriate and fit together. But I got it to work.
IMG_4597
IMG_4595
Topping off the cover with the Flaming Heart kit, and some elements from the industrial elements kit.  Using some liquid resin to fill in the heart, and seal the flame crown across the top.
IMG_4591
I love how this little book turned out, and it is little. I will have to play around with the other ones that I got, so we will see. Thank you for stopping by today. Have a great creative day.
black and white head shot
Supplies:
AS LOGO
26685978_10156947111614008_1186625561451155764_o
decoartlogo
Shedded Stencil - Andy08
Quinacridone Gold
Naphthol Red Light
Phthalo Green Yellow
Primary Yellow
Primary Cyan
Transparent Yellow Iron Oxide
Medium Grey ValuePaynes Grey
Sap Green
Crackle Glaze
Modeling Paste
Antiquing Cream Carbon Black
tandologo
France Papillon Tags And Embellishments Kit

Thursday, 8 February 2018

Ancient Jungle Drawer with Andy Skinner kit manufactured by Tando Creative


Hello all, today is Phoebe here to show you an altered drawer using the new Andy Skinner kit manufactured by Tando Creative, Compendium.
This gorgeous and very versatile kit will soon be in store. Stay tuned at Tando !

I used the biggest gear from the kit to create the main focal point of this piece. One of the greatest things of Tando 's greyboard is that, they are thick enough but also very flexible. I only needed to spray a little bit water and then it bent easily to fit the shape of the drawer.


There are many different shapes of parts in different details of the kit. I kept most of them as they are. I enjoyed using the negative part of the kit (the left over after you cut the parts out from the kit) as the background, and also a few here and there adding to the whole build up.


After putting DecoArt Media Texture Sand Paste on random areas of the whole piece, I coloured the piece using the colours listed below. Remember to use only small amount of paint when putting them on the surface. If you feel it is too heavy, spray with water or lightly pad with tissue and then add more layers until you are happy with it.

DecoArt Media Fluid Acrylics Transparent Yellow iron Oxide
DecoArt Media Fluid Acrylics Vermilion

DecoArt Media Fluid Acrylics Viridian Green Hue 
DecoArt Media Fluid Acrylics Green Gold

DecoArt Media Fluid Acrylics Carbon Black


I used Andy 's new Illusionary Artists stamp set for the name plate.
The crackle is made with DecoArt Weathered Wood.

 Since this is a square shaped box, so basically it can shrift to another direction depend on which way you want to see it.


Please go look up the new kits from Tando and also the new stamp sets !!
Until next time !


A5 Word Up & Numbers Stamp Set by Illusionary Artists


DecoArt Media Fluid Acrylics Transparent Yellow iron Oxide
DecoArt Media Fluid Acrylics Vermilion
DecoArt Media Fluid Acrylics Green Gold
DecoArt Media Fluid Acrylics Viridian Green Hue
DecoArt Media Fluid Acrylics Carbon Black
DecoArt Media Texture Sand Paste 
DecoArt Media Gesso White

Sunday, 4 February 2018

King Spook - Brenda Brown

Hi Everyone, Brenda here.
I'm back today to share a little hanging with you .....


.....  made with the new Spook set of stamps Andy has designed for Illusionary Artists.


I love this set and found I used three out of the four stamps on this project - I was thinking at first I was only going to use King Spook himself but the text and skulls jumped straight in as I was developing all the elements.


I began by creating the background first, using the DecoArt media paints, DecoArt media gesso and some text from this set as well as the Tech Trauma set. on a media board from Tando Creative.


The frame went through several layers of embossing and painting, sanding and inking to get to this finish.


And King Spook was stamped and painted on a piece of media card with yet a different background which included Andy's Sunburst stencil.


I loved how this came together - I didn't have exactly this picture in my head to start with but I'm happy with how it finished up. 


If you are interested in seeing the process steps for each of the elements they are over on my blog and can be found here.

Thanks for stopping by, I hope your weekend is going well.

hugs Brenda xxx


Click on the product links in the post above to be transported to the retailers.


Monday, 29 January 2018

Vintage Heart Tag - Brenda Brown

Andy's stamps have really been inspiring me to make all sorts of projects and today I am sharing a little tag from one of his new kits from Tando Creative called Tagtastic 2. For this one I went back to my roots and created in a vintage style.


I worked in my usual layers to create the background hic includes gesso mixed with silver and brayered on to start me off and one of Andy's texture stamps from the Textures set.

The heart ended up with this patina look having been run through an embossing folder, daubed with media acrylic paints, sanded and then dribbled with quinacridone gold to finish it off.


You can see where I added some crackle paste through a stencil before ......


.... adding a rusty wire loop to hang the heart over the decorated brad.


A vintage photo and just a smattering of timeworn elements with a quote word finished it off.


It was lovely to return to a real vintage look for this project and if you'd like to see more of the process and photos there are some over at Bumblebees and Butterflies if you have a moment.

Thanks for stopping by.

hugs Brenda


Click the links in the post above to be taken to the retail stores for products.