Hello! It's Candy and this month I'm delighted to share my Mixed Up Mixology Frame using Andy's Ministry of Mixology Kit. I totally LOVE this kit! So much comes in it and I added a few of my own metal elements from my stash.

I wanted to bring a little bit of shabby chic into this otherwise industrial style kit. Don't get me wrong. I love industrial. But I also love vintage and shabby chic and like to insert it into my pieces when I can. So, I hope you can get the vibes as you look at this wall decor piece.

The shutters are off the charts genius! They actually are attached so that they can open and close. Anytime I can have interactive pieces on in my art, I am thrilled! It adds so much more to the dimension, texture and just FUN of a piece. It makes you just want to touch it and play with it.
Let's explore how this all came together because I think you would have so much fun making one of these as a wall decor piece or even as a fabulous frame for a photograph!

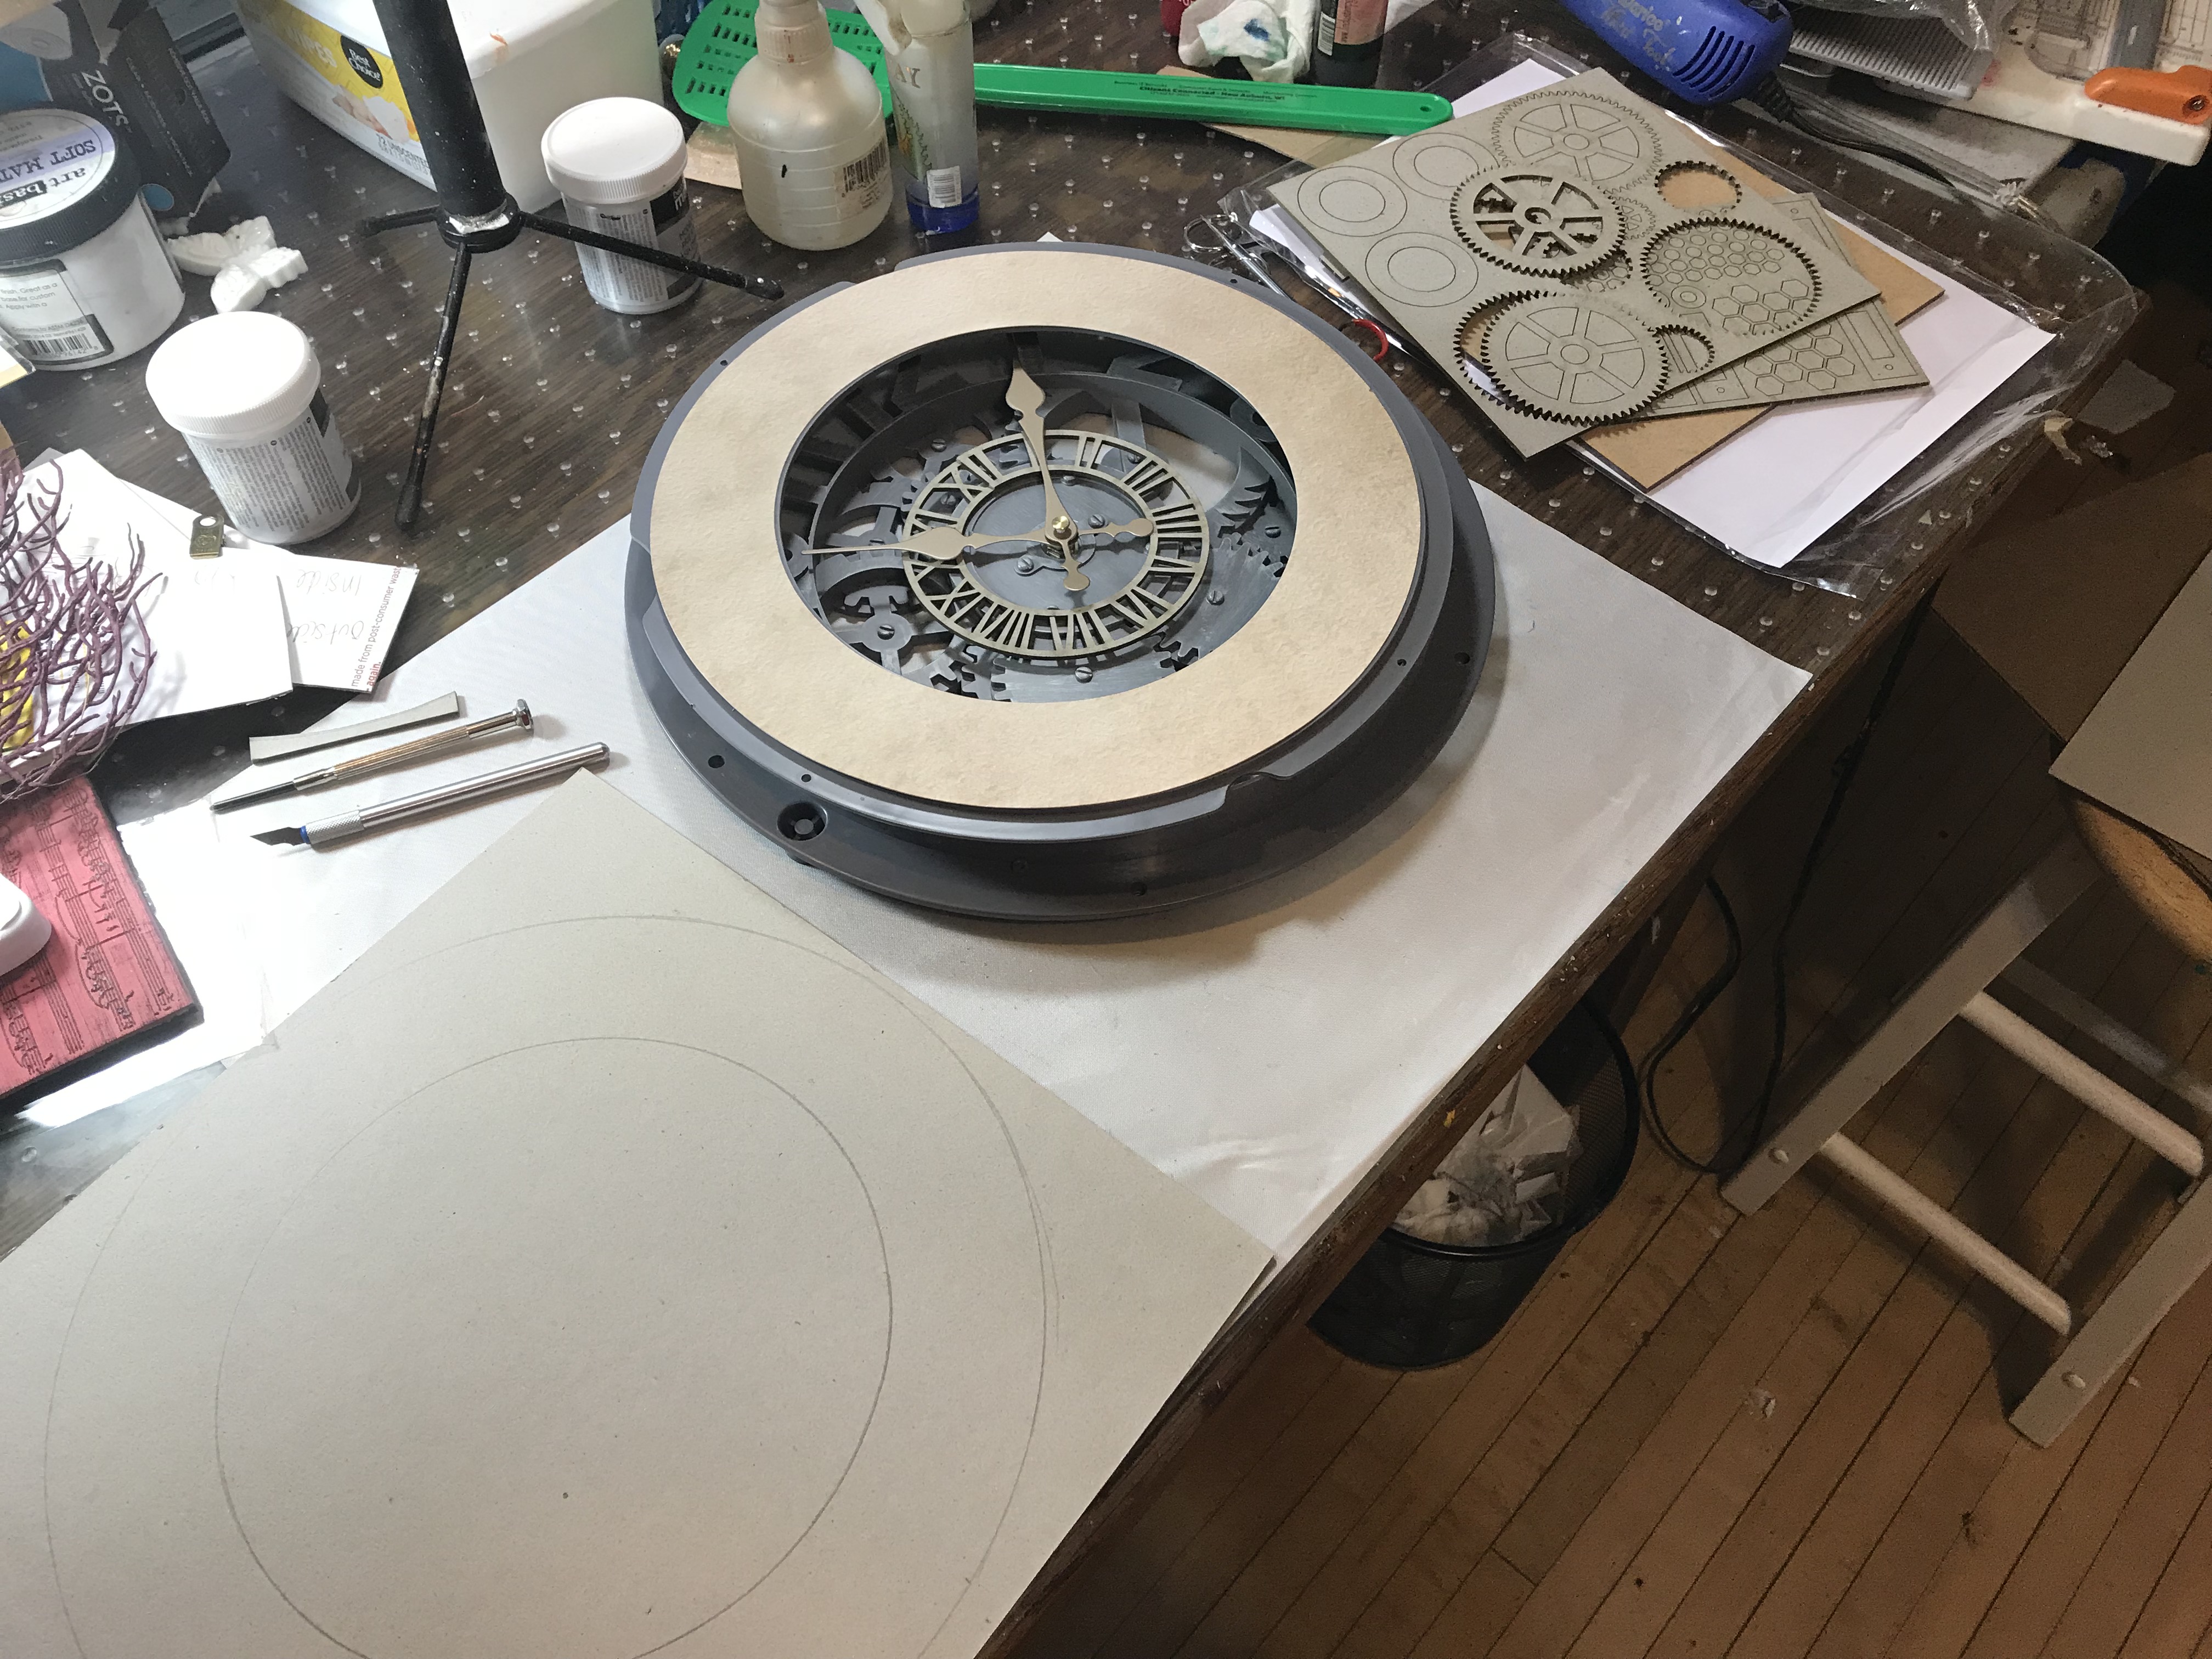
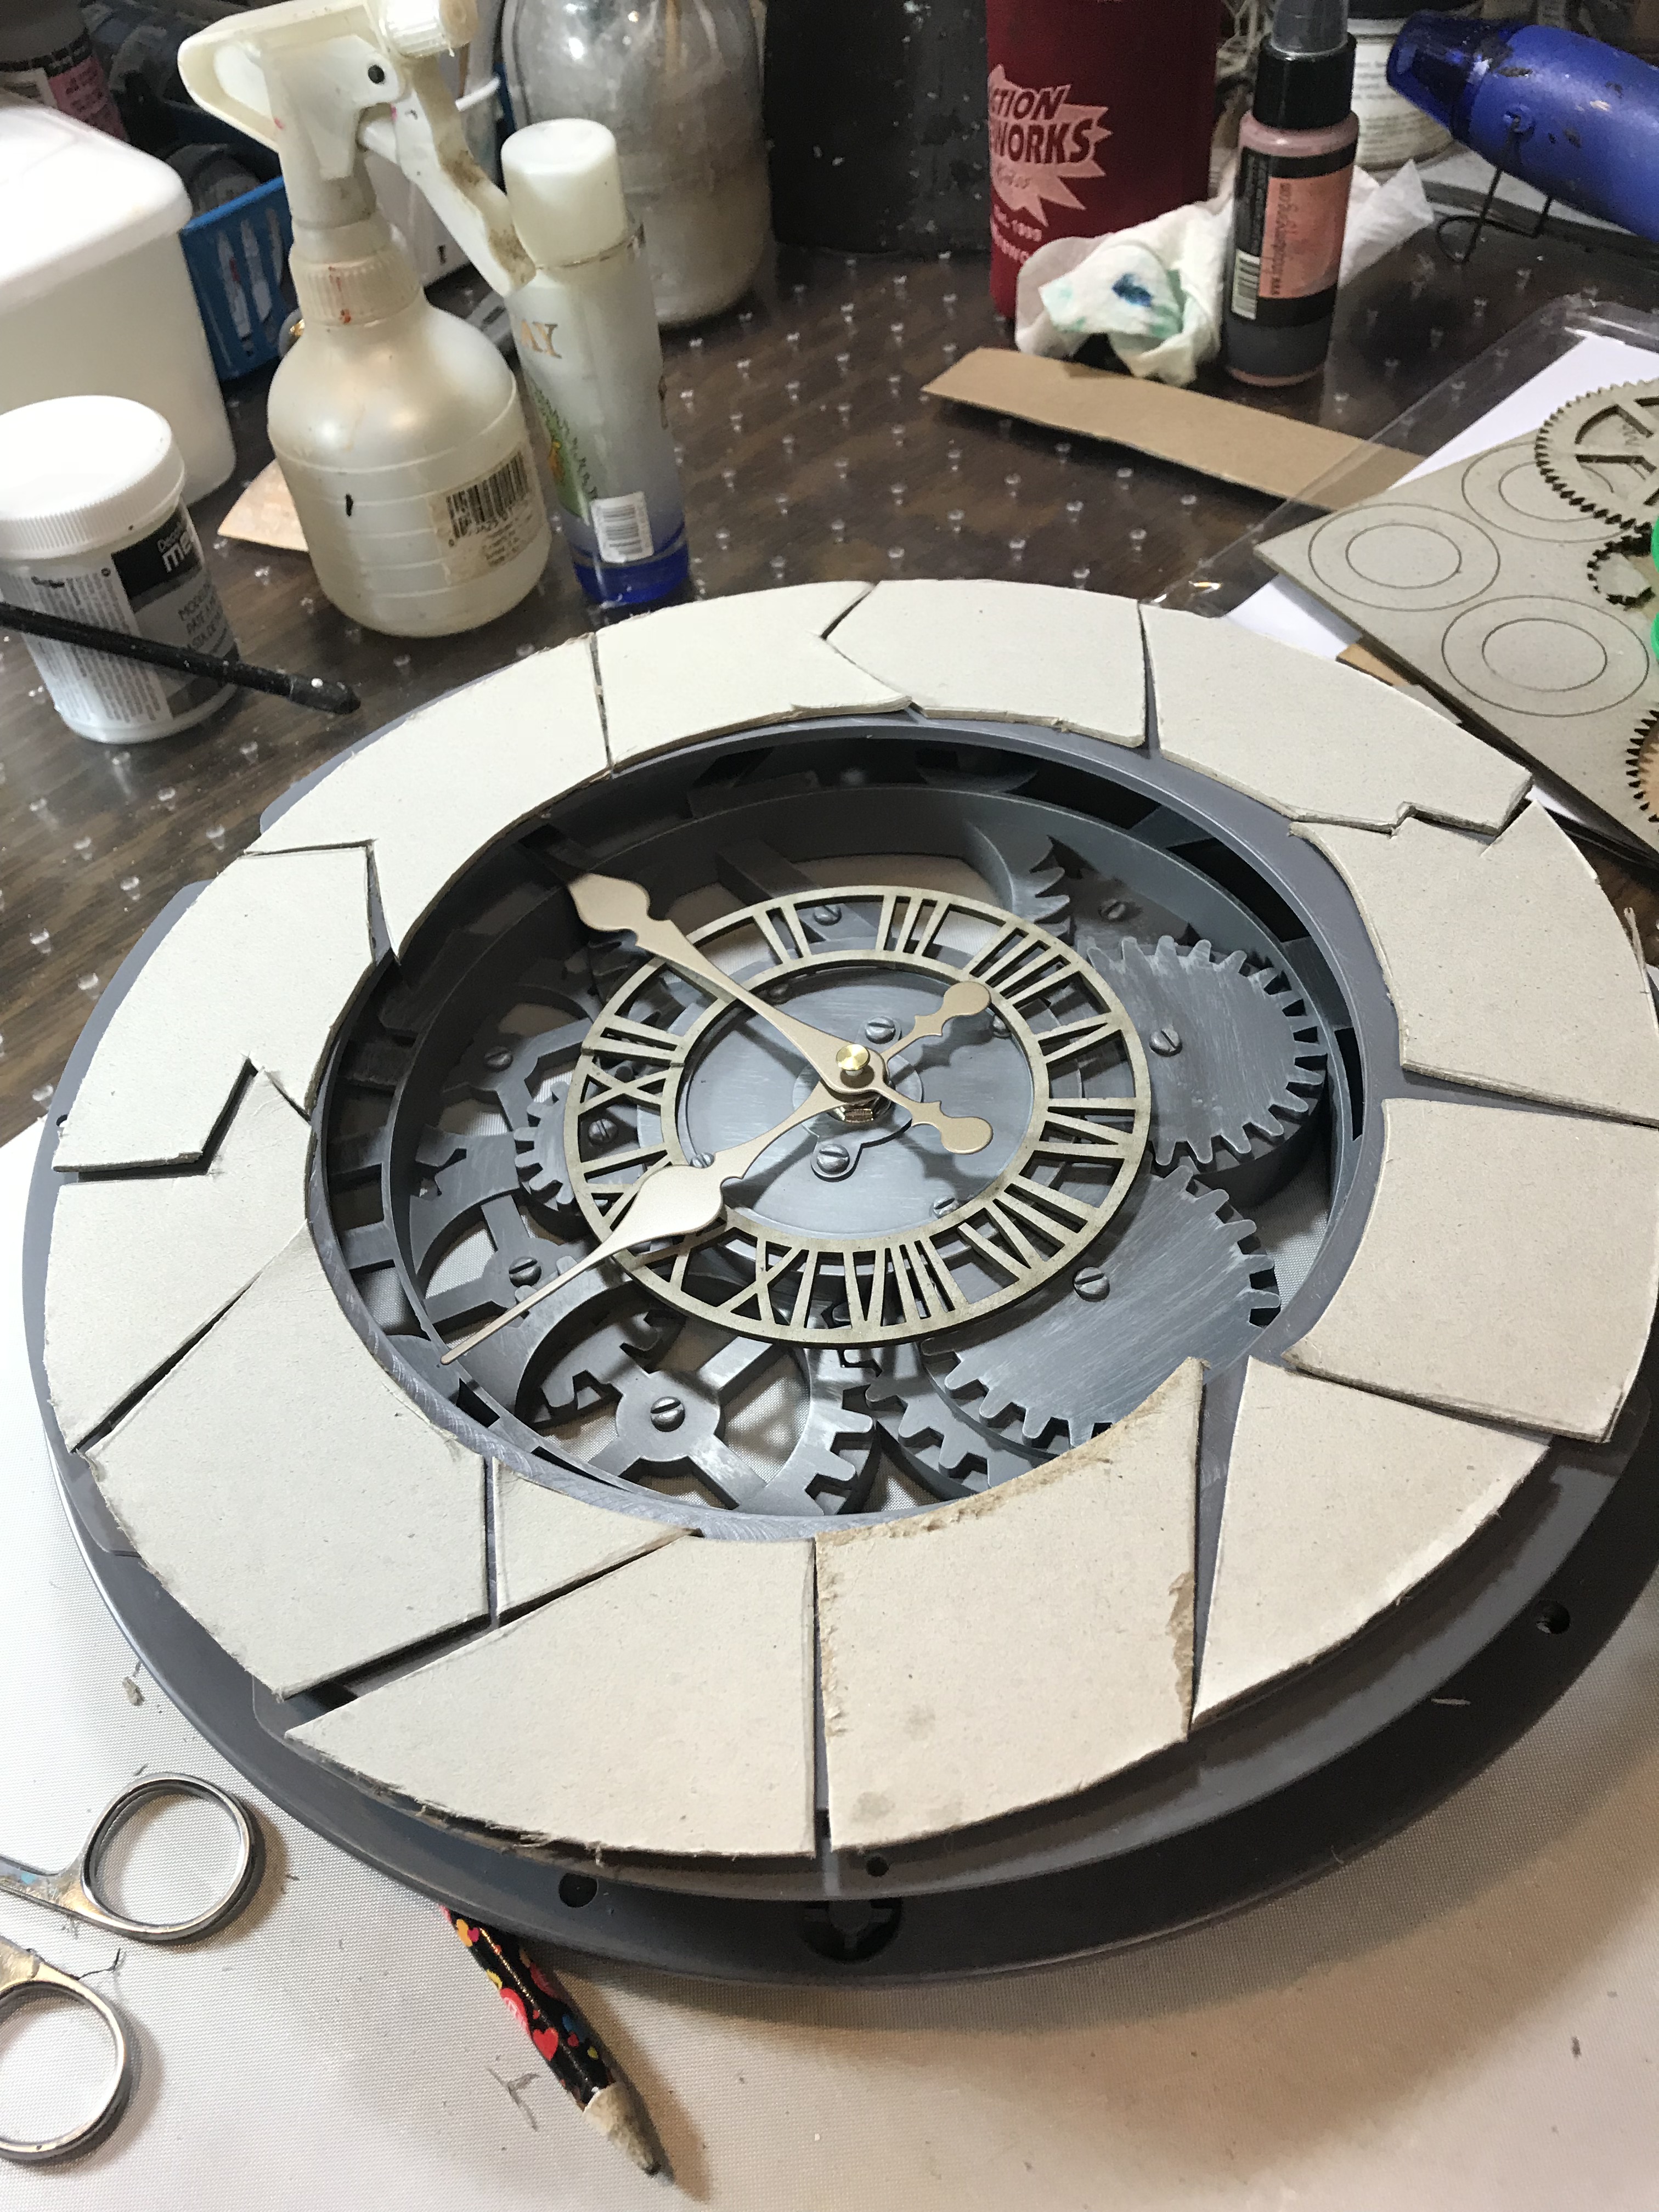
Here is how this project began ... very simple and straightforward. There are a lot more pieces that come with this kit but I was trying to possibly place some of the larger pieces first and get a feel for a design. This kit is made from a pressed hard board and very sturdy grey board laser cut pieces...tons of them!

First thing I did was create a little 3D shelf using a couple of pieces of scrap chipboard cut into 1" x 4" pieces. They were glued together and painted first with DecoArt Media Fluid Acrylics Metallic Silver followed by light sweeps of Carbon Black to tone down the silver. Next I used one of Tando Creative's Clock Hands to create a unique design on the front of the shelf. I painted it in the same colors and glued it to the front of the shelf. I used two metallic corner pieces underneath the shelf to help brace it in place. So ... what is going to sit on the shelf?

How about some shabby chic industrial flowers? I picked out four various size little glass vials that would stagger on the shelf. Next I painted a little wooden skewer with DecoArt Dazzling Metallics Worn Penny. You will see some metallic flower petals and leaves mixed in with some grey board gears and screw tops from this Mixology Kit. I painted all of the pieces separately and then glued them together.

Most of the painting of these I did with my fingers because I totally love the feel of actually touching the elements as I am coloring them. I can also control how much randomness of color and shading I want on each peace as I am working with my fingers. You will see the base colors vary as to the contrasting colors on the finished flowers when they are put together. The colors I used to create my little shelf garden are DecoArt Media Fluid Acrylics Metallic Gold, Metallic Silver and Carbon Black mixed with the DecoArt Dazzling Metallics Worn Penny.

I glued all of the vials in place along with the cork tops from the vials. I love how this little shelf turned out.

Here are the other pieces that I used on the Mixology frame. Almost all of these were from this kit except for the Andy Skinner Bike Chain and the metal pieces I used to embellish. All of these pieces were pretty much painted using my fingers and with the same colors mentioned above.

Now for the actual frame base. I began by giving it a coat of DecoArt's NEW Chalky Gesso in Beige. I am in love with this new product and use it a lot as a base coat. It flows on so smoothly and gives the base a nice chalky finished feeling. No need to sand or have a lot of brush strokes showing with this! It comes in a variety of colors but the beige was a perfect base coat for my frame.

Next I mixed more of the DecoArt Chalky Gesso in Beige with DecoArt Media Texture Sand Paste. It worked beautifully! I used a small piece of a sponge and pounced the mixture all over the frame. I kept layering more texture and grittiness by pouncing with the sponge. This gave my frame a gritty, stucco look that I was going for. I used the sharp end of my paint brush and added crack lines into the wet Gesso/Texture Sand mix. I heat set it to dry.

I base coated the shutters with a light coat of the DecoArt Chalky Gesso in beige and then lightly brushed over them with DecoArt Media Fluid Acrylics Burnt Umber.

Using my fingers, I wiped on a layer of DecoArt Media Fluid Acrylics Blue Green Light. I sanded off some of the color, allowing the Burnt Umber underneath to peek through. Then using my finger, I added touches of the Chalky Beige Gesso to blend the colors together even more. In this picture, you can also see the little prongs on the insides of the shutters that fit into little round attachments that allow them to swing once they are attached to the frame.

Here is the genius contraption that fits behind the frame to allow the shutters to move. It also gives even more stability to the frame itself. I painted the contraption with the colors I used on the frame base.

I used the pouncing method again to add more color to the frame base. I wanted this piece to resemble an old cracked stucco wall you might see in Europe. I pounced over the beige base with a combination of the beige gesso and DecoArt Media Fluid Acrylics Yellow Ochre. The brown in the cracks and shading around the edges of the frame is DecoArt Media Fluid Acrylics Burnt Umber. I added touches of the Chalky Beige Gesso over the cracks to blend them in with the background even more. Then I glued the shelf in place in the lower left corner.

In the upper right corner, I added a photograph of Salvador Dali looking through a looking glass. I thought the suspended dimensional metal looking glass in front of the industrial pieces was fun.

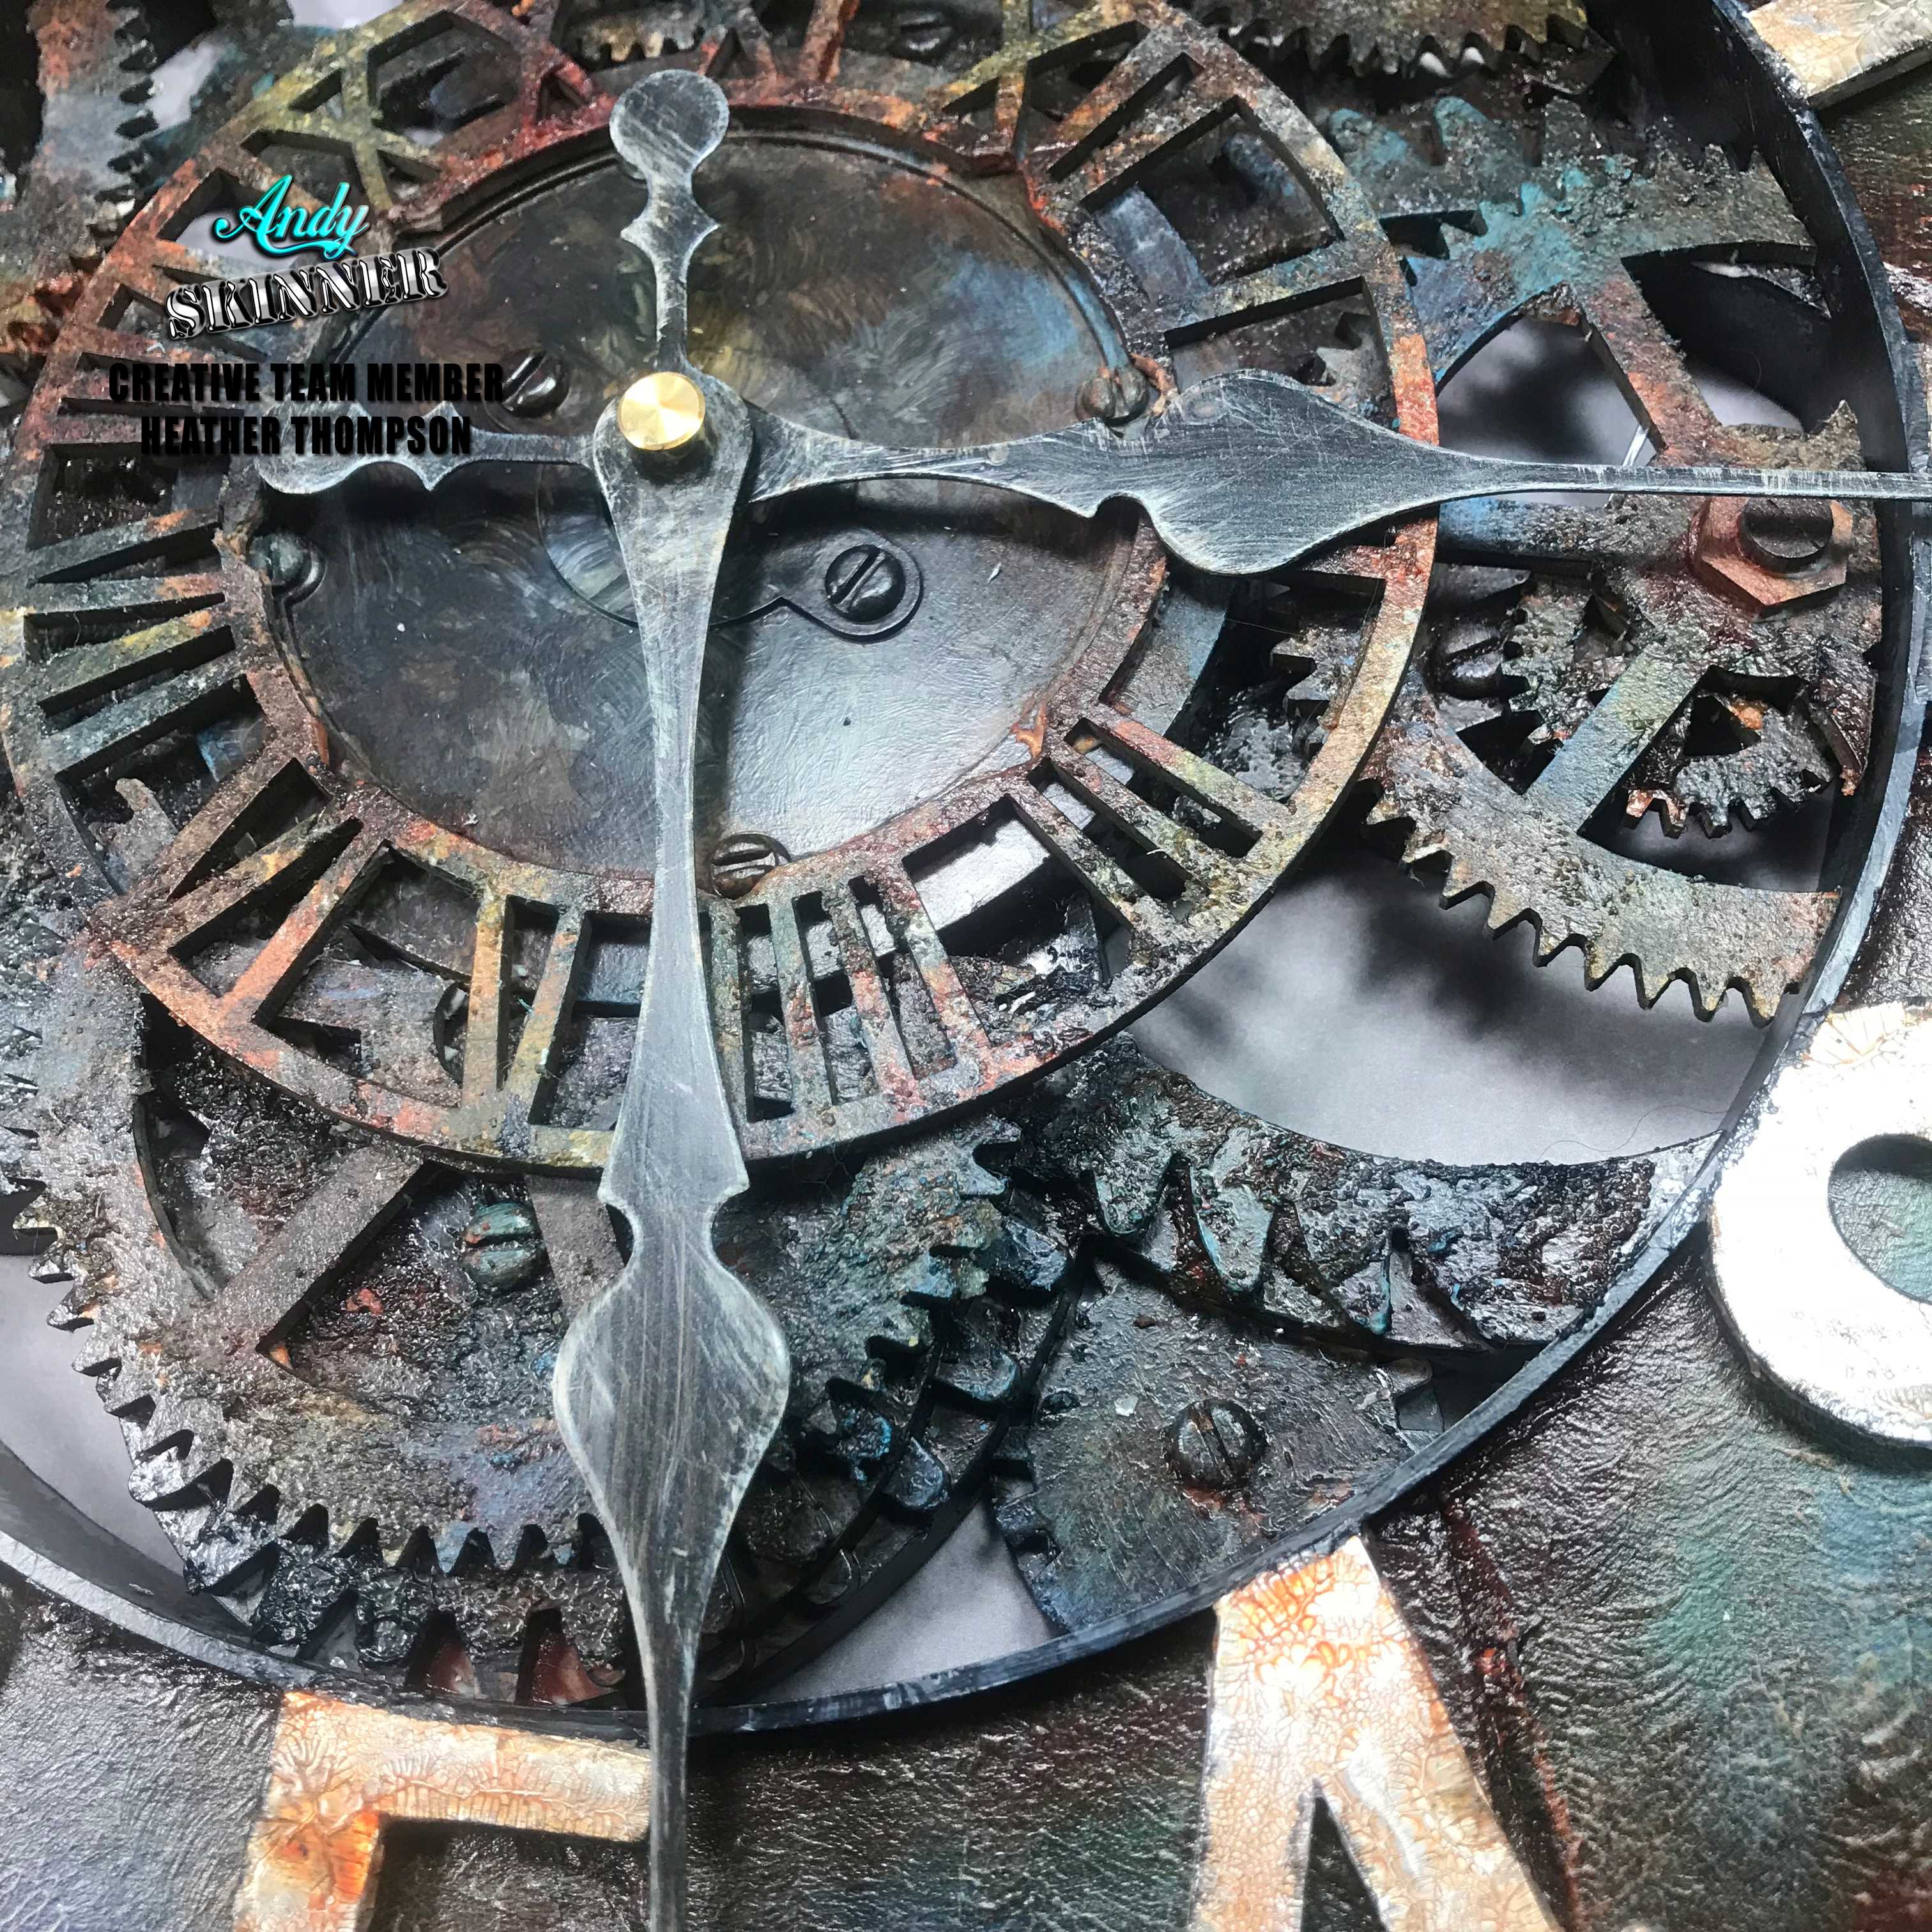
Here is another close up at some of the many elements on this frame. The "metal" grey board pieces work so perfectly with the real metal pieces. You will also see Andy's rusty wire winding it's way through a lot of these elements. The patina look on the weathered silver time face is embossing power that was added and heat set in place.

More of the elements of this kit combined with real metal pieces.

I stuck a large ampersand symbol that was heat embossed using a patina embossing powder in the center of the frame along with a couple of empty vials. You could easily insert a photograph in there and use this piece as an extravagant picture frame ... not another one like it in the world! That is the beauty of mixed media. It truly is YOUR art, YOUR imagination and YOUR creativity coming to life!
Here are the supplies you will need for this Ministry of Mixology piece:

- Rusty Wire


- NEW Beige Chalky Gesso
- DecoArt Media Fluid Acrylics Carbon Black
- DecoArt Media Fluid Acrylics Blue Green Light
- DecoArt Media Fluid Acrylics Yellow Ochre
- DecoArt Media Fluid Acrylics Burnt Umber
- DecoArt Media Fluid Acrylics Metallic Silver
- DecoArt Media Fluid Acrylics Metallic Gold
- DecoArt Dazzling Metallics Worn Penny
Miscellaneous Supplies
- Glue (I used Fabri-Tac) but any clear drying glue will work
- Hot Glue
- Metal Pieces: Butterfly, Pen Nib, Key Hole, Key, Magnifying Glass, Mini Light Bulb, Sewing Machine Bobbin, Flower Petals and Leaves, Number 8, Heart Charm
- Mini Glass Vials
- Paint Brushes
- Sponge (for pouncing color onto surface)
- Patina Colored Embossing Powder
- Embossing Ink Pad
About the Artist: Candy Colwell
Instagram www.instagram.com/candy.colwell
Twitter www.twitter.com/rindacelly
Pinterest www.pinterest.com/mimicandy