Showing posts with label Andy Skinner Creative Expressions Mediums. Show all posts

Wednesday, 11 March 2020

Mini Album By Heather Thompson

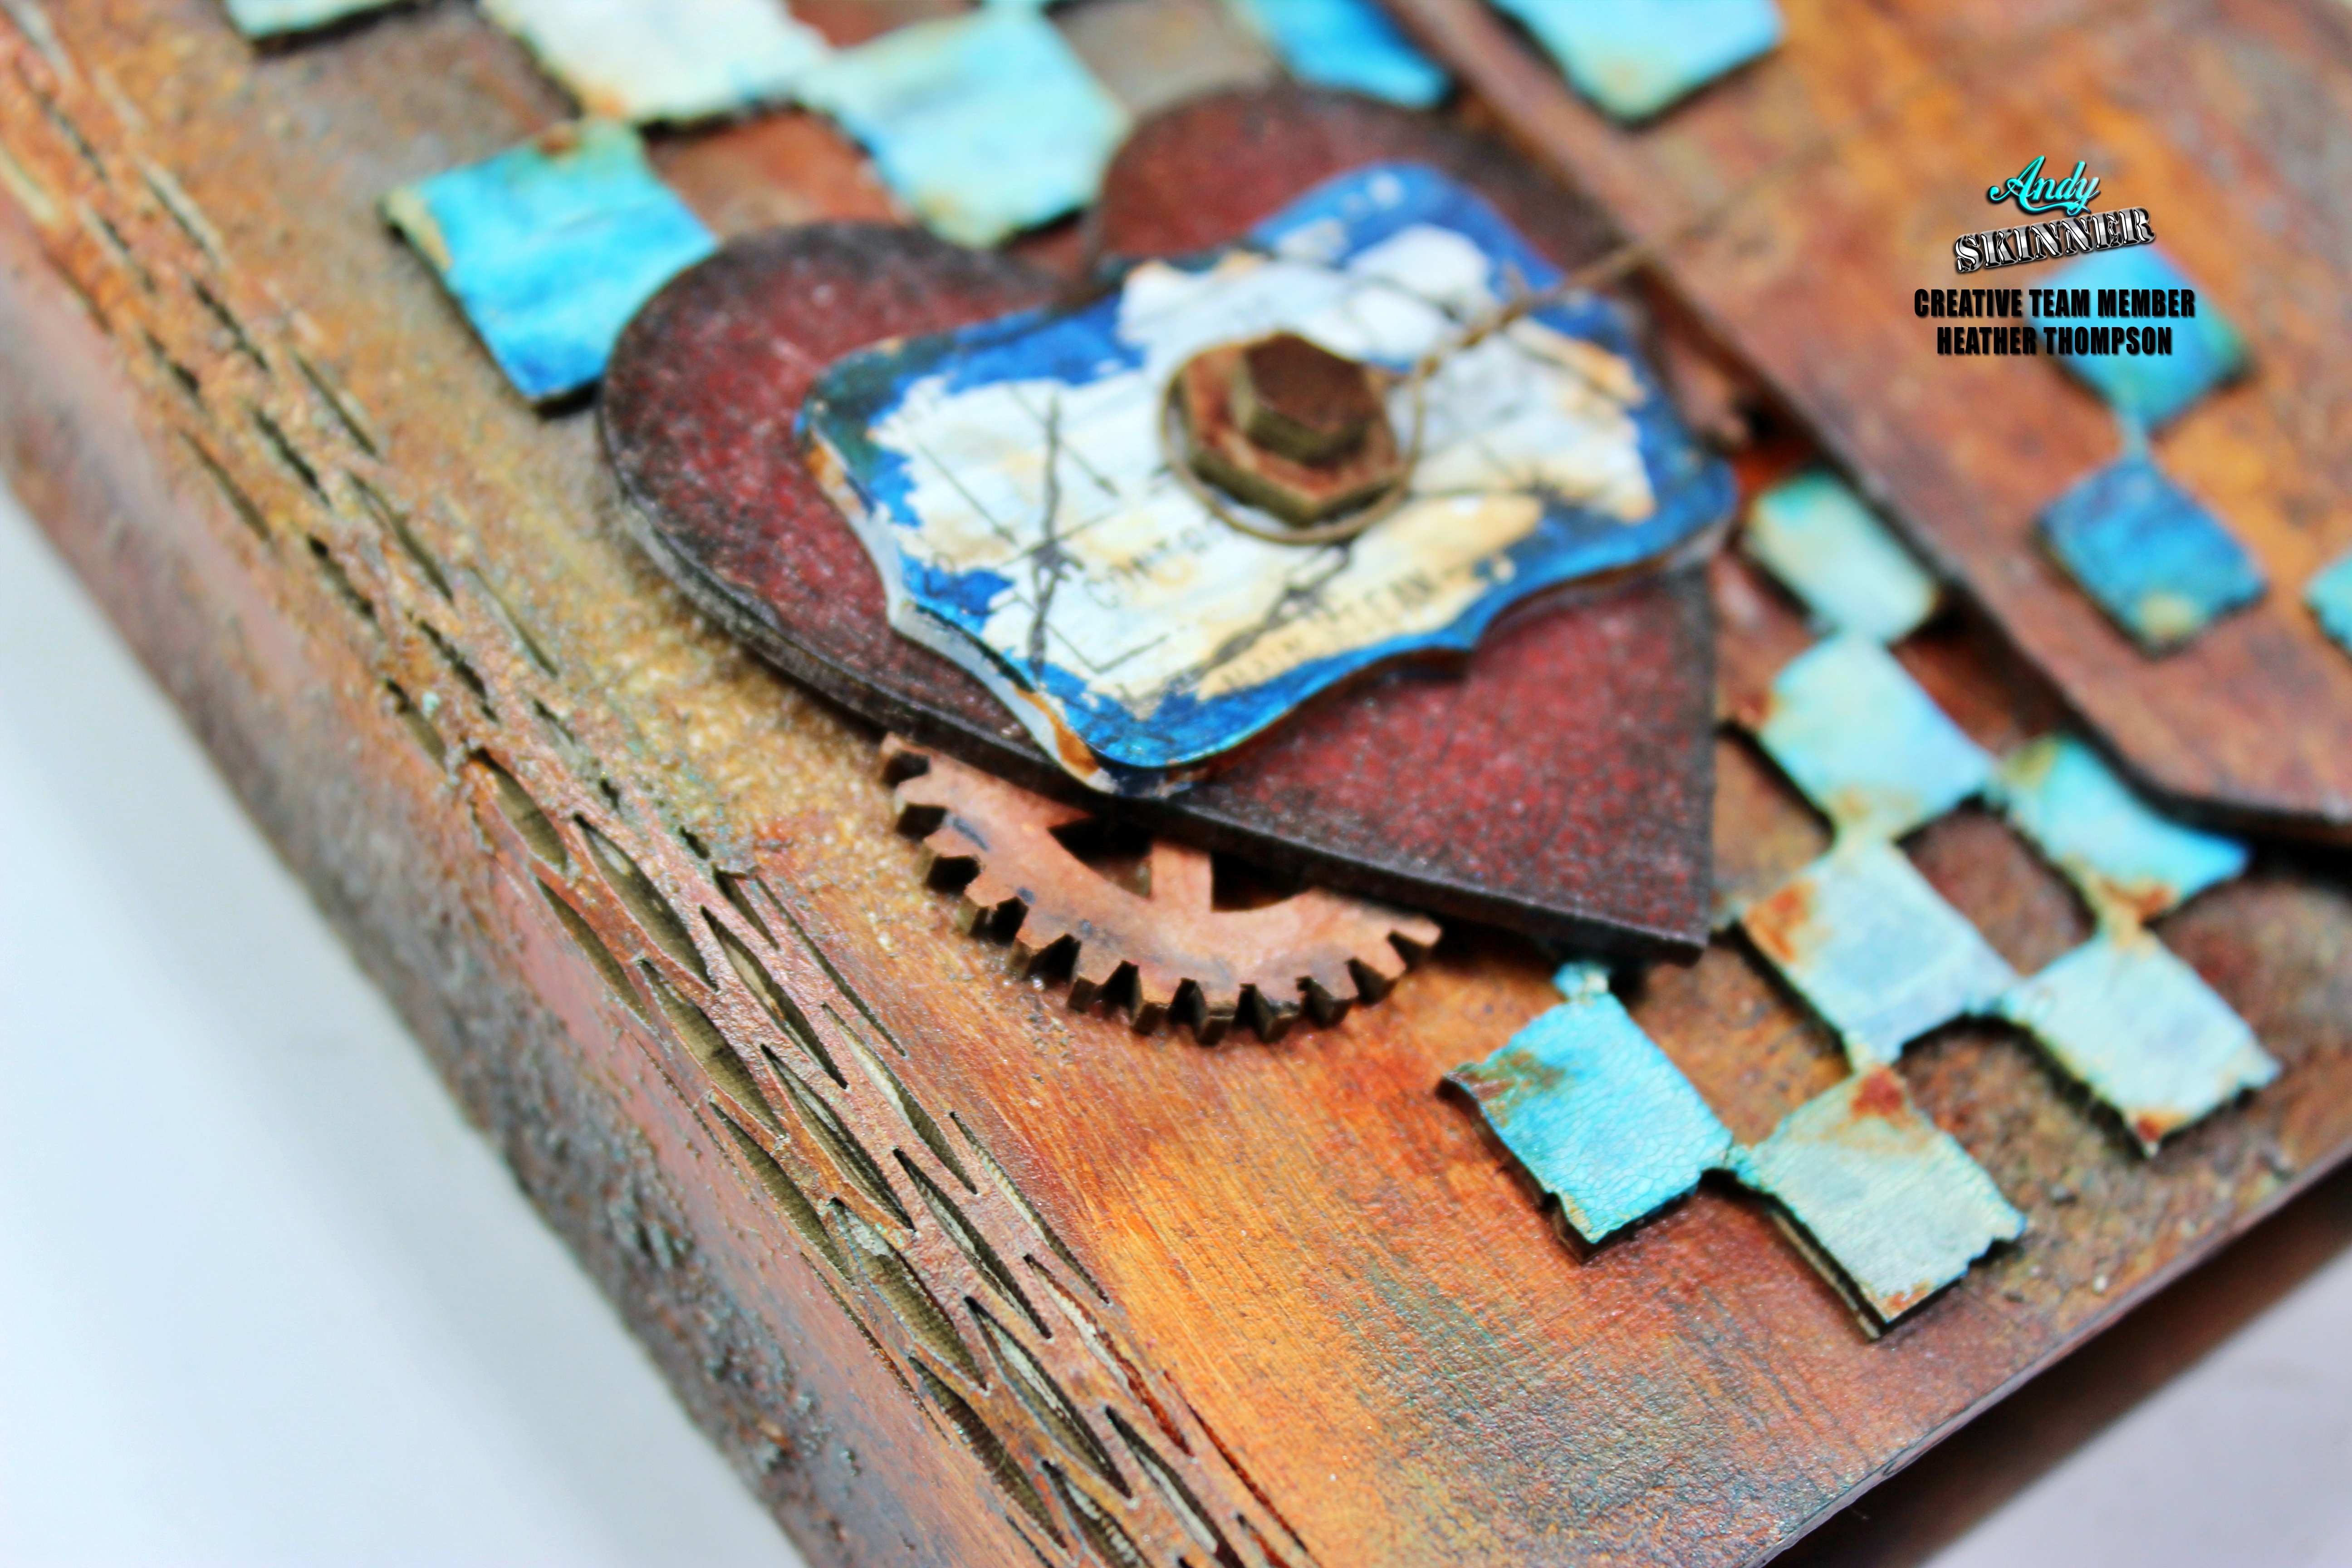
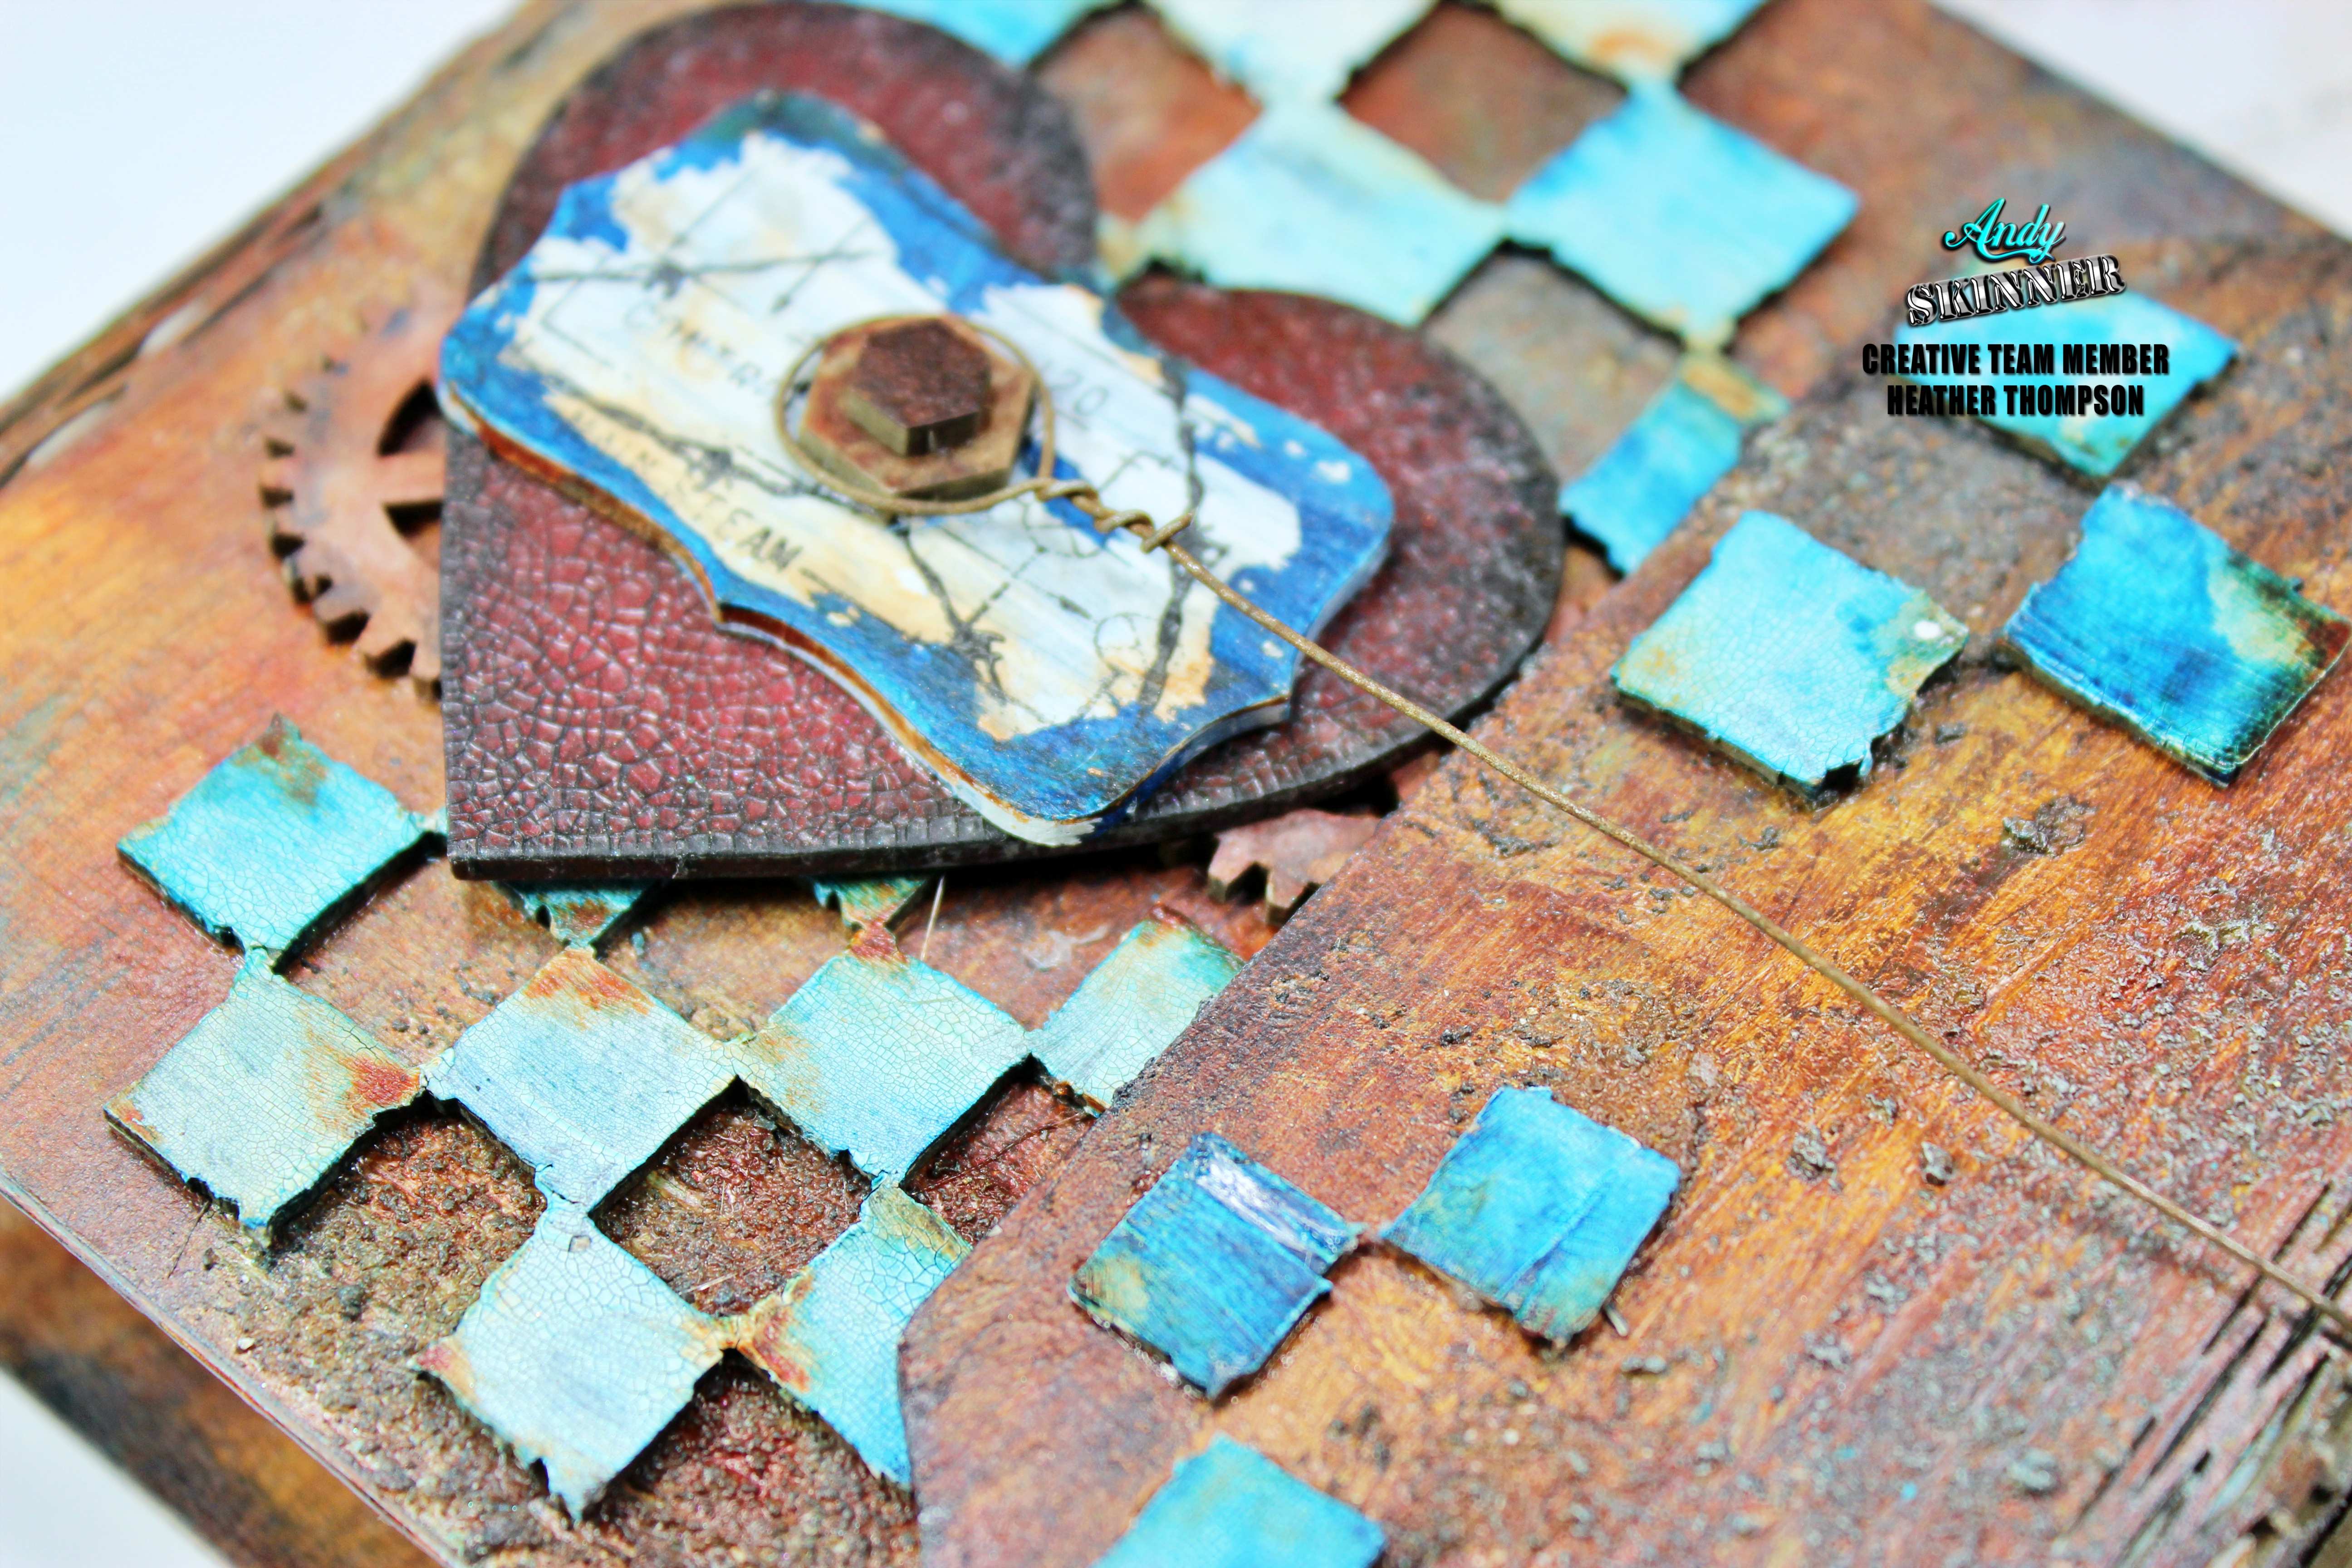
Welcome to another mixed media project for Andy Skinner. This is a mini album I made for Andy. We always have such a great time when we get together with Andy, either its jumping the pond or here on our turf. And I think it is great how much love of life is in the air when Andy is around. I love the books from Tando. This was a little bit of grunge and a lot of texture. I will spare you the inside photos. (Some could be used for blackmail, lol). They will come out when least expected. Andy Skinner Ring Binder
There is always a lot of blending and texture when I work on Andy's projects. I enjoy getting lost in the pigments and the brush strokes.


Using various elements from the industrial elements set and Di's textured shapes, I did layered the background up with all of my favourite crackle and rust. Between the gears which is very Andy and the heart which is really how we all feel about him, I wanted something that came from the heart.


Between the texture glaze and crackle paint, I love the aged, vintage look the book took. And you can never go wrong with Quinn Gold and Payne's Grey for some shading.


I wanted a closure that was Andy, Using rusty wire and a nut and bolt from the Industrial Elements Set, I finagled it to work. It just adds to the project.


I will give you a little sneak peak of some of the blackmail material I have of Andy. Until the next Andy adventure. Thank you for stopping by. 
downloaddownload (1)download (2)  

Heather
black and white head shot

Supplies:


Mixed Media Pastes/Paints
Paint
tandologo
France Papillon Tags And Embellishments Kit

Tuesday, 10 December 2019

Steampunk Style Canvas

Hello Everyone!

Welcome back to Andy's blog.  It's Candy here and I am sharing my latest steampunk canvas with you.  


This little 4" x 5" canvas may be small in size but packs a powerful statement when hanging on a wall.

Andy has partnered with the fantastic people at Creative Expressions.  His line features many amazing products with new ones recently being released.

Now let's dive into the process to make this canvas and all of the products used:


Begin by ramdonly spreading some of Andy's Cosmic Shimmer Strata Paste over the surface of the 4" x 5" canvas.  I have done this with a palette knife.  This gives a wonderful textural appearance to the canvas with it's thick smears and bits of what looks like mica and other textural elements. Heat set to dry.


Now for Andy's Cosmic Shimmer Lava Paste.  Again, applied randomly with a palette knife, the Lava Paste "explodes" with dimension when heat set.  I love the added interest those little raised areas provide.  Gently heat with the heat tool.  Let cool for a few minutes before continuing.


At this point, your canvas will look something like this.  Crazy texture and dimension!


 Using Andy's new Mixed Media Transfers:  Steampunk and Ephemera Emporium; I added the black detail to the very uneven surface using the little sticks included with the transfers.  They are a nice thickness of transfer and adhere to the surface so well.  


Here you can get a closer look at the Mixed Media Transfer Images I chose to use as well as the addition of the fabulous Andy Skinner Cosmic Shimmers Super Nova Embossing Powder.  With it's rich charcoal color with silver metallic pieces mixed in, this embossing powder gives very cool detail.  This design of the waterfall dots is from Andy Skinner's Creative Expressions Enigma Stamp. Just stamp the image using an Embossing Ink pad.  Shake the jar and then sprinkle the embossing powder over the stamped image.  Remove all of the excess powder back into the jar.  Gently heat set with a heat tool so as not to damage the Mixed Media Transfers.


Now your canvas will look something like this and it's time to add the color .... GLORIOUS COLOR!!


There are six wonderful Andy Skinner Cosmic Shimmer Artist Pigment Paint colors.  For this canvas, I chose Cobalt Teal, Quinacridone Gold and Yellow.  These paints go on so easily and they are transparent enough that you will see all of the black detail from the Mixed Media Transfers even when painted over!  I used a mix of about 60% paint to 40% water to create the colorful background.  You can also blend the colors together easily with these paints as they such wonderful quality paints with their transparency. I also applied some stronger consistency of paint along the top and sides and gave them a mist with a water bottle.  They run beautifully down the canvas.


Before I started adding the metal pieces to the canvas, I decided to add some more of the Cosmic Shimmer Super Nova Embossing Powder randomly on the sides of the canvas.  To do this, I simply touched the Embossing Ink Pad to random edges of the canvas.  Then I sprinkled the Embossing Powder over the ink and removed the excess back into the jar.  Then I brushed away an extra powder I did not want on the canvas with a small paint brush.  Then gently heat set the powder in place.  You can see the dark gray metallic mixed areas around the edge of the canvas.


I had some metallic pieces in my stash that I thought would bring even more life to this canvas and give it even more of a funky steampunk feeling. To glue all of these pieces in place, I used Andy Skinner's Cosmic Shimmer Quick Grab Glue.  It dries clear and doesn't take long to set up.  


Around the edge of the canvas, I first added 1/2" double sided tape and then covered it with a 1/2" piece of black washi tape with scientific table on it.  Very steampunkish!


Finally, to give this canvas a very different mechanism to hang it.  I fashioned a little wire loop to hang the canvas on a wall using some of Andy Skinner's Rusted Wire.  This was glued in place using the Quick Grab Glue.  Then I screwed two little eye hooks in place 3/4" from the outside edge of the canvas.  Next I simply wrapped wire around a little 6" ruler that had been tinted with Andy's Cosmic Shimmer Yellow Artist Pigment Paint.  The edges of the ruler were blackened by wiping black acrylic paint across the edges using my finger.  First wrap the wire one time around the ruler and then run the free edge through the eye hook.  Be sure to have the ruler hanging from each eye hook the same length.  Then wrap the rest of the wire around the ruler.  Done!

I completely did this project in two hours.  It was fun and easy and working with these products is truly so much fun!

I hope I've given you a little inspiration to try some of these products on your next mixed media masterpiece! Don't be afraid to experiment and try something new!  

Here is a handy link to all of Andy's Fab Products at Creative Expressions:

CLICK HERE

'Til next time ...


  • Andy Skinner Rusted Wire
Miscellaneous Supplies

  • Paint Brushes
  • 6" Wooden Ruler piece (Tim Holtz)
  • Metal chain and other little pieces to glue onto canvas
  • Antique Optical Lens
  • Scissors
  • Palette Knife
  • Heat Tool
  • 1/2" Black Washi Tape
  • 1/2" Double Sided Tape
  • Two Small Eye Hooks
About the Artist: Candy Colwell

Monday, 26 August 2019

Candy Skull Festival Bag Dangle

Hi all
So excited about the new launch. The DT have been really fired up by the new products so I'll make this a quick post!
 I started off colouring some card with Distress Oxides, then
chose the area of colour I liked most and stamped onto it using Archival Ink. 
Acrylic paints helped to add pops of colour, and whiten the teeth. 


The skull is mounted onto a slice of wood (taken from an ash tree in our garden) which I painted with white gesso and covered with Andy's lush Crystal Glaze embossing powder.
Then I stamped out the image again, cut out the rose from the forehead, painted it and decoupaged it onto the main image to give depth. A few die cuts, feathers, beads, gems a hanging chain and of course a repurposed parrot earring, complete my bag charm!


Here is my 'festival dangle' hanging from it's new home on my back pack! For a more detailed look at the project and info on all the products, click here to see the post on my blog.
Thanks for looking. Enjoy the new products!
Suz 

Saturday, 24 August 2019

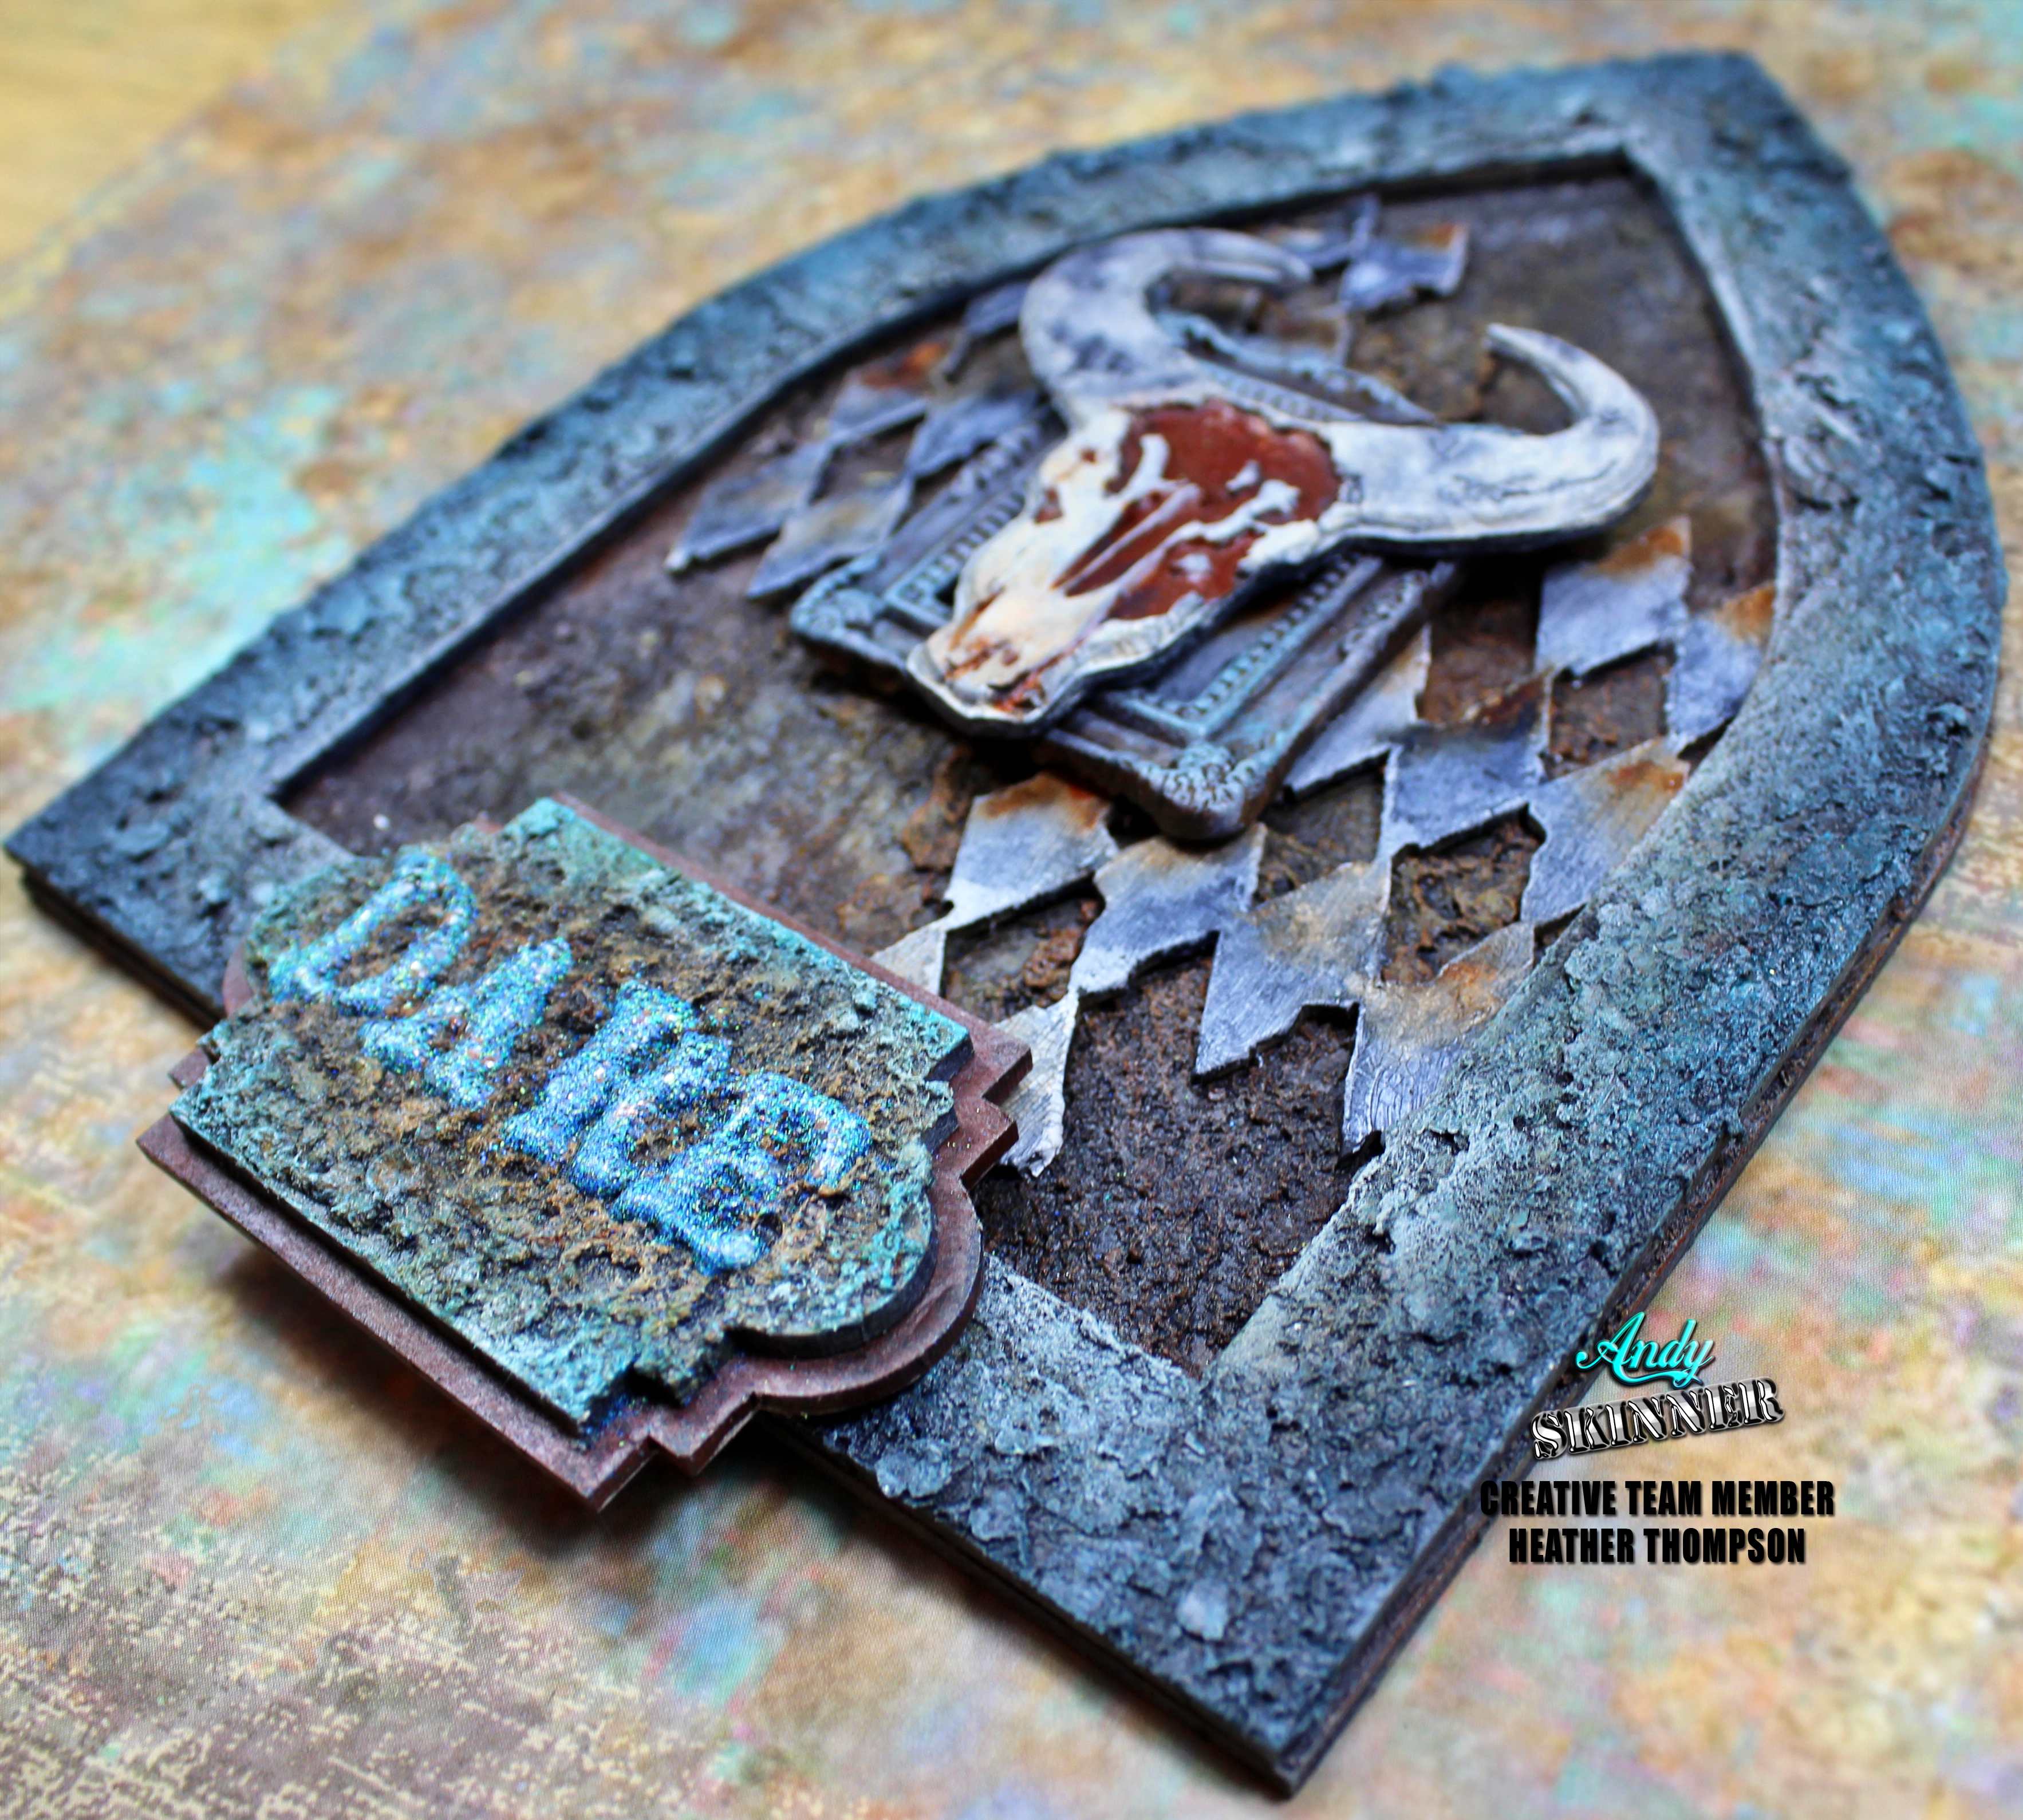
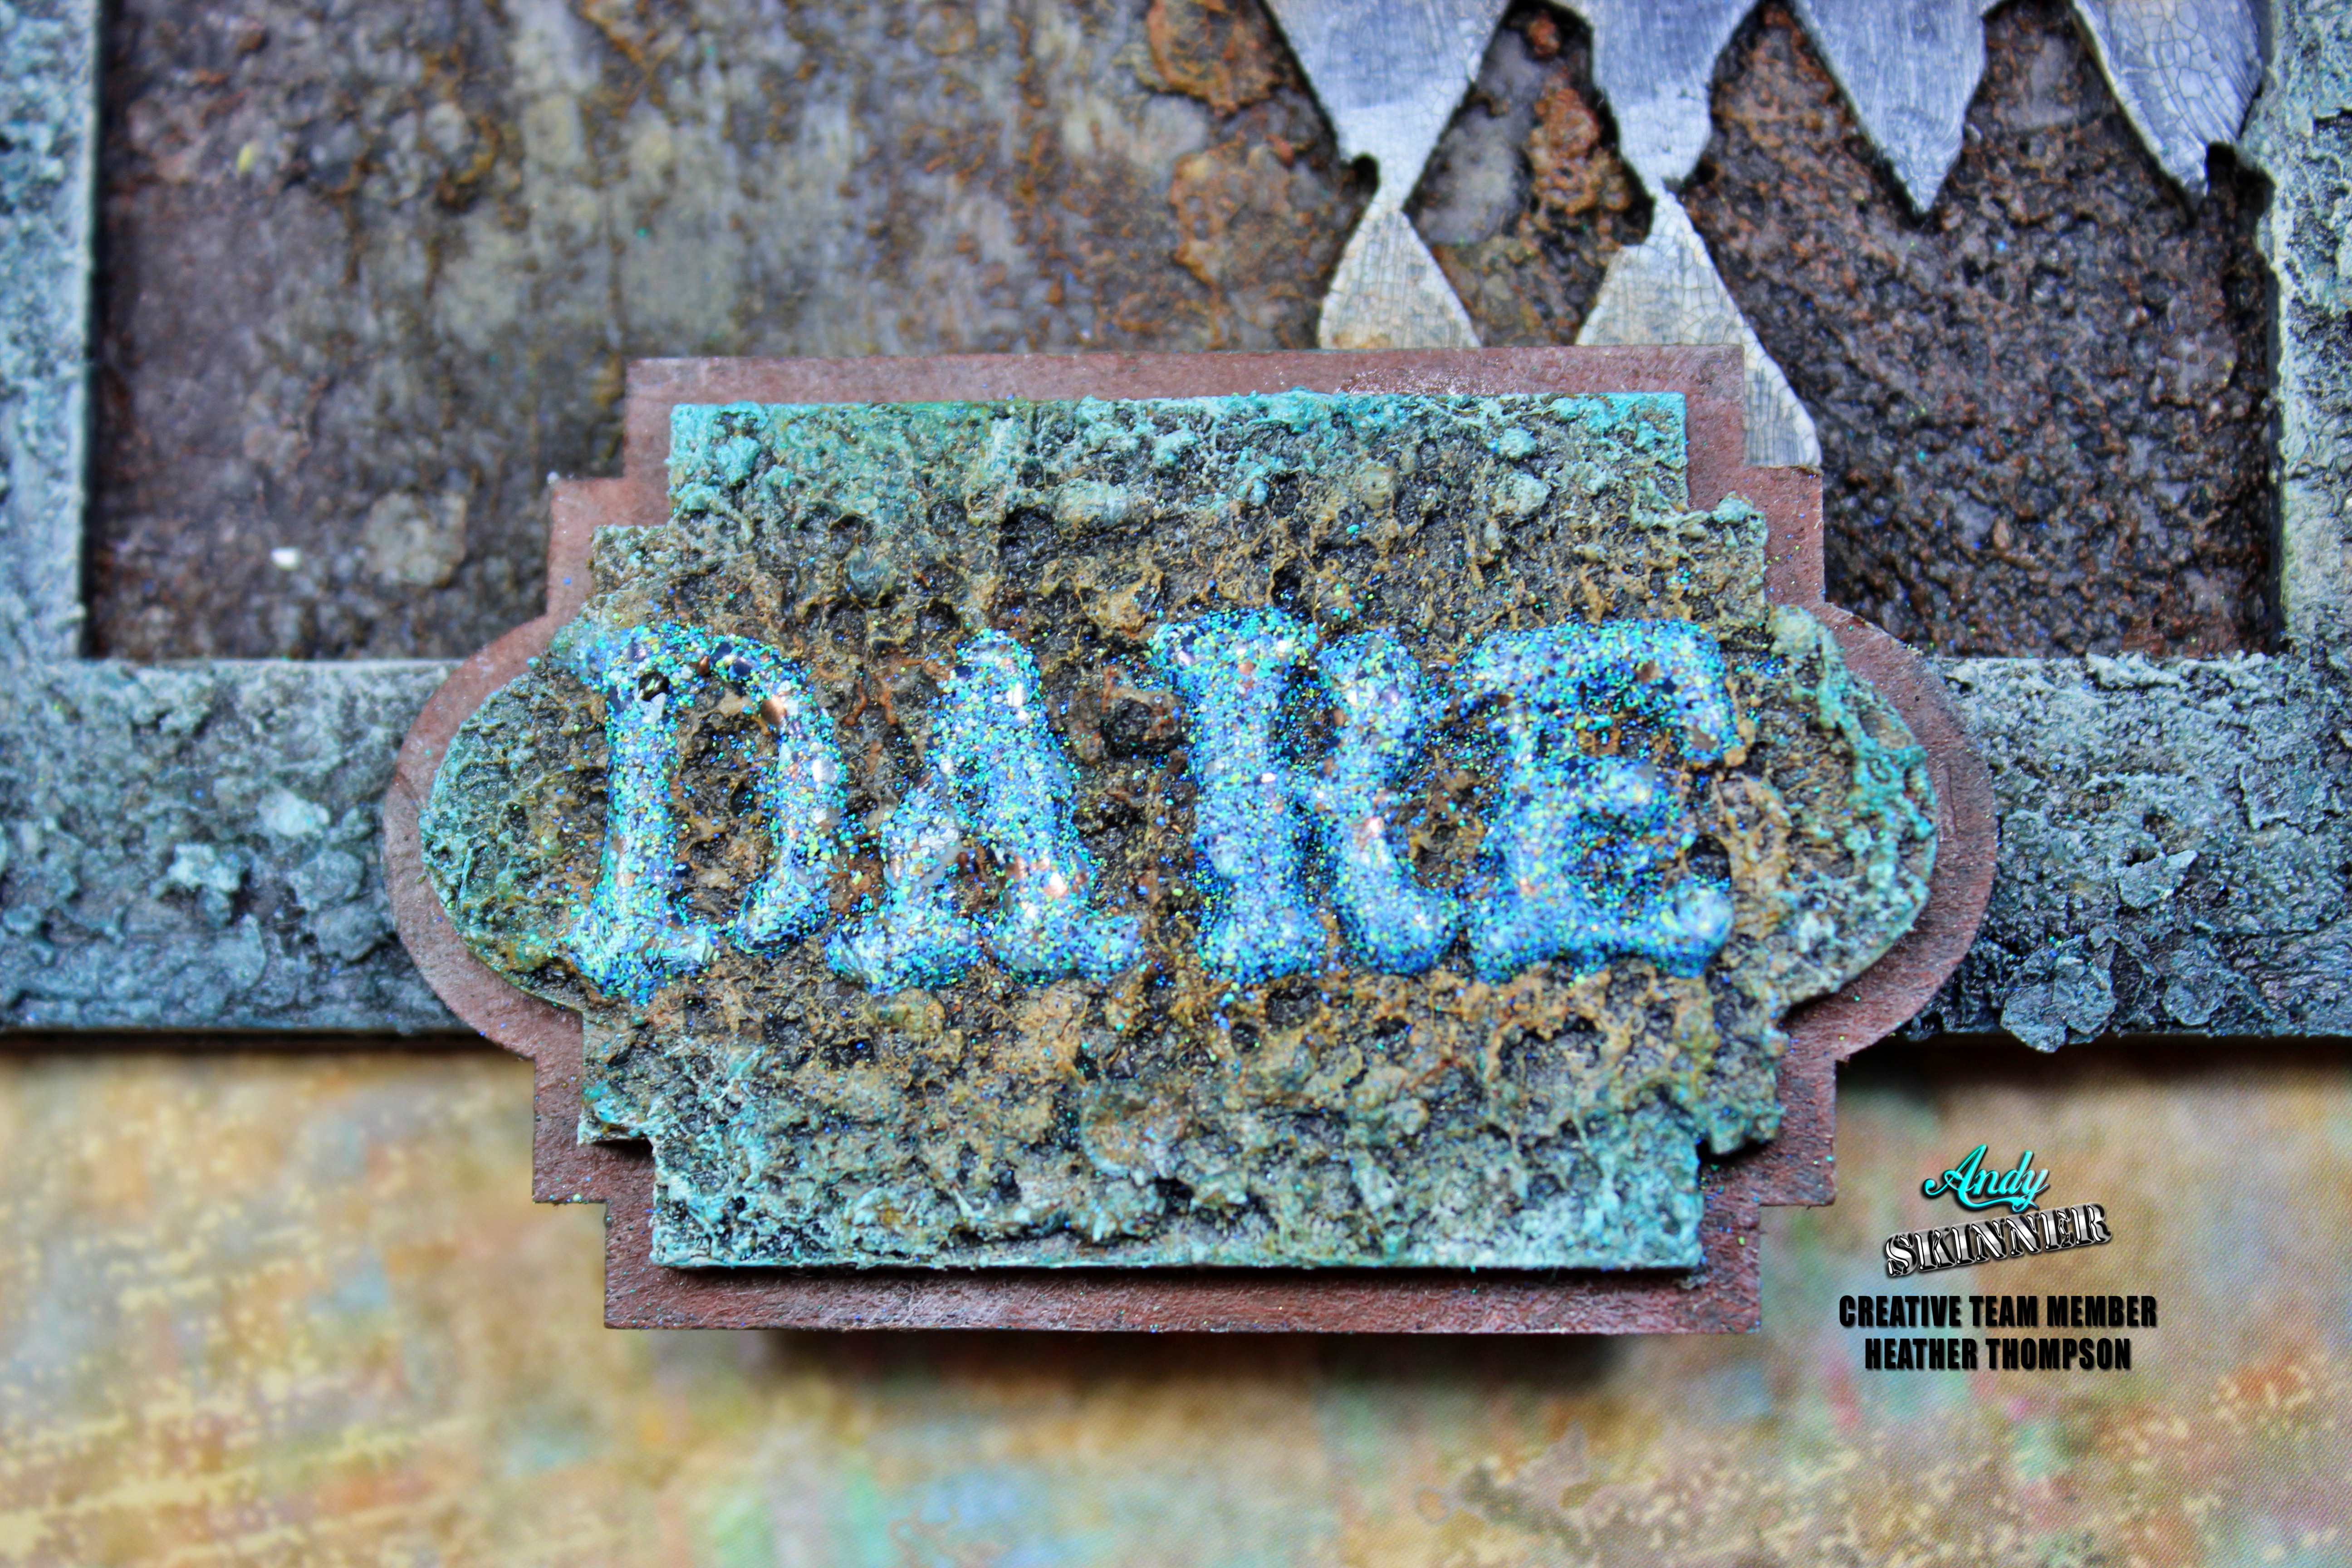
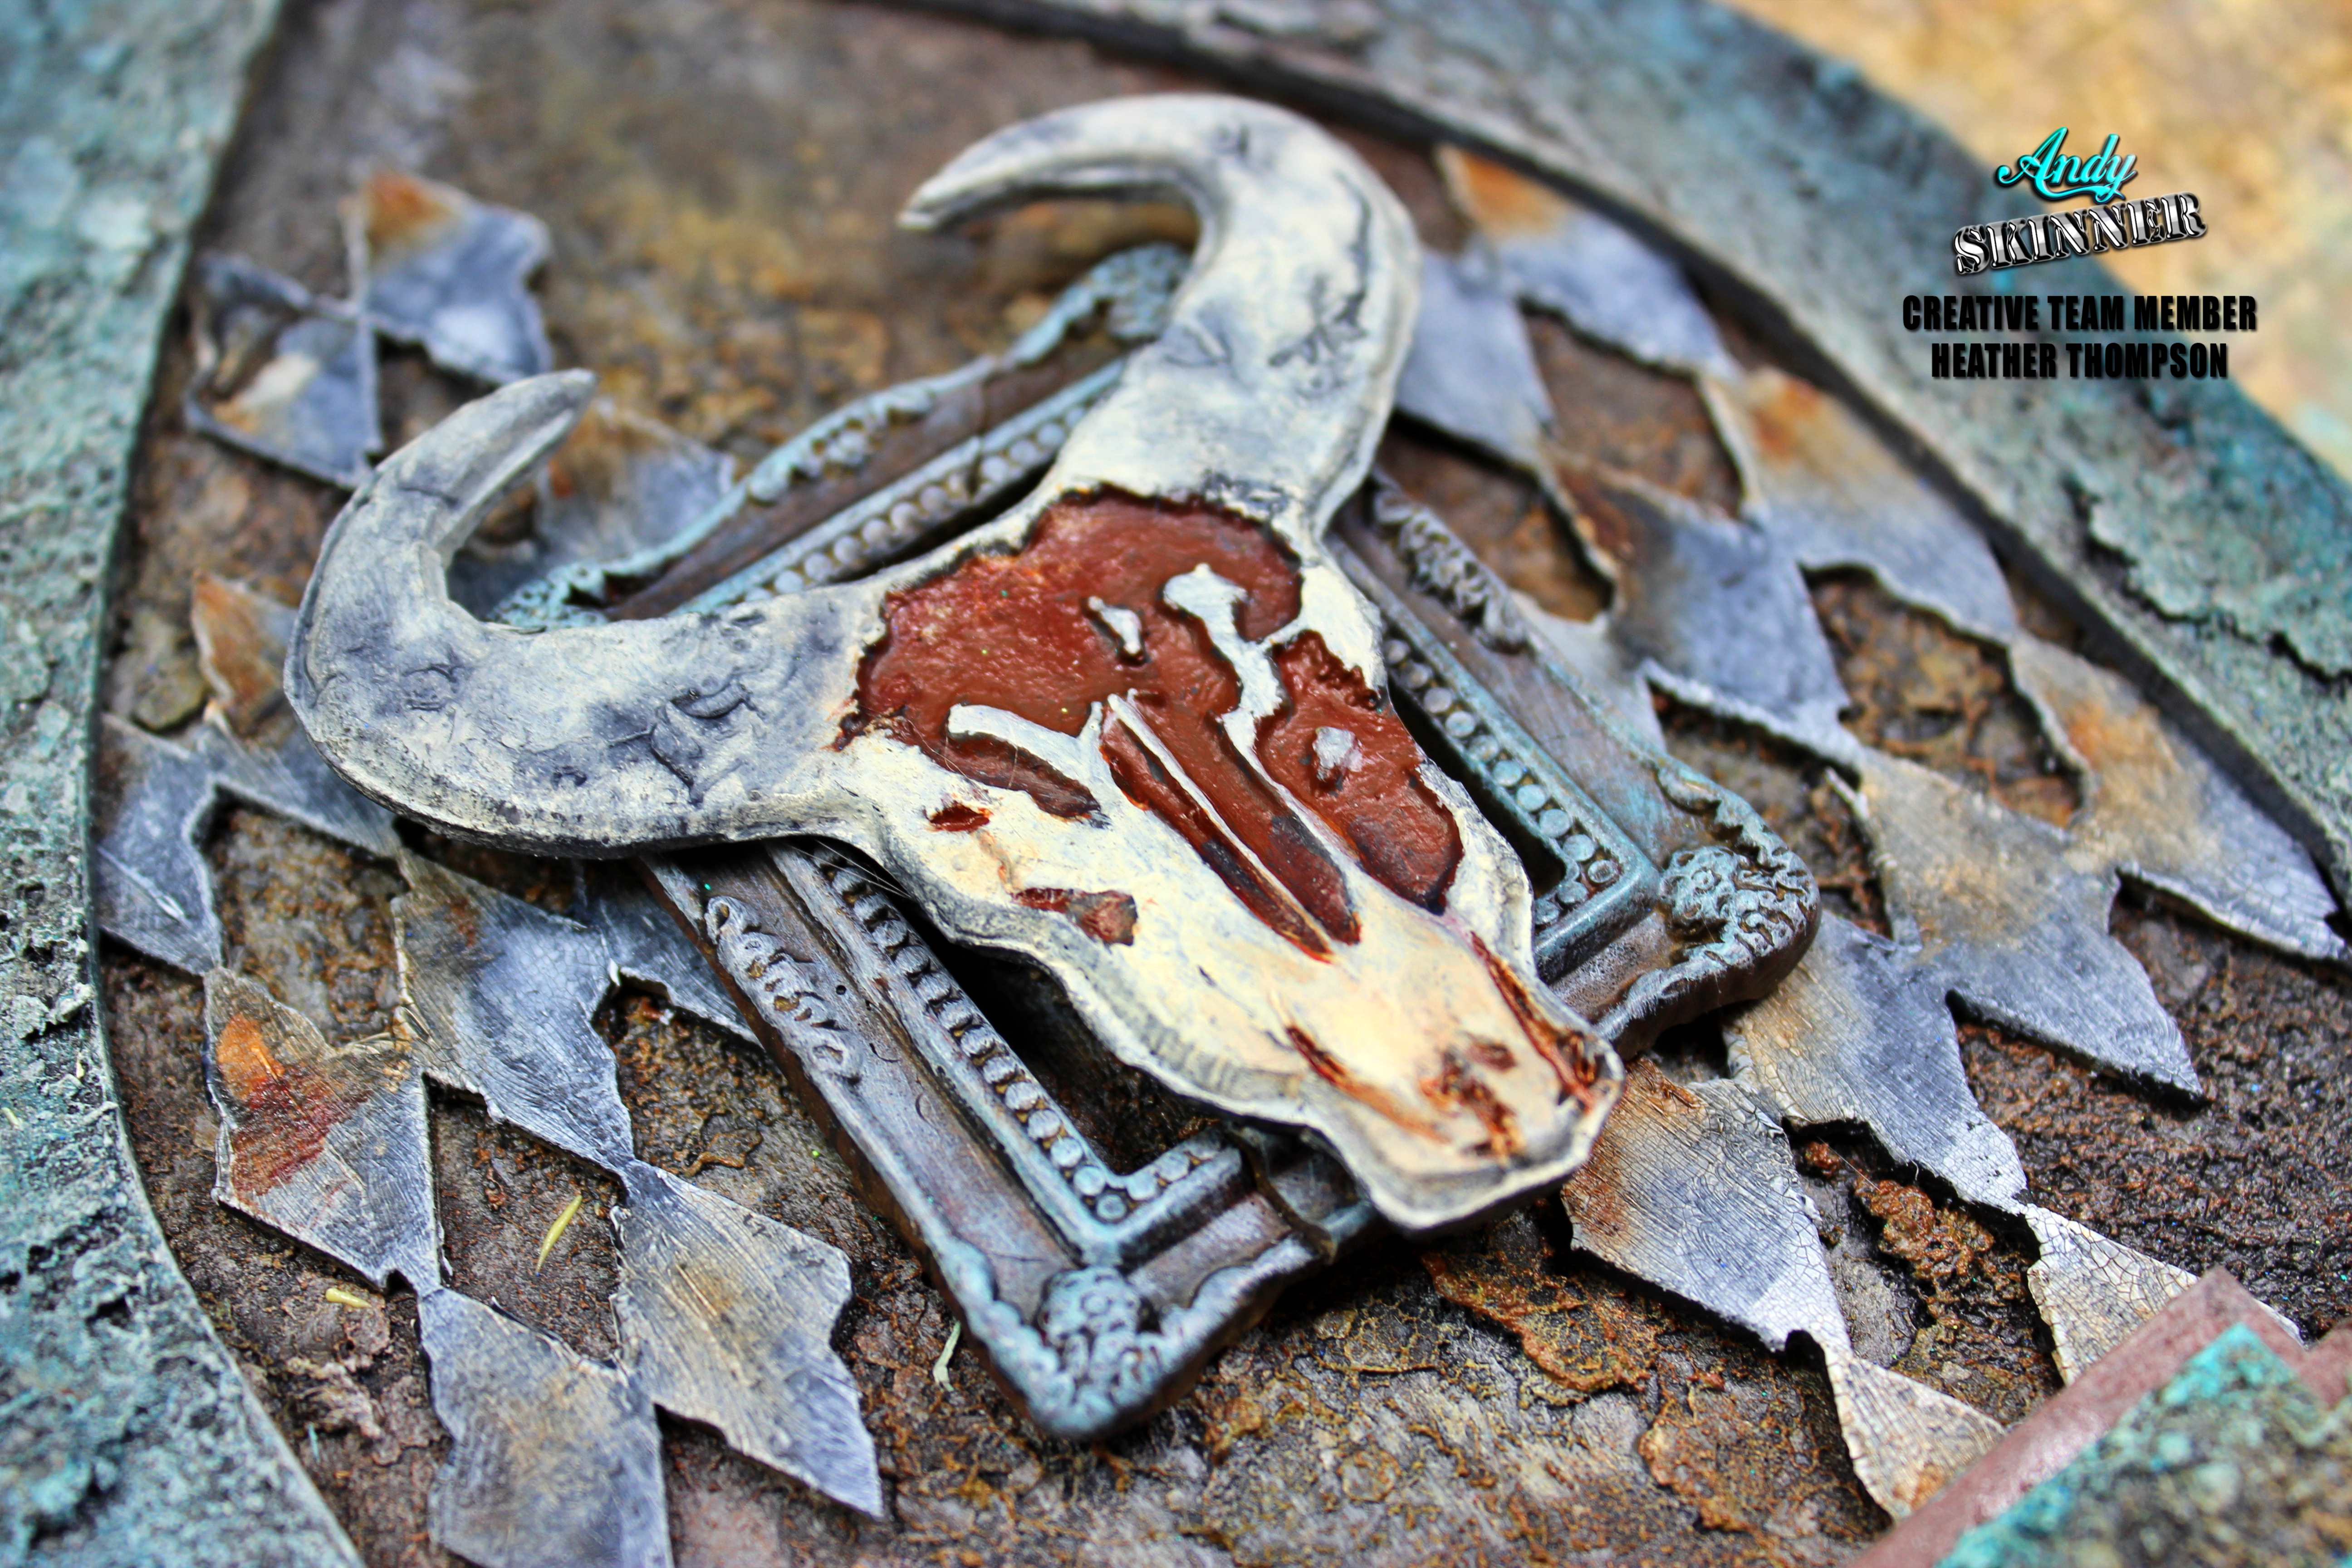
"Dare" Altered Arch with Starta Paste By Heather Thompson

Hello everyone, I would love to share a creative altered arch made with the new release from Andy Skinner and Creative Expressions. This new product is so much fun and it gives so much texture and details. Just brilliant how these new pastes work.


Andy Skinner Dare.jpg


I made a creative video for you of the process, sometimes I dont know where or how I will get to the finished project. Sometimes it takes days to finish, sometimes it ends up in the bin, and as you see in the video, I start with one idea and end up with another with the impression of the Buffalo Stance.
Here are a few close-ups for you. 


Andy Skinner Dare 6
The new Strata Paste is amazing for adding a texture you just want to touch. 
Andy Skinner Dare 2 
The resist paste works in so many ways. I used it to add more dimension to the word banner. 
Andy Skinner Dare5

Thank you for stopping by! 

black and white head shot   
   Supplies: 
 Tando Creative Straight Edge Large 
 Tando Creative Textures 1 
 Tando Creative France Papillon Embellishments Kits 

 DecoArt Media: Quinnacridone Gold, Titan Buff, Burnt Sienna, Burnt Umber, Cobalt Teal Hue, Transparent Yellow Iron Oxide, Payne's Grey.

Thursday, 22 August 2019

THE MIDNIGHT RIDERS- by Candy Colwell

It's Here!!!

Andy's NEW August Release is here and you're going to LOVE all of the new products from Creative Expressions.


This spooky scene was created on an 11 3/4" x 5 3/4" canvas.  It features many of Andy's new Mixed Media Transfers, Stamps and other mediums. So sit back and we'll go through the steps of this Halloween Creation I call "The Midnight Riders".


Here is just a sampling of Andy's new stamps that I used on this piece:  Skeleton of a Horse, Pray and Imperial Rover from Andy's first release.  I stamped these images onto Specialty Stamping Paper (you can also use heavy weight cardstock) with Permanent Black Ink and heat set them.  Then I fussy cut the horse and several of the skeletons so I could cut the elbow and knee joints and reposition the arms and legs to fit the activity I had in mind for my skeletons.


I completely covered the canvas with dictionary pages using Matte Medium on the canvas and then again over the canvas to seal it.  I used a brush to apply the Matte Medium and then heat set it in place.  Next, brushed some of Andy's NEW Cosmic Shimmer Lava Paste from his first release onto the canvas and brayered over it to produce a very cool texture similar to tree bark.  Then I heat set to dry it.


Now the canvas looks like this; full of wonderful texture and that luscious vintage text peeking through. 


Using a combination of acrylic paints, water and a brush;  I colorized the canvas with spooky purple and orange tones.  I painted the sides of the canvas with black paint and ran my finger dipped in black paint along the top edges of the canvas to "frame" everything in place.


On the left side of the canvas, I used smaller brushes to create a spooky old tree and some bats flying around.  Some of those bats would later be transformed into sinister skeleton heads flying around thanks to Andy's NEW Transfer Sheet.  


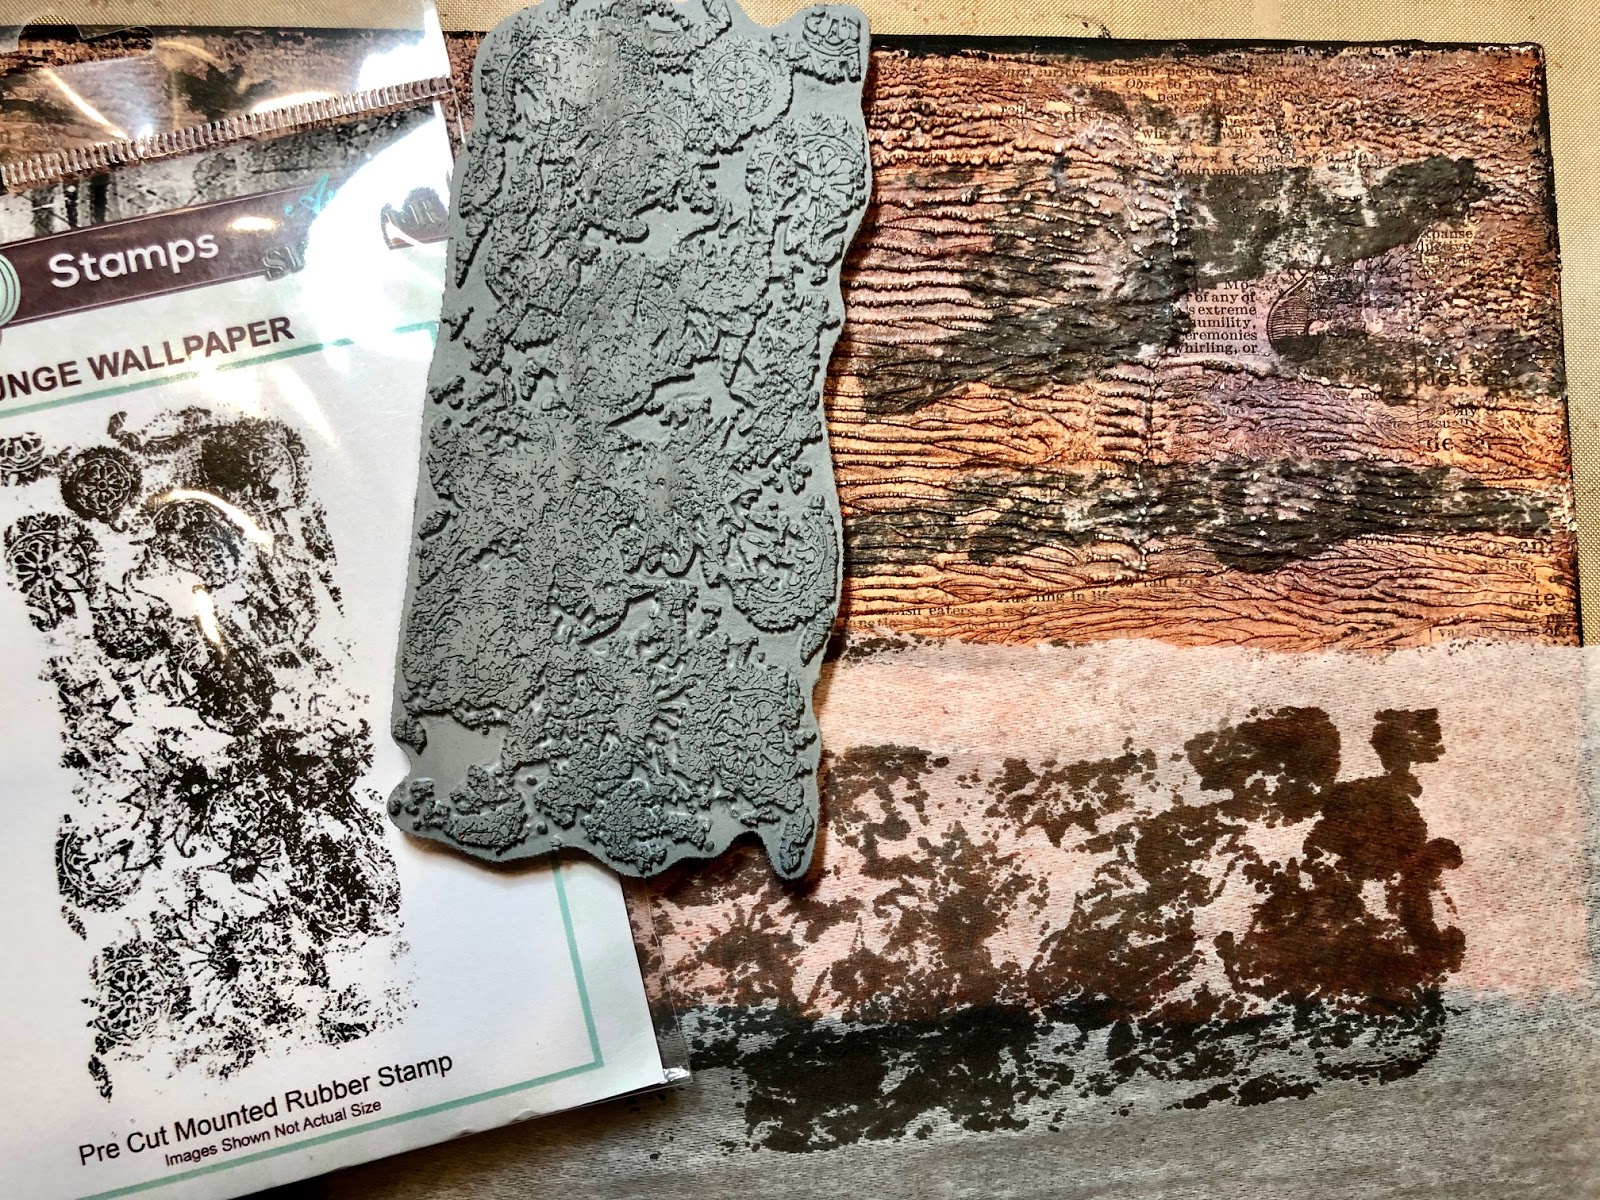
Using Permanent Black Ink, I stamped Andy's Grunge Wallpaper stamp from his first release onto a piece of white tissue paper and tore it into sections that I then glued onto the sky area of the canvas with Matte Medium.   This made the sky darker and more eerie.  The white tissue blends into the canvas so that you cannot see it at all: a perfect way to add details onto textured surfaces!


I die cut this section of fence using TIm Holtz Grunge Board and gave it a basecoat of Cosmic Shimmer Lava Paste.  I heat set it to give a lot of funky texture.  Then I brushed over the fence with Andy's NEW Creative Expressions Strata Paste: a thick textural paste with what looks like Mica Flakes in it.  This also gives a whole other look to your textured pieces!  This was then painted with an off white acrylic basecoat followed by an almost dry brush effect Burnt Umber acrylic paint for aging.  I then added some light gray acrylic paint dry brushed on the fence and also added to the tops of the fence.  Next was a light coat of a dark green acrylic paint to represent old, musty moss growing on the fence.  You can see the finished fence in other pictures.


As I said, I fussy cut the horse, bicycle and skeletons.  The skeletons elbow and knee joints were cut apart and repositioned for them to be riding a horse and also riding a bike.  I found another little witch hat stamp I used to put on their heads and added some stripped black crepe paper coming out of the top of their hats.  I added a black pole and "The Witching Hour" banner thanks to Andy's NEW Transfer Sheet!  I painted inside the bike wheels to better blend them into the background. Aren't these skeletons just hilarious?  


I also die cut some grave stones out of Grunge Board.  They were painted with the Strata Paste and heat set.  Once dry, I painted them with Acrylic Black Paint followed by a dry brush of a lighter grey paint.  They look like creepy old stone headstones.  The tree was also highlighted with a lighter grey acrylic paint and a knothole was added in the trunk of the tree.
Finally, I glued all of the pieces in place using Andy's NEW Creative Expressions Cosmic Shimmer Quick Grip Glue. It's awesome stuff and dries clear!


FInally, I added the skeleton bodies to three of the flying bats.  The pumpkins along the fence are from Andy's NEW Transfer Page, too!  The skeleton heads are from his Alchemy Plus Transfer Pages from his first release. But, instead of using them as transfers, I scanned them, sized them to my canvas design and printed them out on heavy weight cardstock.  Then I colored the pumpkins (with colored pencil)s and cut them out as well as the skeleton heads and glued them in place.  I think they are so cool and really finish this spooky "Midnight Riders" canvas perfectly!  Here you can also notice the mossy old fence sticking out from the canvas by little stacks of adhesive pop dots.
Andy's new line of products through Creative Expressions is super fun and innovative!  Be sure to check them out!


* Denotes from previous release of Creative Expressions and Andy Skinner

Miscellaneous Supplies:

  • Acrylics Paints:  Purple tones, Orange tones, Black, Dark Green, Light Grey
  • Paint Brushes
  • Brayer
  • 11 3/4" x 5 3/4" canvas
  • Dictionary Pages
  • Matte Medium
  • Heat Tool
  • Permanent Black Ink
  • Scissors
  • Die Cut Headstones and Fence from Grunge Board
  • Heavy White Cardstock
  • Colored Pencils

About the Artist: Candy Colwell