Showing posts with label Rice Papers. Show all posts

Monday, 28 September 2020

Rice Papers & Rust - by Nikki K

Morning everyone,

Today I thought I would share a tag I have made with Andy's new Rice Papers, and fab Strata Paste.

I started with the Vintage pack of papers, and took the wood effect paper and glued to an mdf tag with matt medium.  On top of that I took a piece with a vintage lable on, and wet the edges to tear the paper easily.  This was glued on top of the first.

I gave the tag a wash of very watered down Raw Umber paint, to blend the colours of the rice papers better, and then added a little quinacridone gold in a wash.  It just toned it all down.

With a palette knife, I added Strata Paste roughly around the edges of the tag, more in some places than others.  This was then given a wash of  Raw Umber, and some Quinacridone Gold in places. 


The mdf butterfly and scroll were first painted in neat Raw Umber, then I used the new Stonewash Stamp to give the background some detail.  Over that I painted Quinacridone Gold to add the rust effect.  The top layer of the butterfly was also given the rust treatment.

A piece of wire was threaded through the Tag, and curled round a paintbrush on each side to finish.

Have fun crafting, 

Nikki
xx

Products Used:
Artists Acrylics, Raw Umber, Quinacridone Gold.

Monday, 14 September 2020

Trésors de la Méditerranée, by Natassa Blazaki

Hello my lovelies. Hope you are all doing well and keeping safe.

This is Natassa and today I’m on Andy’s blog to share with you a home décor project inspired by the Mediterranean Tile Art. Recently, I received Andy’s new products, which are all gorgeous as always, but what made my heart pound were that set of Tiles Rice Papers, released by Creative Expressions. It was love at first sight!

Haven’t been in Spain or Portugal, where these amazing pieces of art ornate the exteriors and interiors of whole buildings. However, some years ago I visited la Costiera Amalfitana in Italy, where they also have a wonderful ceramic culture that dates back many centuries. Although not exactly the same, there are many similarities between the ceramic artworks of those three countries. Living in a Mediterranean country myself and having the sea as a big part of my culture, it was only natural to draw my inspiration from it. I created this couple of decorative panels, having in mind that they can beautifully ornate the outdoor walls of a Mediterranean beach house.

So, lets dig into the process. As a base I used two pieces of OSB boards, leftovers from another project. They measure 16 ¼ x 7 ¼ inches and first thing I did, was to give them a good coat of white chalk paint.

Let the paint dry well and then used the Mandala stencil and dubbed some paint with a soft sponge. I used a mixture of Artist Pigments Paynes Grey, Cobalt Teal and a tiny drop of Primary Magenta. I used matte decoupage glue to apply the rice papers. No need to cut the papers with scissors. Instead,you get much smoother result if you take a damp detail brush and draw a line where you want to cut the paper. The water softens the rice paper and cuts beautifully.

While the rice paper was still wet, I slightly scratched it  with my fingernails, just to make it a bit distressed. With the same mixture of paint as before, I painted my airdry moulds. Let them dry and then dry brushed them with gold paint, to make their details pop up. 

I glued the moulds on the panels with Quick Grab Glue. Then, I created a dirty wash with Paynes Grey and Transparent Yellow Iron Oxide and applied it on the whole surface. I let it dry naturally.

To decorate the shells, I coated them with Versamark ink, sprinkled with Mixed Media Embossing Powder Satin Sunset and heat set. 

Tip: turn on your heat gun and let it heat really well, about 20 seconds, before directing it on the embossing powder. Works much better.

I chose the Ammonite Rubber Stamp for the background, but the substrate was so uneven that I couldn’t get a nice impression. So, I took some tissue paper and stamped on it with blue archival ink. Then cut it to smaller pieces and glued it on the surface with decoupage glue. I also used E6000 glue for the shells.

I really hope you enjoy this project as much as I did and I'd love to read your comments. Find a full list of supplies at the end of the post.

Here are some close ups


Hugs to all 

😃

Natassa


Materials

Andy Skinner Creative Expressions

Paynes Grey, Transparent Yellow Iron Oxide, Cobalt Teal Hue, Primary Magenta


Rubber Stamps - "Ammonite"

Stencils - "Mandala"


Other materials

OSB boards
2' flat brush
1/2' flat brush
Round brush
Soft sponge
Ranger Archival Ink
Versamark Ink
White chalk paint
Gold acrylic paint
Light air dry clay
Silicon moulds
E6000 glue
Natural sea shells


Wednesday, 2 September 2020

Sugar Skull Jewellery - by Nikki K

 Morning everyone, 

It's been a while since I posted, but wanted to share these fun necklaces with you using Andy's fab Sugar Skull stamp, which is a great size for cards and art, but also for jewellery, it makes a large necklace easily.  It's also great for coming Halloween, to make your own decorations!

I used some of Andy's Rice Papers, and stamped the skull out in different places.  This is fun as you can use any of the rice papers and get a fab different pattern on each skull.

The next bit is tricky, you need to leave the skulls on the paper, and wind some wire, probably 18 to 20 guage (it's slightly more pliable), around the skull.  I cut a long piece, then start at the bottom of the skull, and work my way up both sides.  Keep it flat on the paper, and glue with strong glue as you go.  You will need to hold this for longer than you think, and get sticky fingers.. lol.  Don't hold it down with anything other than your fingers as the paper has a chance of sticking and ripping.

When you get to the top, bend one piece of wire straight (90%) and make a large loop (like making an earring).  I would cut the wire a bit shorter for this step, but not so short that it can't be hidden.  Take the other end of the wire, and wrap around the loop to hold and secure.  Only when this has completely dried, did I cut out close to the wire on the outside.

Once you have this done, cover the whole of the front of the pendant with glue (pva) is fine.  Do this 2 or 3 times, making sure there are no gaps between the edges of the wire and the paper.  You are making a bezel to hold resin.  If you don't have resin, you could use melted UTEE, or another 3d Glaze.

When completely dry from the glue, you can add your resin or glaze, according to manufacturer's instructions.

You don't need to coat the back of the necklace, it has a rough texture but is sealed from the layers of glue anyway.  I like it this way as it shows it is handmade.


Hope you like them, 

Have fun making. xx

Nikki K.

xx

Products Used:
Andy Skinner Creative Expressions Sugar Skull Stamp
Andy Skinner Creative Expressions Rice Papers,
Andy Skinner Quick Grab Glue.

Other items: Versafine, Resin, jewellery wire & findings.

Sunday, 5 April 2020

Old Skool- A Fishy Tale- Fiona Randall


Good Morning how's everyone doing? Hope you are all well and keeping safe.
here's a little something from me Using Andy's New Rice Papers and his New Stamps.
 
 
I decided to create an A4 plaque to hang on my wall. The base is MDF and the Rice Paper from Andy's  Floral Grunge Set was applied to the grey board substrate. Splatters of paint were then applied using the gold pearlescent paint from the Creative Expressions  Kaleidoscope Jade Garden Set. Andy's Abstractrion Rice paper was the added to the fish edges inked and stamped with Andy's latest release stamps Memories of India and Artists. Once complete the fish were added to the substrate base with off cuts of grey board to give depth and dimension. The sentiment was stamped and applied. To finish the whole piece was then mounted onto the MDF base.
 
 
PRODUCTS USED.


Thanks for stopping by today.
Stay Safe Folks xx


Friday, 28 February 2020

Brandy Glass Flower Bowls - using Quick Grag Glue for decoupage on glass
Today's project is a super quick 'repurposing' project.
Old brandy glasses, quick grab glue mixed 50/50 with water, and beautiful rice papers are all you need to repurpose old glassware. You can use this technique on soooo many surfaces with this glue!
 
You might have seen from a previous post with an upcycled wine bottle, how brilliant the Quick Grab Glue is for decoupaging rice papers. So I used the same combo for a mega quick project, repurposing two glasses in the process. To find the glue and papers, click HERE!
The glue is so good that, even when watered down 50-50, it still grabs quickly and is still really strong. So is a great way to decorate and strengthen glassware.
This combo of glue and rice papers is also a really good base, so I could easily paint over the whole thing if I want to change the colours or completely redecorate them.
Tell us how you've used the quick grab glue!
For more details and the full story, check out my blog www.craftyhumphreys@hotmail.co.uk
Thanks for looking.
Suz


Wednesday, 29 January 2020

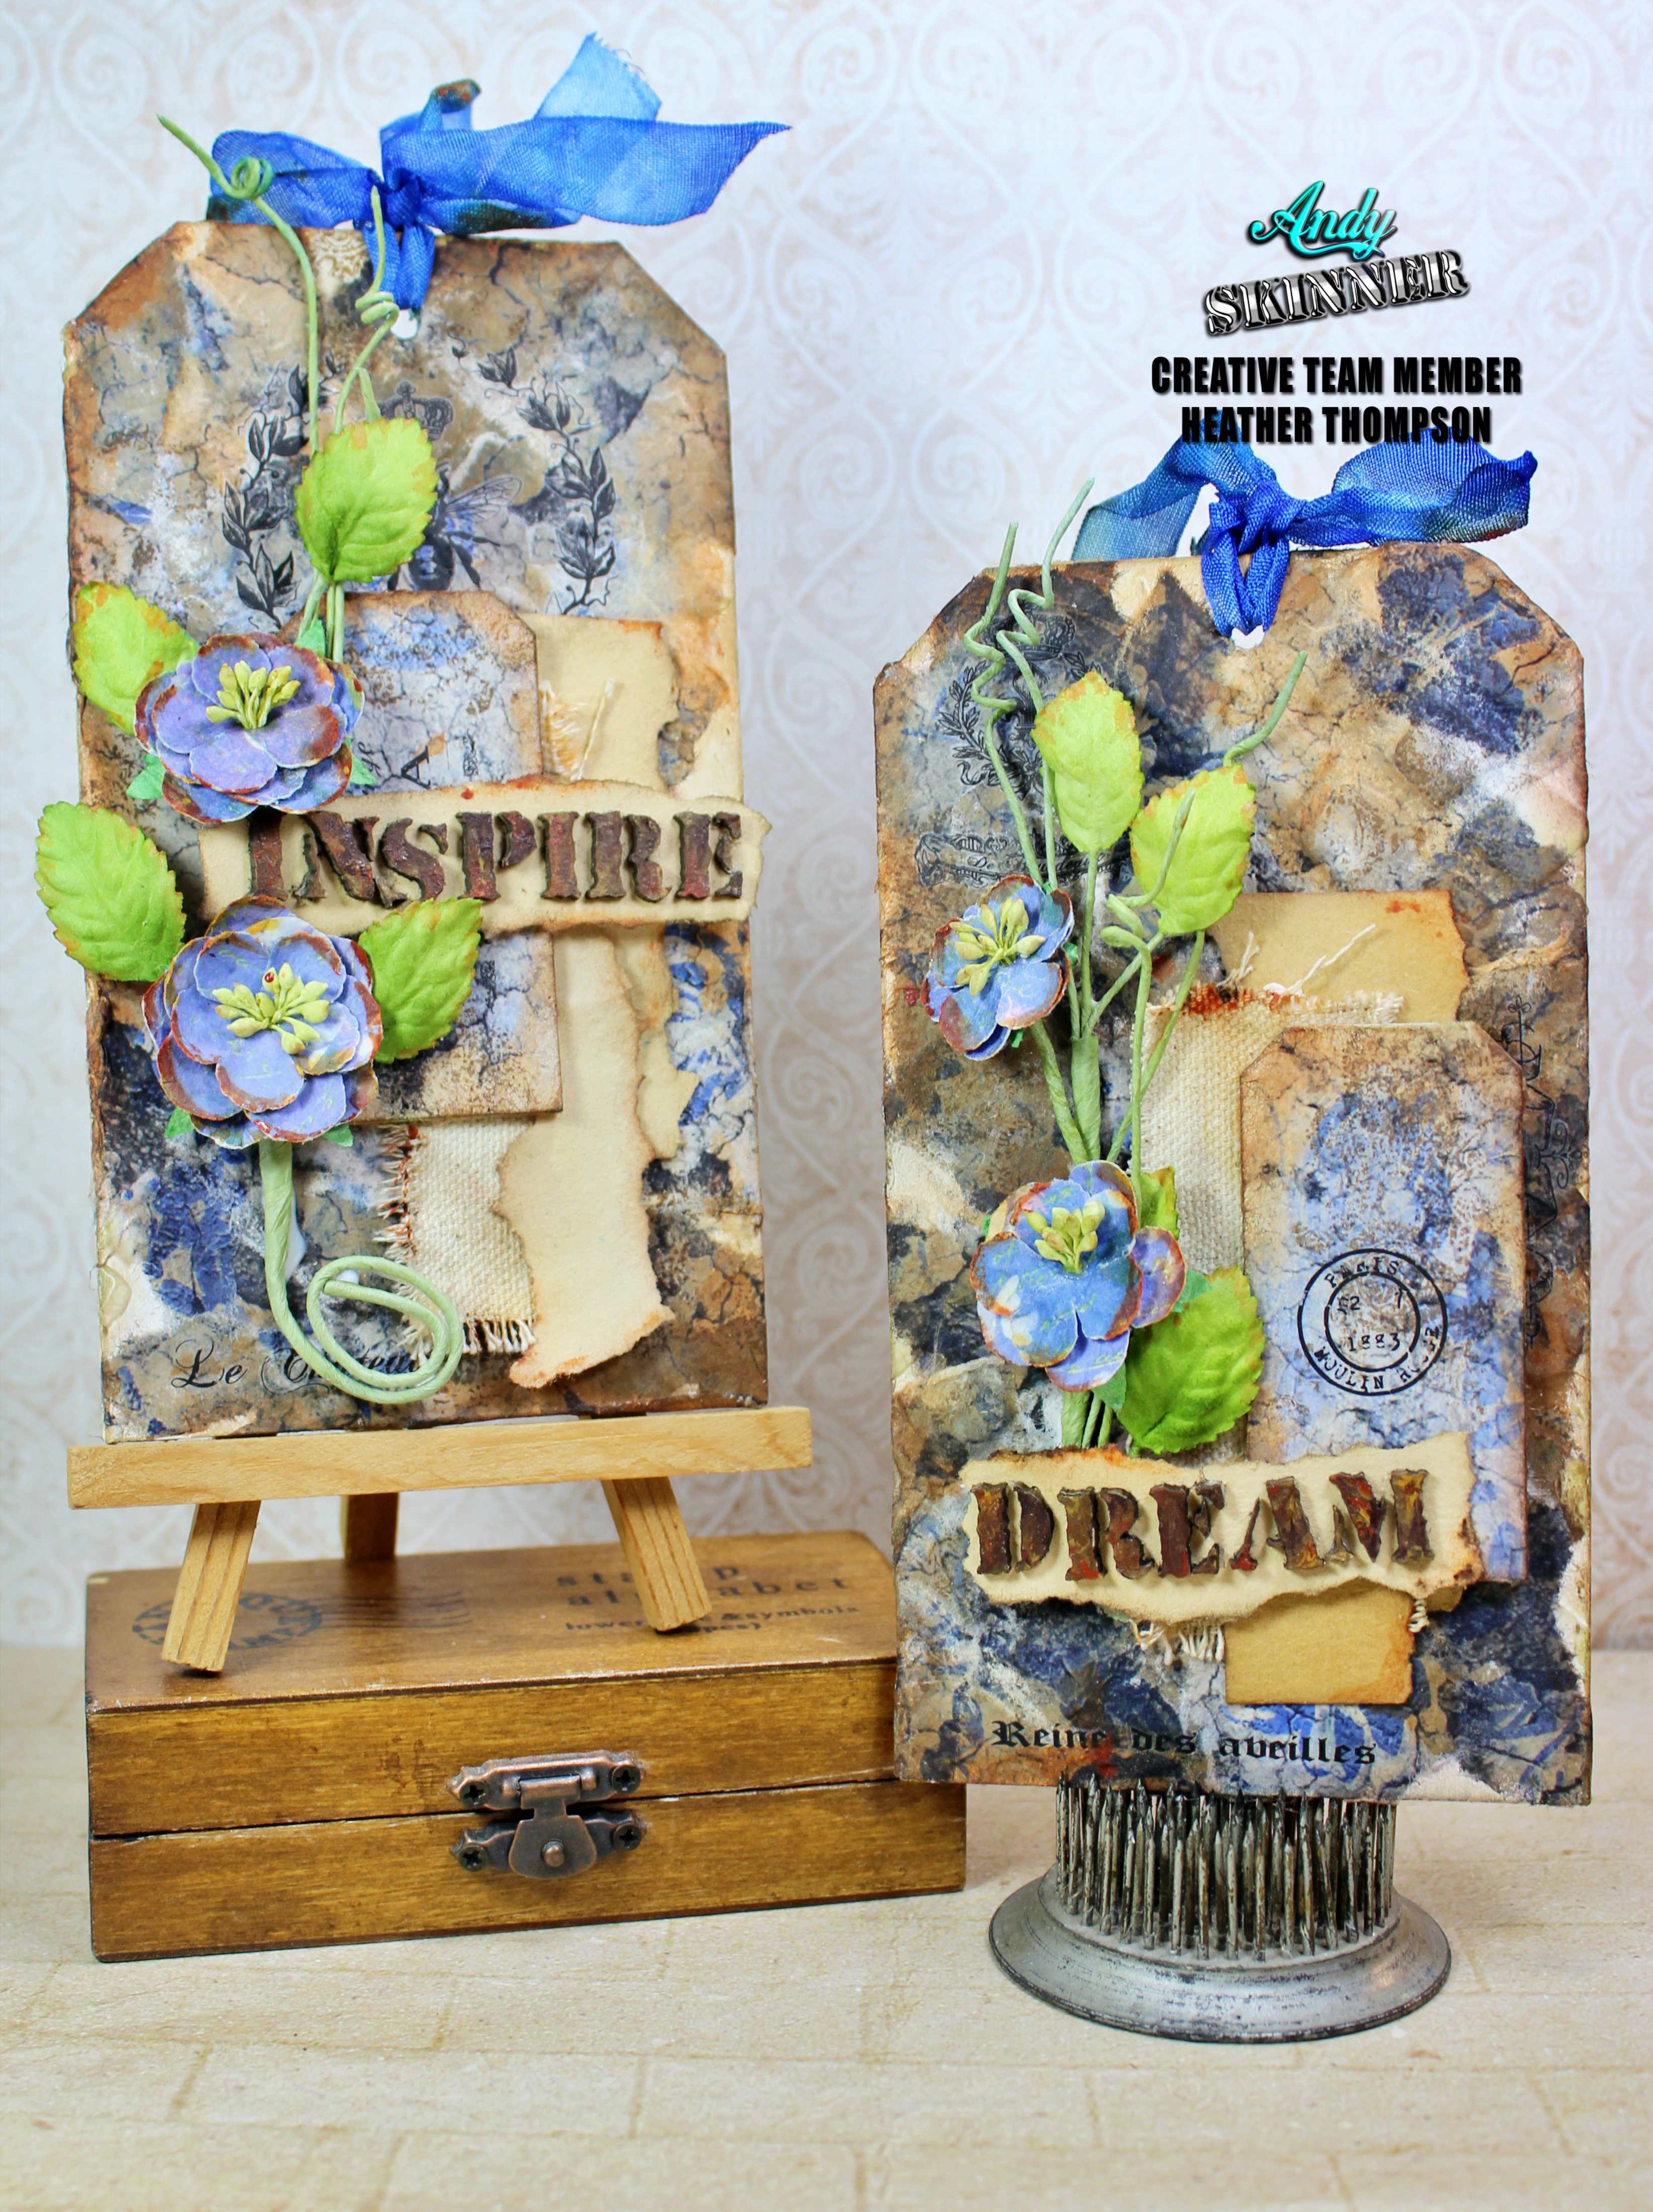
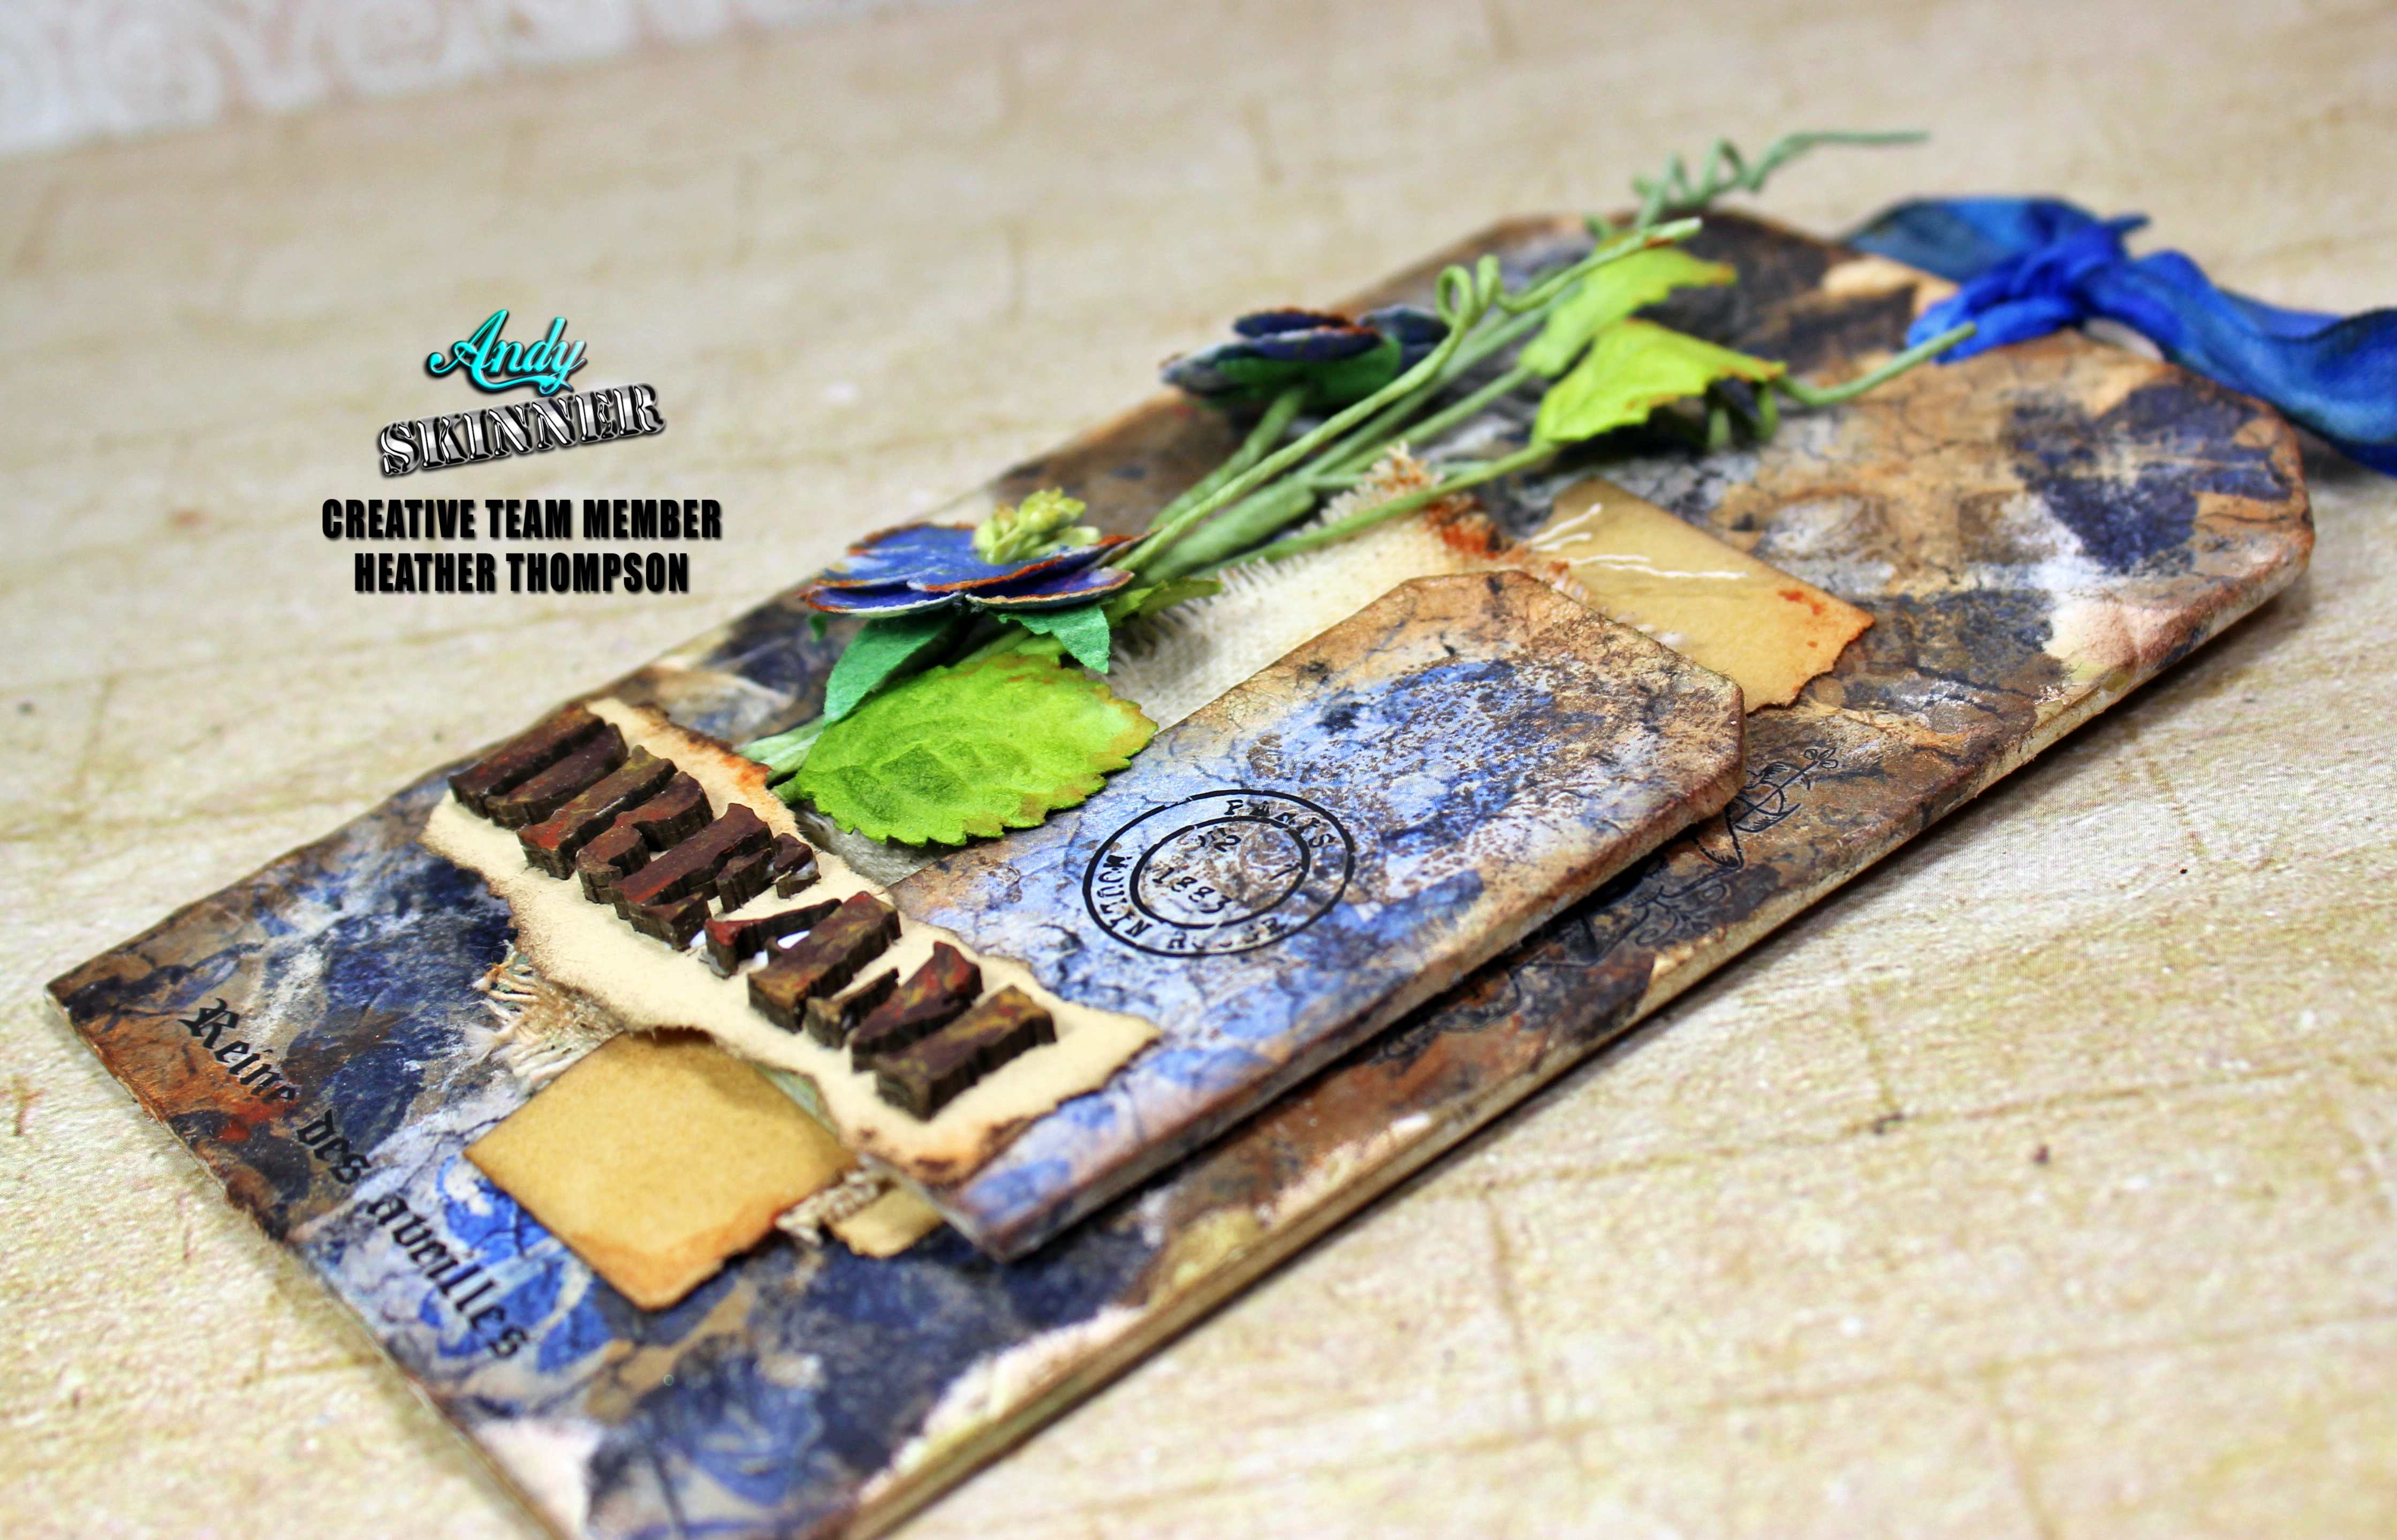
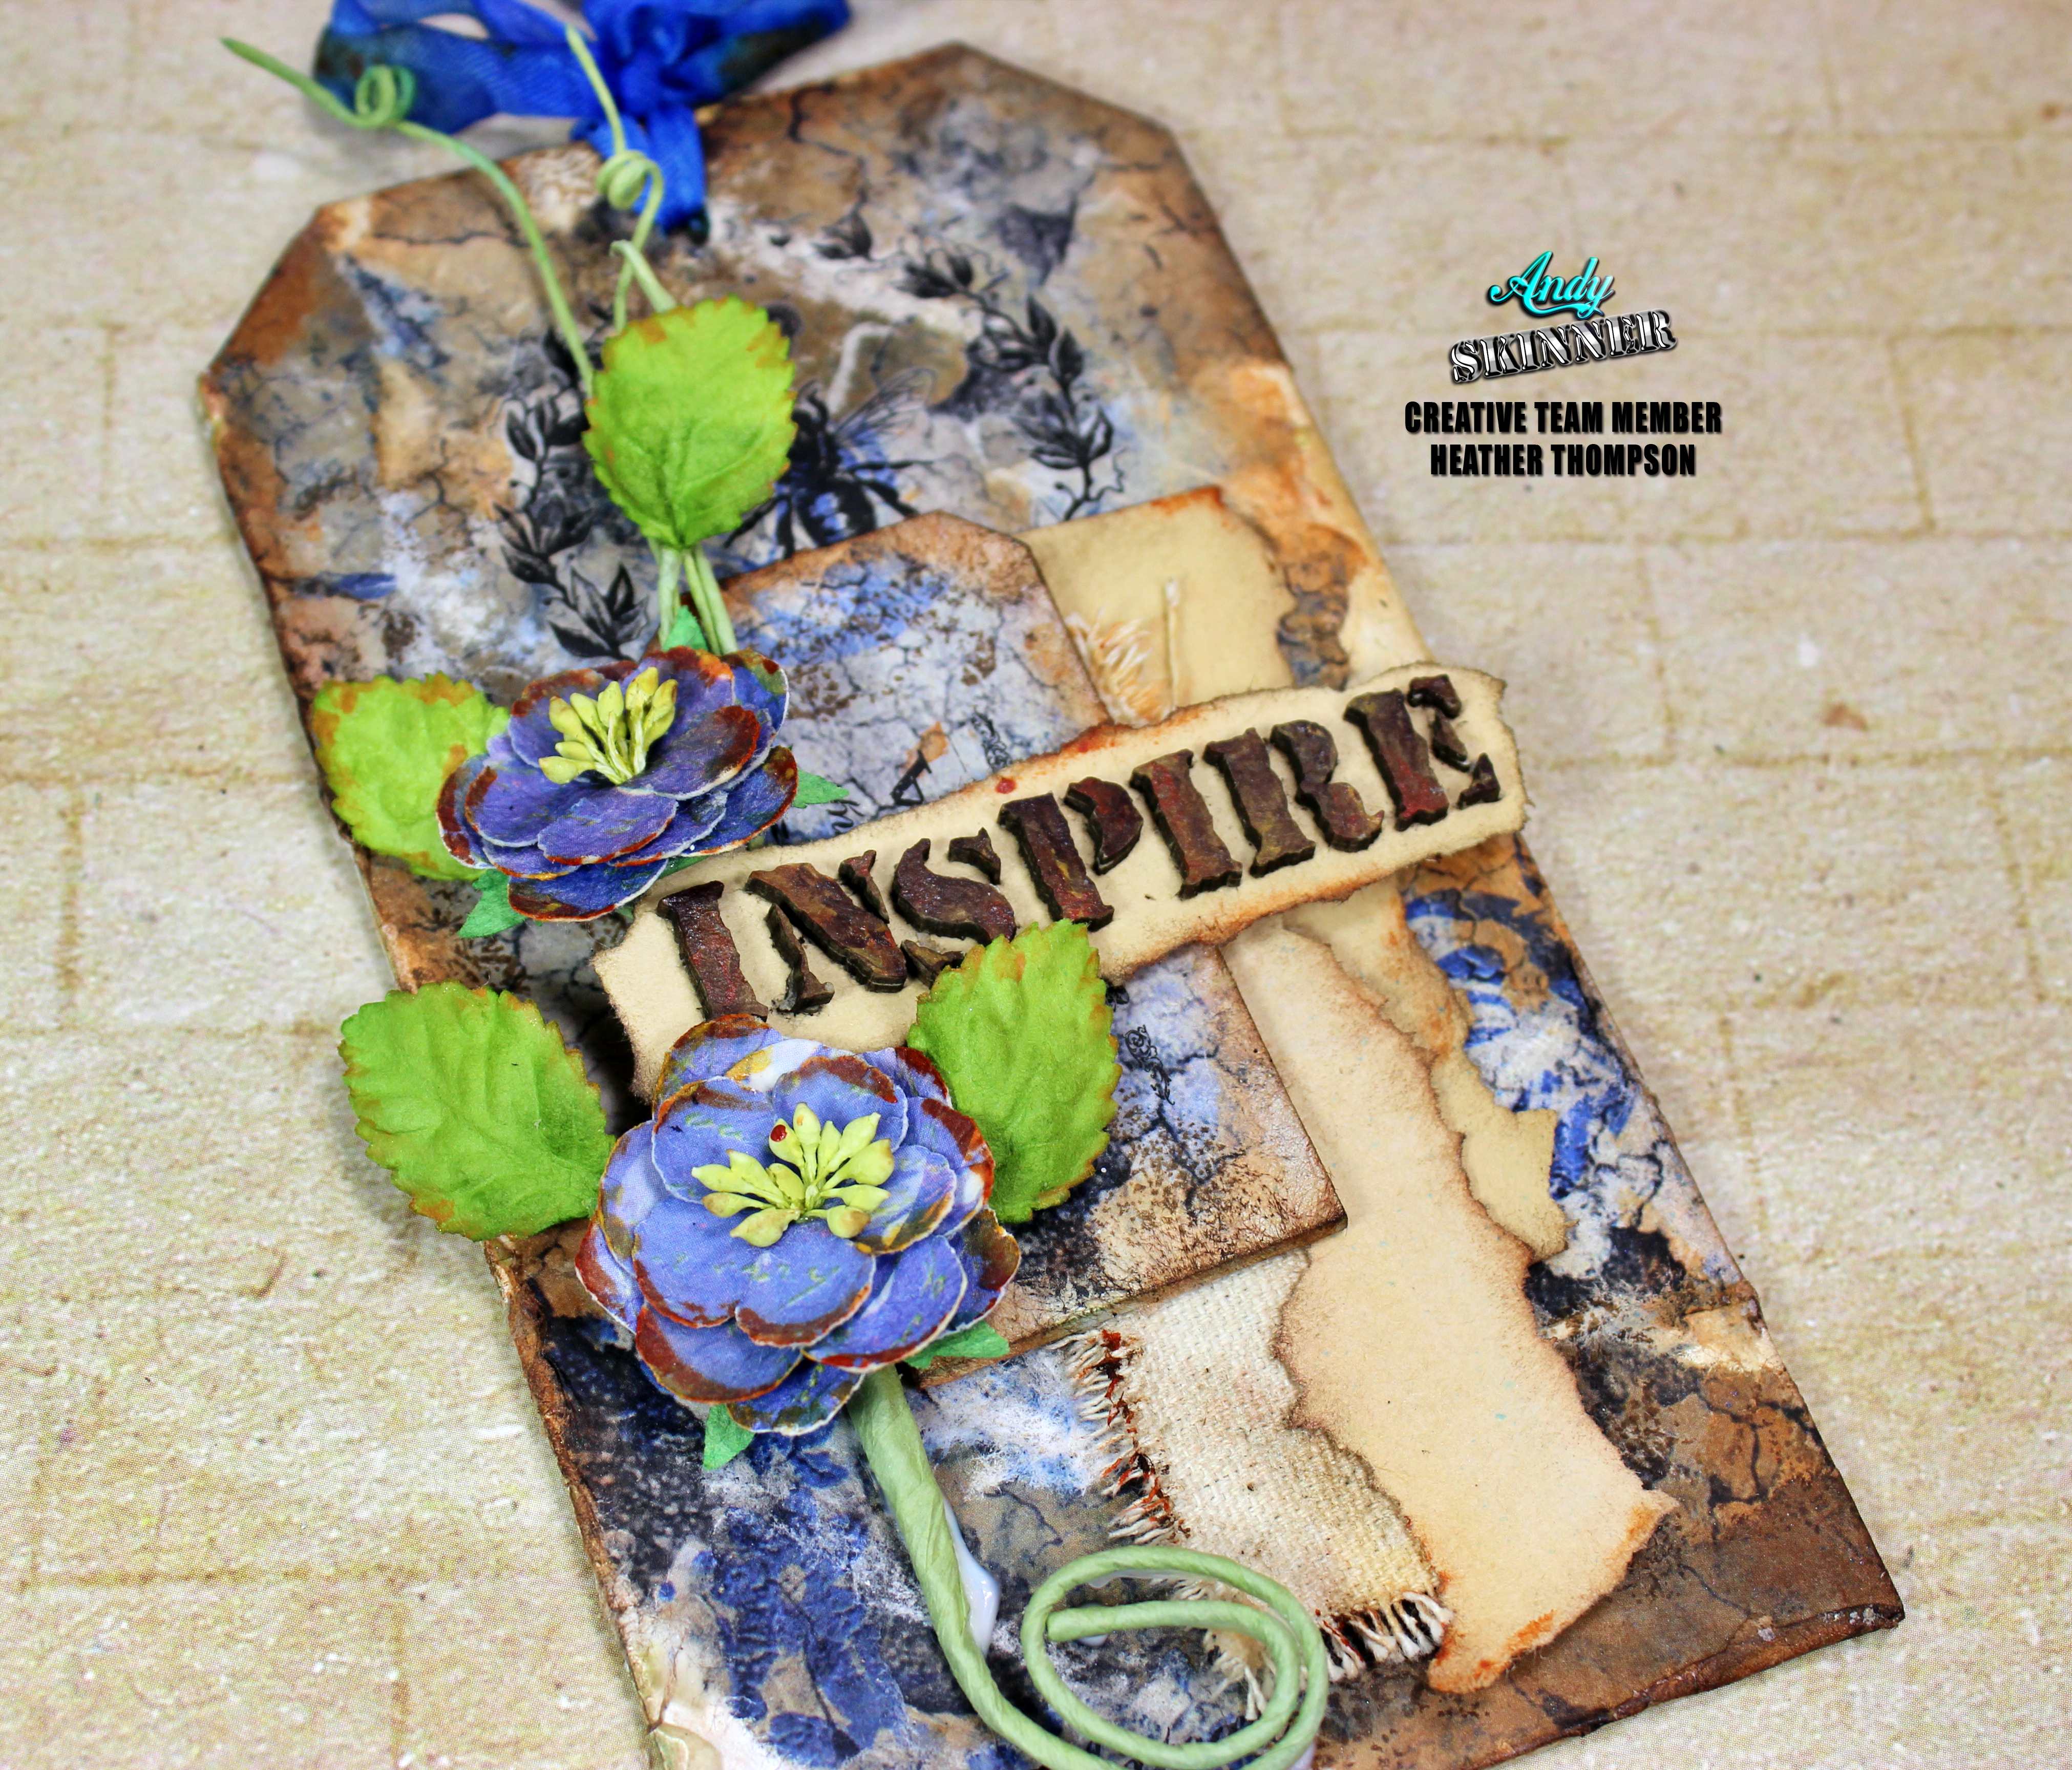
French Fancy Rice Paper Tags with Heather Thompson

Hello everyone, I would love to share a set of tags I made with Andy Skinner's new Rices Papers. And we are right around the corner for new releases for 2020, and I am so excited to see what will be coming out so stay tuned for those. Andy Skinner Tags French Fancy 
I made a short creative video of the process of these tags. 


Using the Rice Paper, I added some texture before I put the paper down. I wanted to play and see if this technique would come out how I had envisioned it to come out. I didn't want to cover up the rice paper but wanted to add more feel to the tag. 
Andy Skinner Tags French Fancy 4
Using the Rub-Ons I added detail on top of the rice paper and grunge it up a bit. 
Andy Skinner Tags French Fancy 3
I added a little colour and shading with Quin gold, Transparent Yellow Oxide and Raw Umber.
Andy Skinner Tags French Fancy 2
A few more close-ups. 

Instead of using the word plates, I used the insert and old vintage paper to make the title. 
Andy Skinner Tags French Fancy 1
Thank you for stopping by today, have a great creative day.
black and white head shot
Supplies:

tandologo


Friday, 17 January 2020

Upcycled Bottle, Found Treasure and Broken Jewellery

It took just 4 fab products, 3 small rusty found objects and a bit of lace and pearl trim from my stash to give a wine bottle a bit of a facelift. I was just looking for an excuse to use Andy's new rice papers. I added some lava paste through his Crocodile Stencil - that worked well over the papers. Some lace and beaded trim around the neck from my large stash of vintagy bits. Then, I made a dangly charm thingy. For that I used broken jewellery chain with some charms on it, some found rusty objects (safety pin, metal washer and a piece of wire) along with a piece of shrink plastic stamped using Andy's Gypsy Queen stamp. I pinned my dangly decoration through the lace around the neck to secure. Then finished off by adding my candle.
 
 The Lava Paste applies so easily on dimensional surfaces.


 The bottle will work well as a candle holder, and all the drips of wax will add even more texture.
Amazing how different the colours look when photographed during daylight (on the left) and at night (on the right). Thanks so much for looking. You'll find a more detailed step by step here
Rhe products I've used, along with a link to them, are listed below.

Products used:
Floral Grunge Rice Paper
Lava Paste
Gypsy Queen Stamp
Crocodile Stencil

You can find all these products HERE. 


Saturday, 11 January 2020

Retro Adventure

Happy New Year Everyone

I've been mia for awhile but am hopefully now back creating and making again and enjoying getting back in the swing of things.


Today I have a media board in a vintage style created using Andy's 'Abstraction' rice paper, his 'Retrology' transfers and his 'Create' stamp along with some paper ephemera, old photograph and paints.

                        The background was layered up with the rice paper, candle wax as a resist, titan buff and titanium white acrylic paints .....


.... and a small collage to top it off.


The car was rubbed onto an old piece of painty background, cut around and edged with distress ink. It makes a lovely focal paint with the old vintage photo.


I came back to this the next morning and decided it would look better more shabbier than grungy so I dabbled some watery white acrylic paint around the edges and splattered some little spots of it all over. You can see some of the paint is now laying over the top of the stamping and makes it look more distressed. I'm much happier now with how it looks.


So what is the story here? The guy has obviously been on a driving expedition, did he enjoy the open road and have fun? It seems he may not have done with the look on his face. Where did he go and who with? Was he away a long time and did he write letters home? Whatever the tale he hopefully made good use of his time away and came back with some wonderful anecdotes for the family.

Wishing you all a fun, creative year ahead.

hugs Brenda xx


Products by Creative Expressions


Abstraction
Create