Showing posts with label Lava Paste. Show all posts

Tuesday, 5 April 2022

Warrior Congo Mask with Heather and Olivia April Challenge


Welcome back, I have a treat today. Andy Skinner has a monthly challenge going on. The theme is the Congo. Interesting and somewhat not the easiest challenge to do for some of us. I was thinking that maybe my daughter Olivia and I would do a collaboration. After a bit of some brainstorming and a much needed call with Andy. Olivia and I decided that she would sculpt the Congo mask and I would do the framing.
Challenge Rules
  • Design an exhibit that may have been found in the Congo.
  • Item to be in a jar, bottle, picture frame, or box.
  • Only one item per expedition member
  • Must be a new work of art
  • Artwork to be submitted by April 29th, 2022
  • # for the posts is #congochallenge
  • Product and tools - Whatever you have in your stash if you have any of my products that would be fantastic!
  • No Glitter and gilding pastes are to be kept to a minimum. (sorry).
Prize
Any T-shirt from my clothing range https://jackallen.co/ and a set of my Artist pigment paints. Congo Inspiration Gallery https://www.facebook.com/media/set?set=oa.285223373724374...
Who’s in? #congochallenge

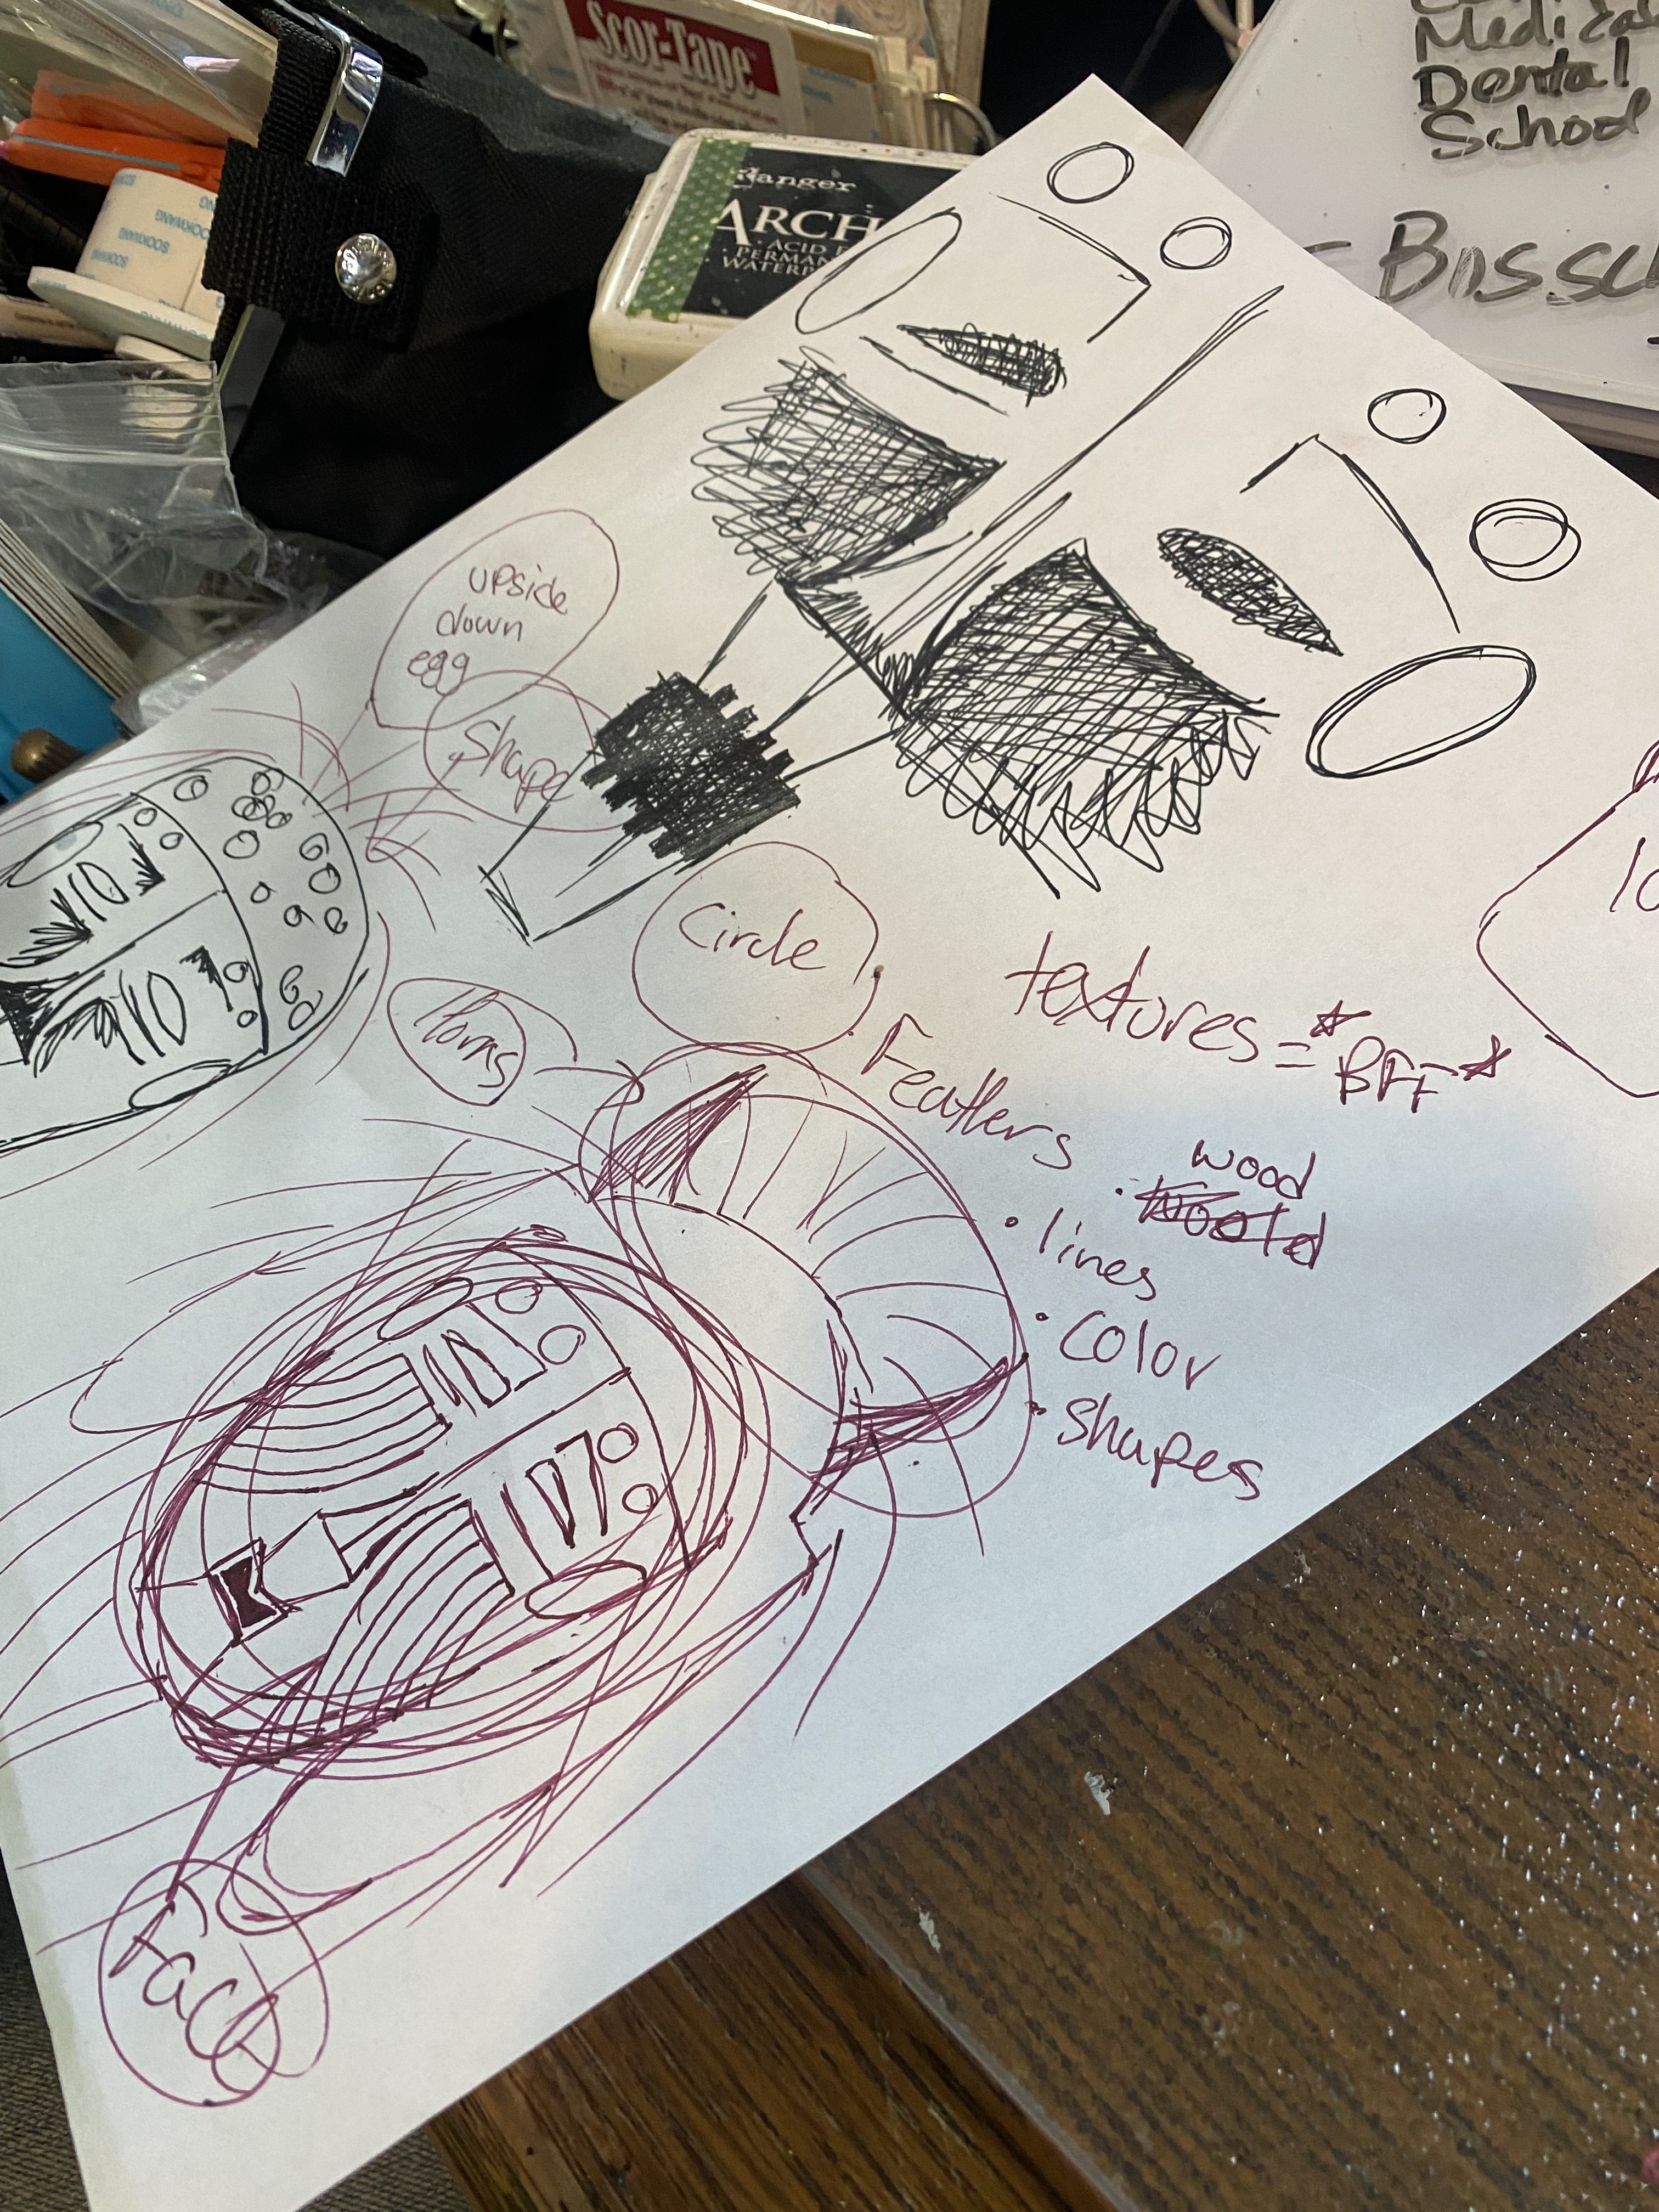
Olivia did a little research on the congo and found the masks, she sketched some ideas on to some paper and off she went.

This girls brain is so talented, It amazes me how a simple 5 minute sketching session and she is off doing something else. So we had a road trip in our future to pick up some polymer clay.
We got to have a call with Andy one Saturday afternoon and the two of them chatted about what they were up to and art and ideas for the challenge. Olivia was in her element with Andy. Soon hopefully one day we will be able to go back.
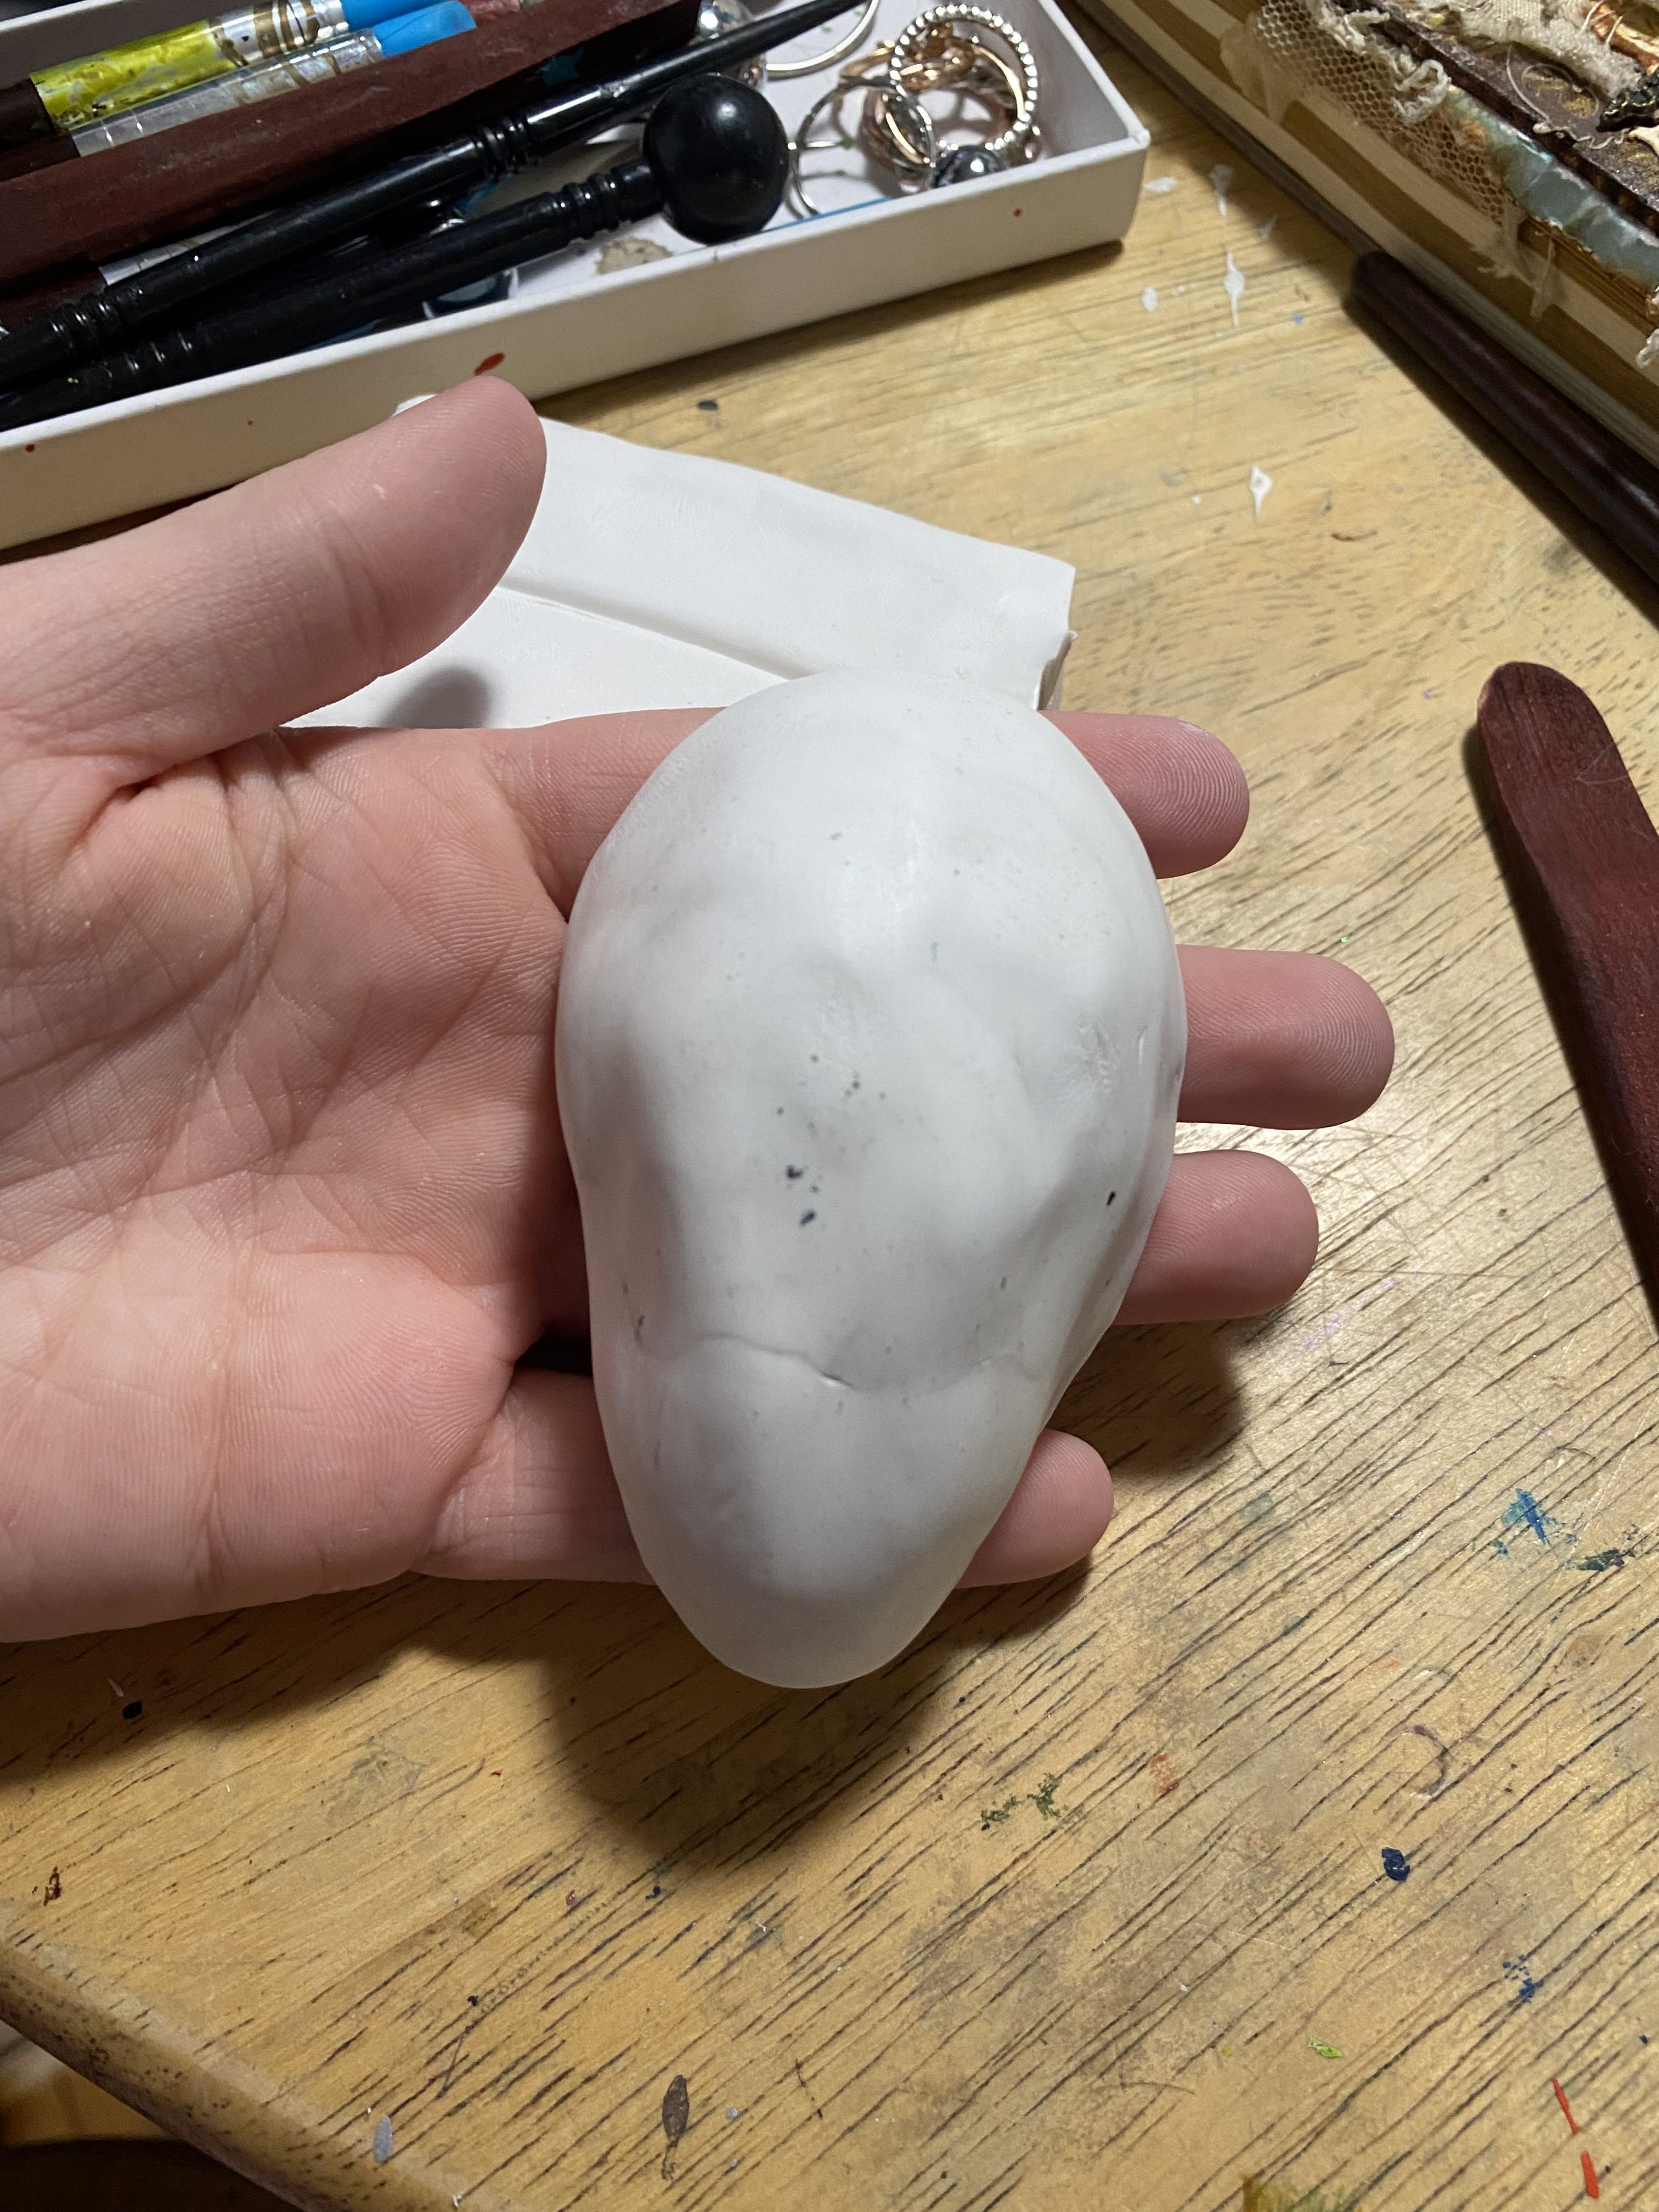
Here are a few pictures of her creative process.
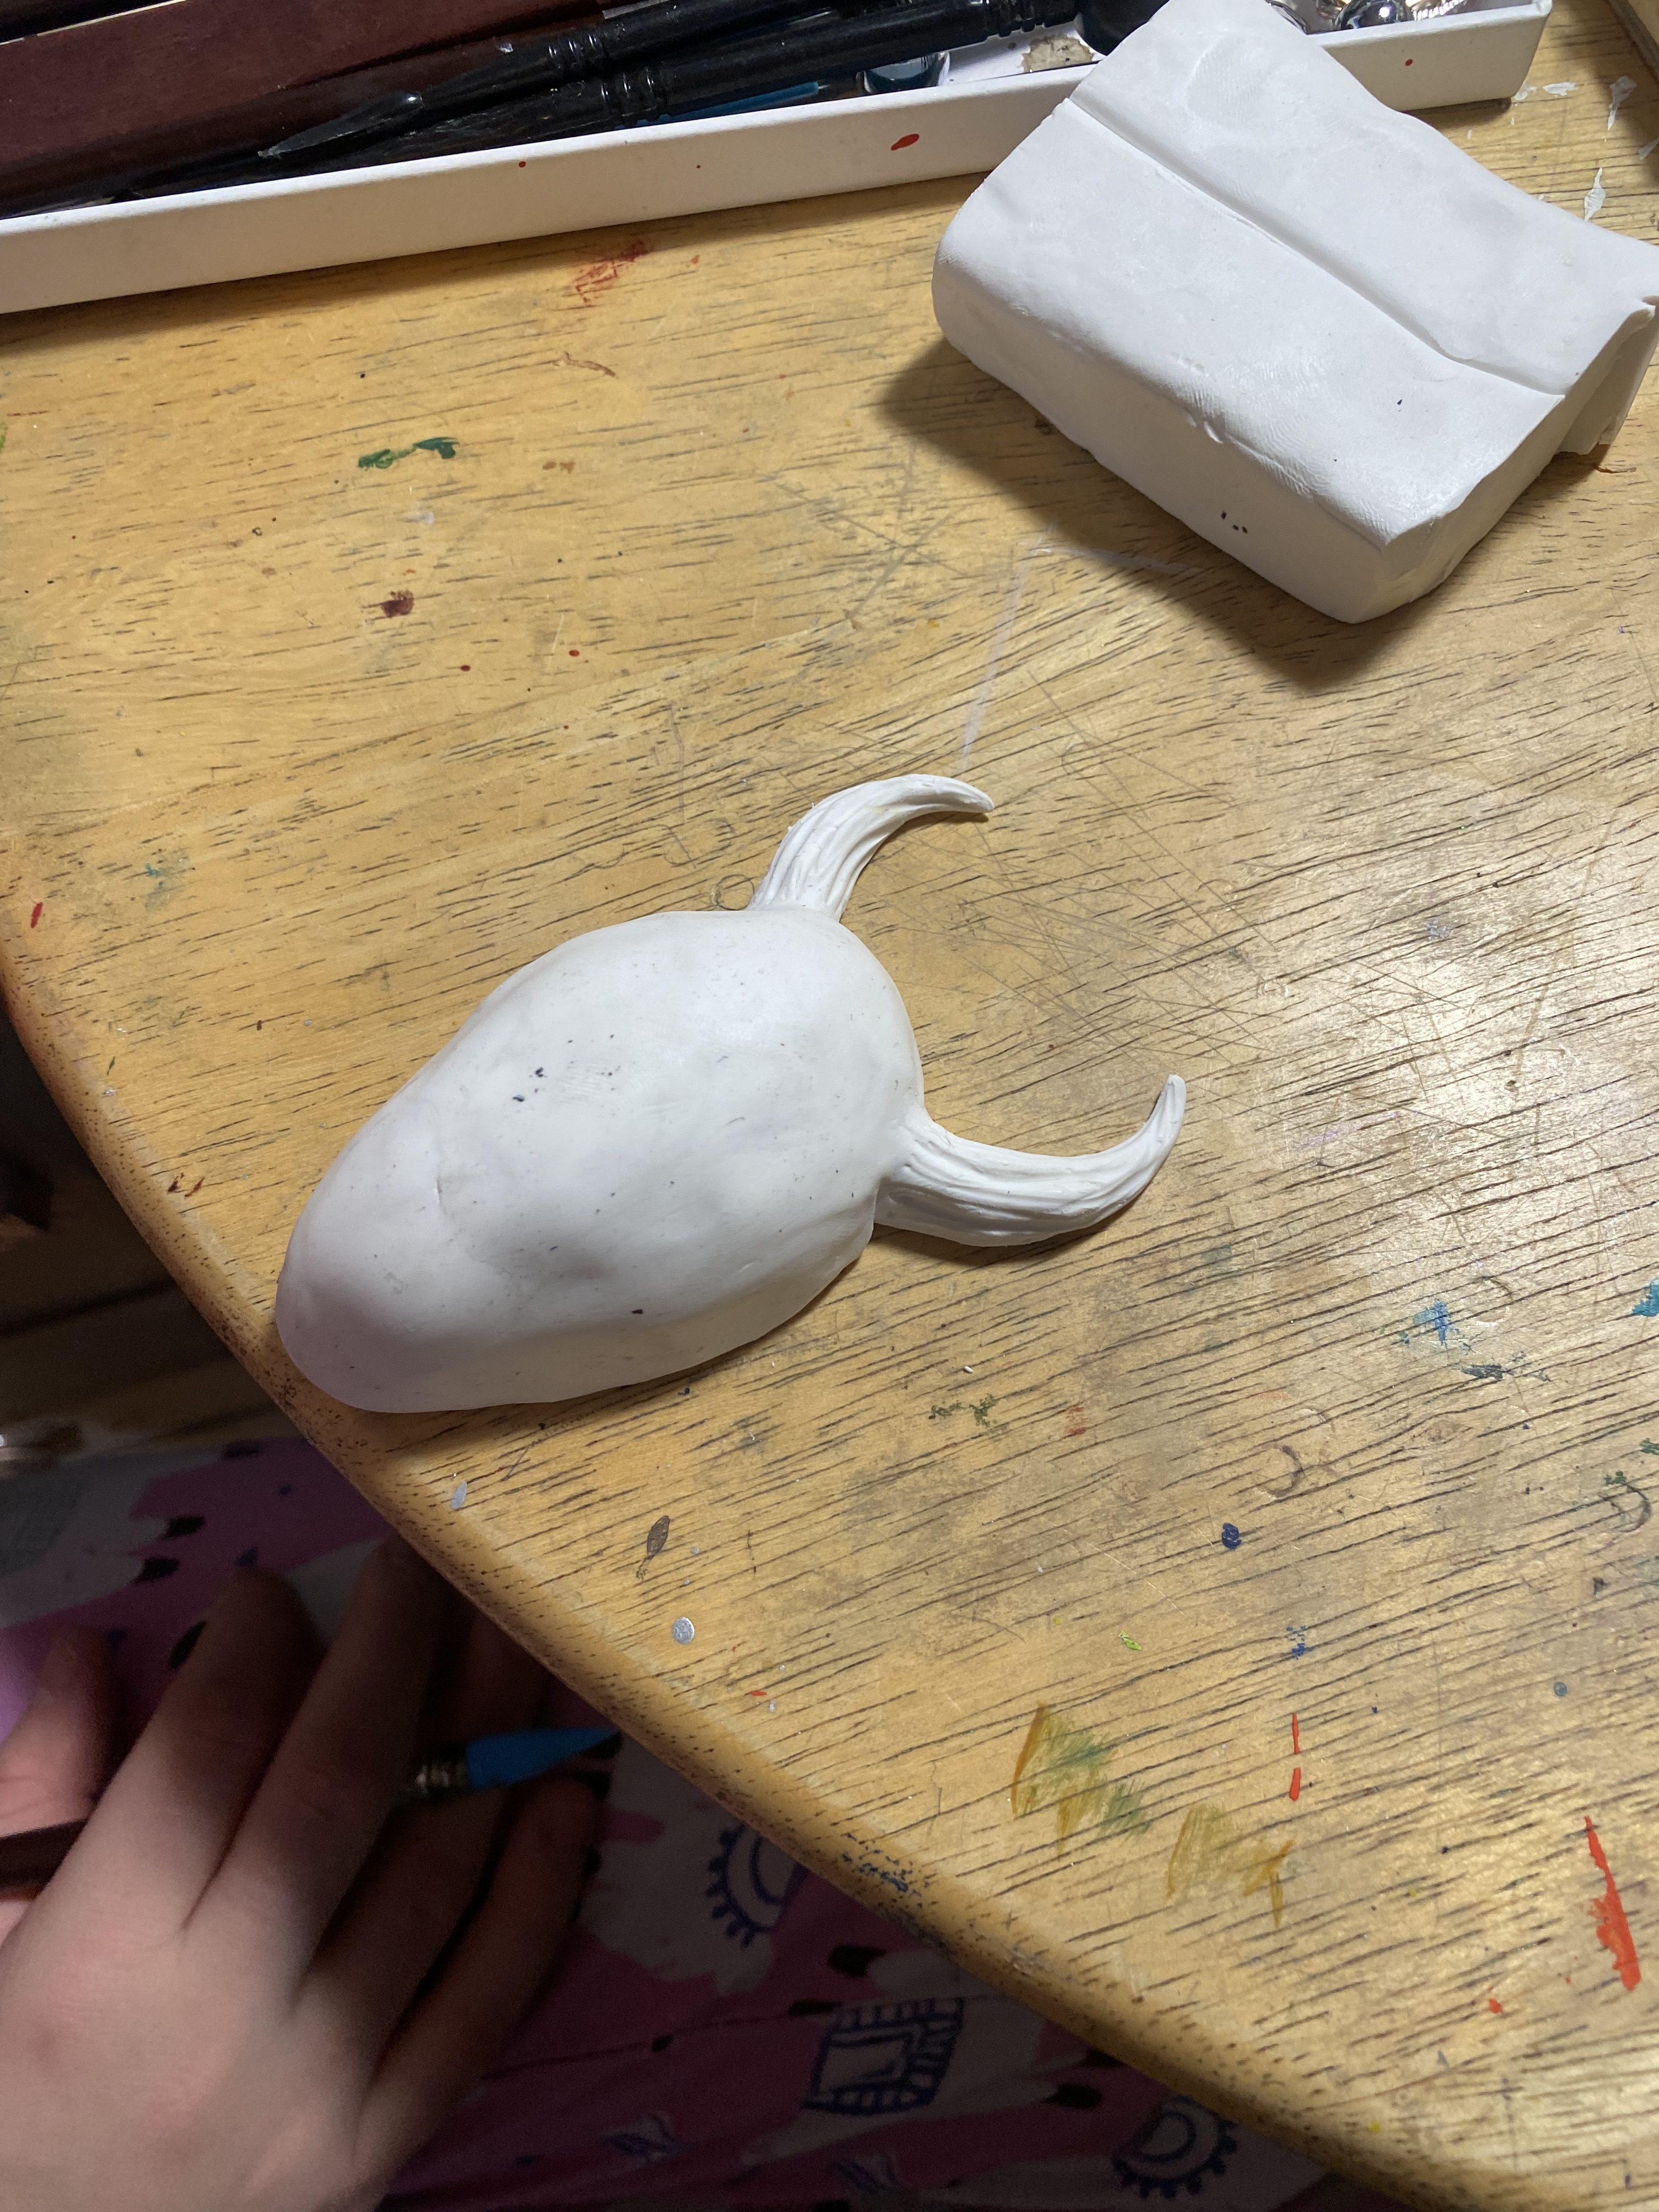
Just a side note the sketches she drew, we couldn't find them and this was all from memory and just her creative brain.
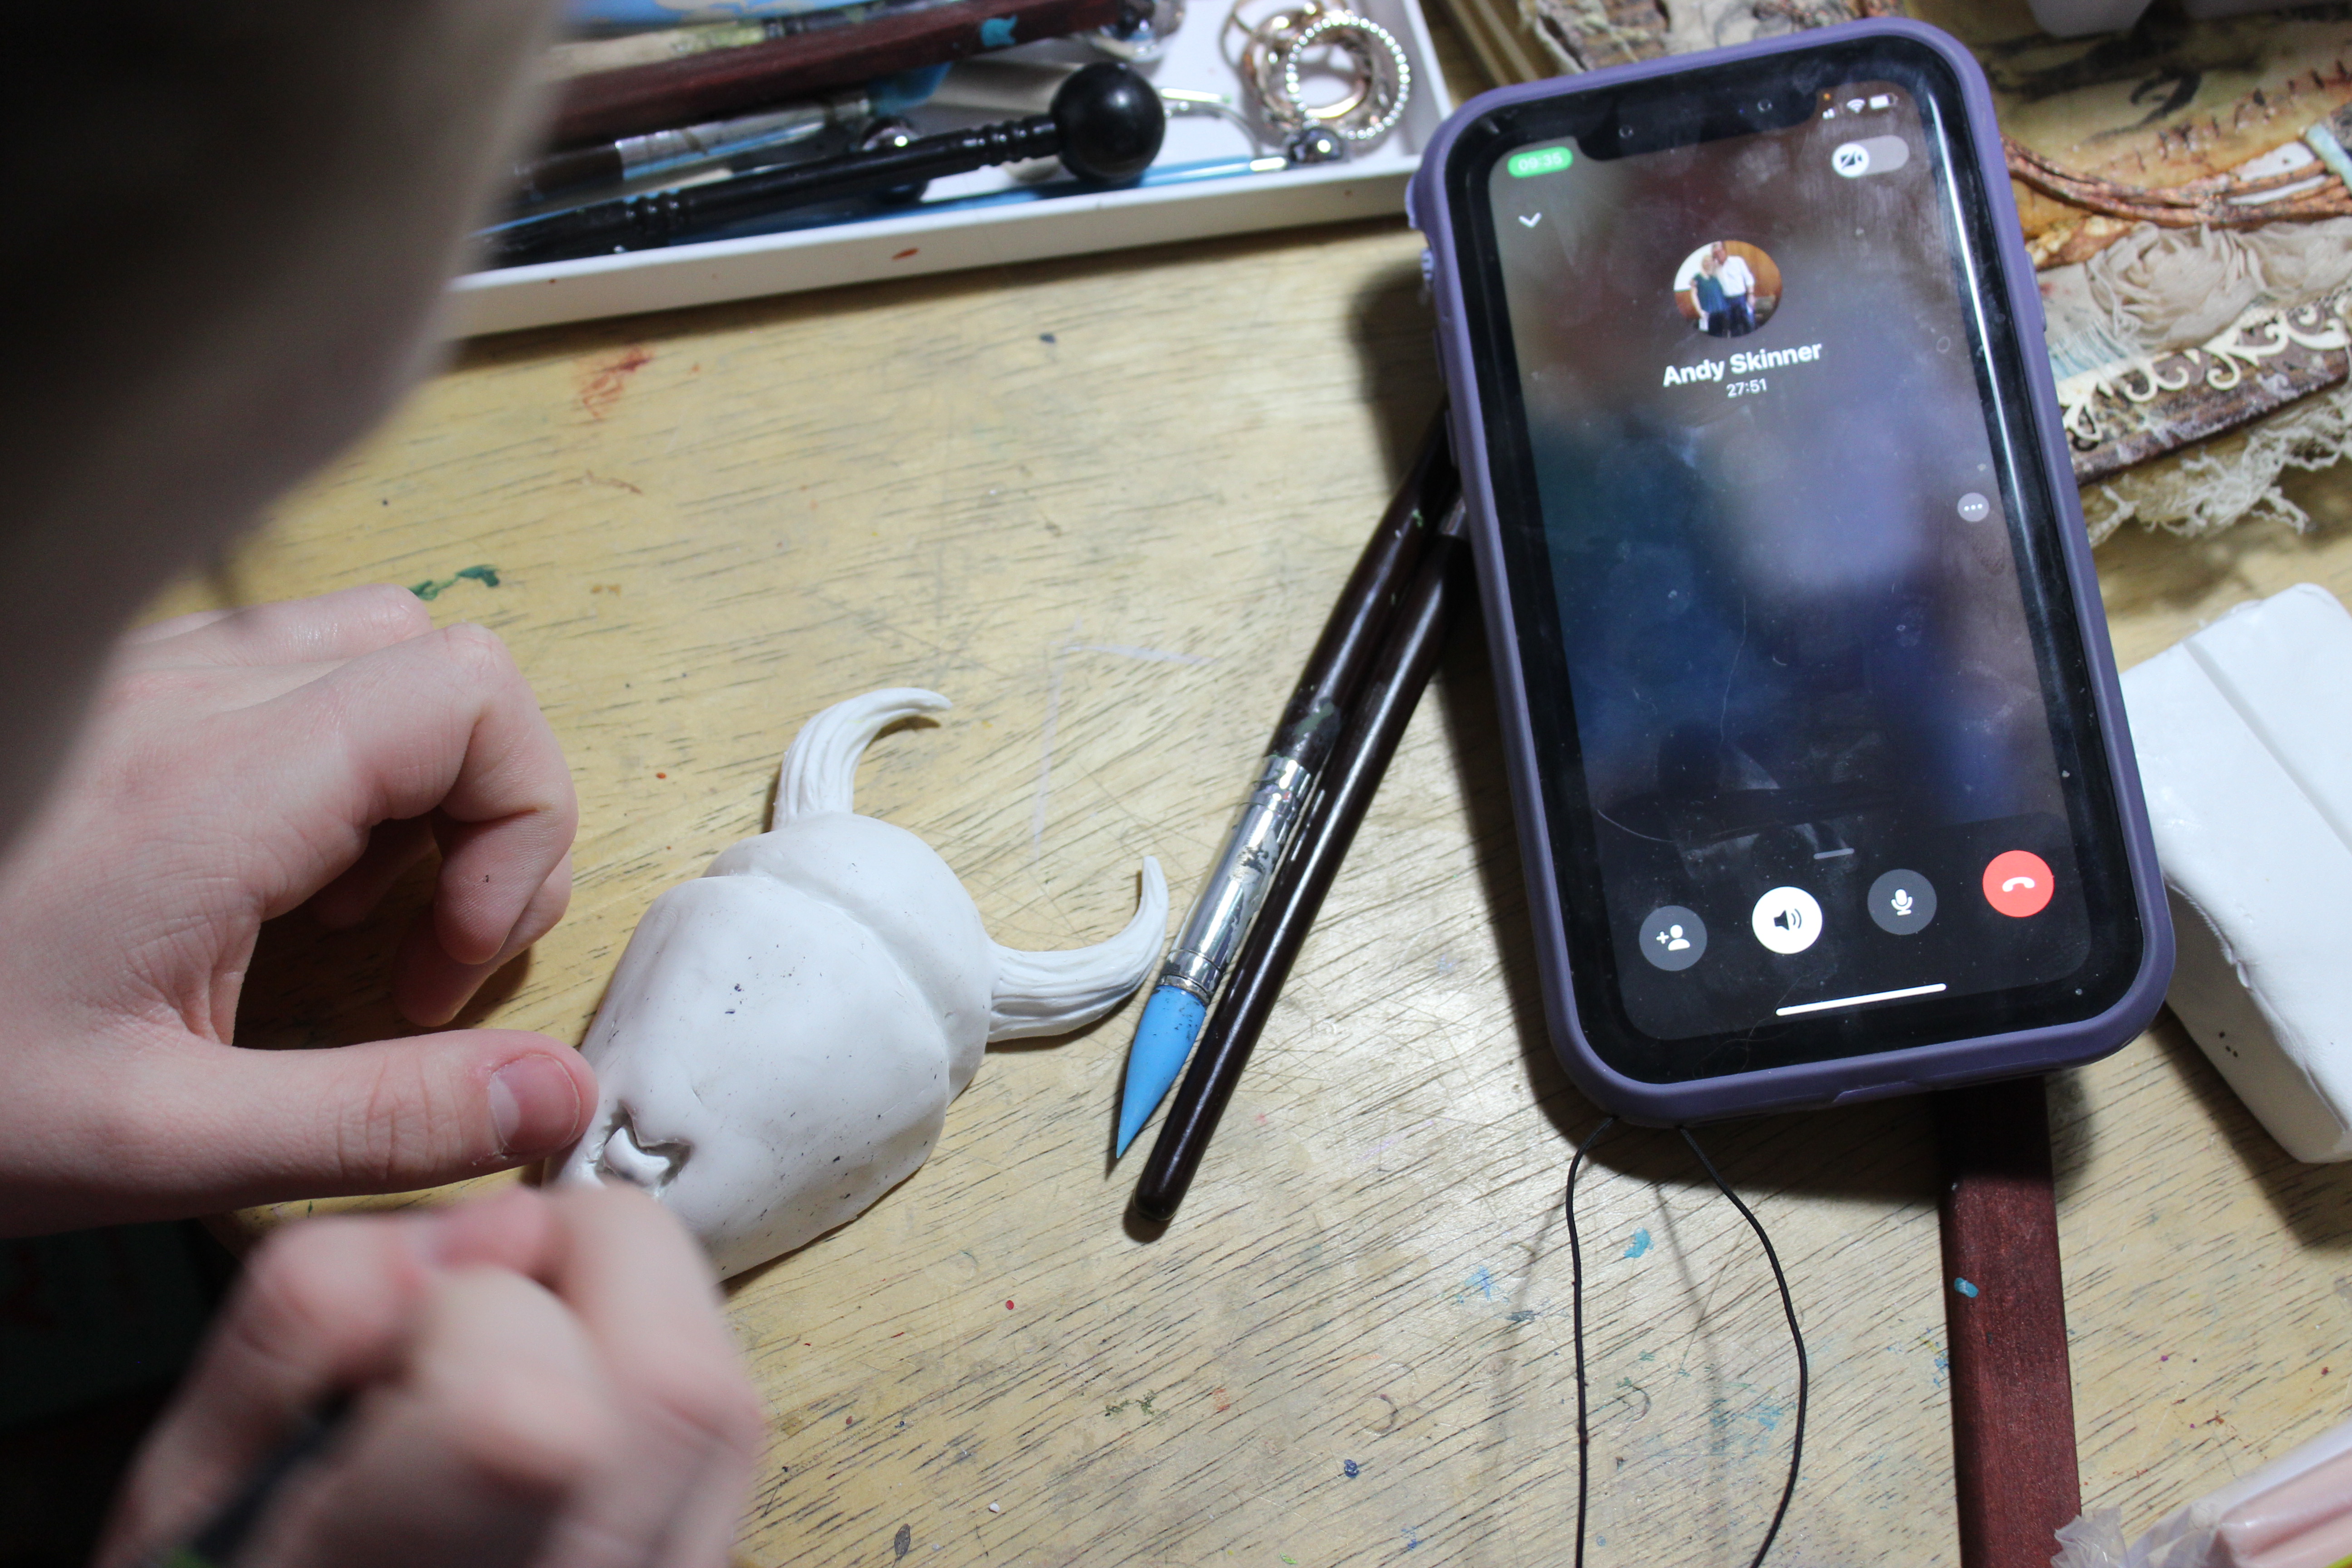
 

Olivia in her element.

I had sent a few photos to Andy and they brainstormed a few details on the piece.
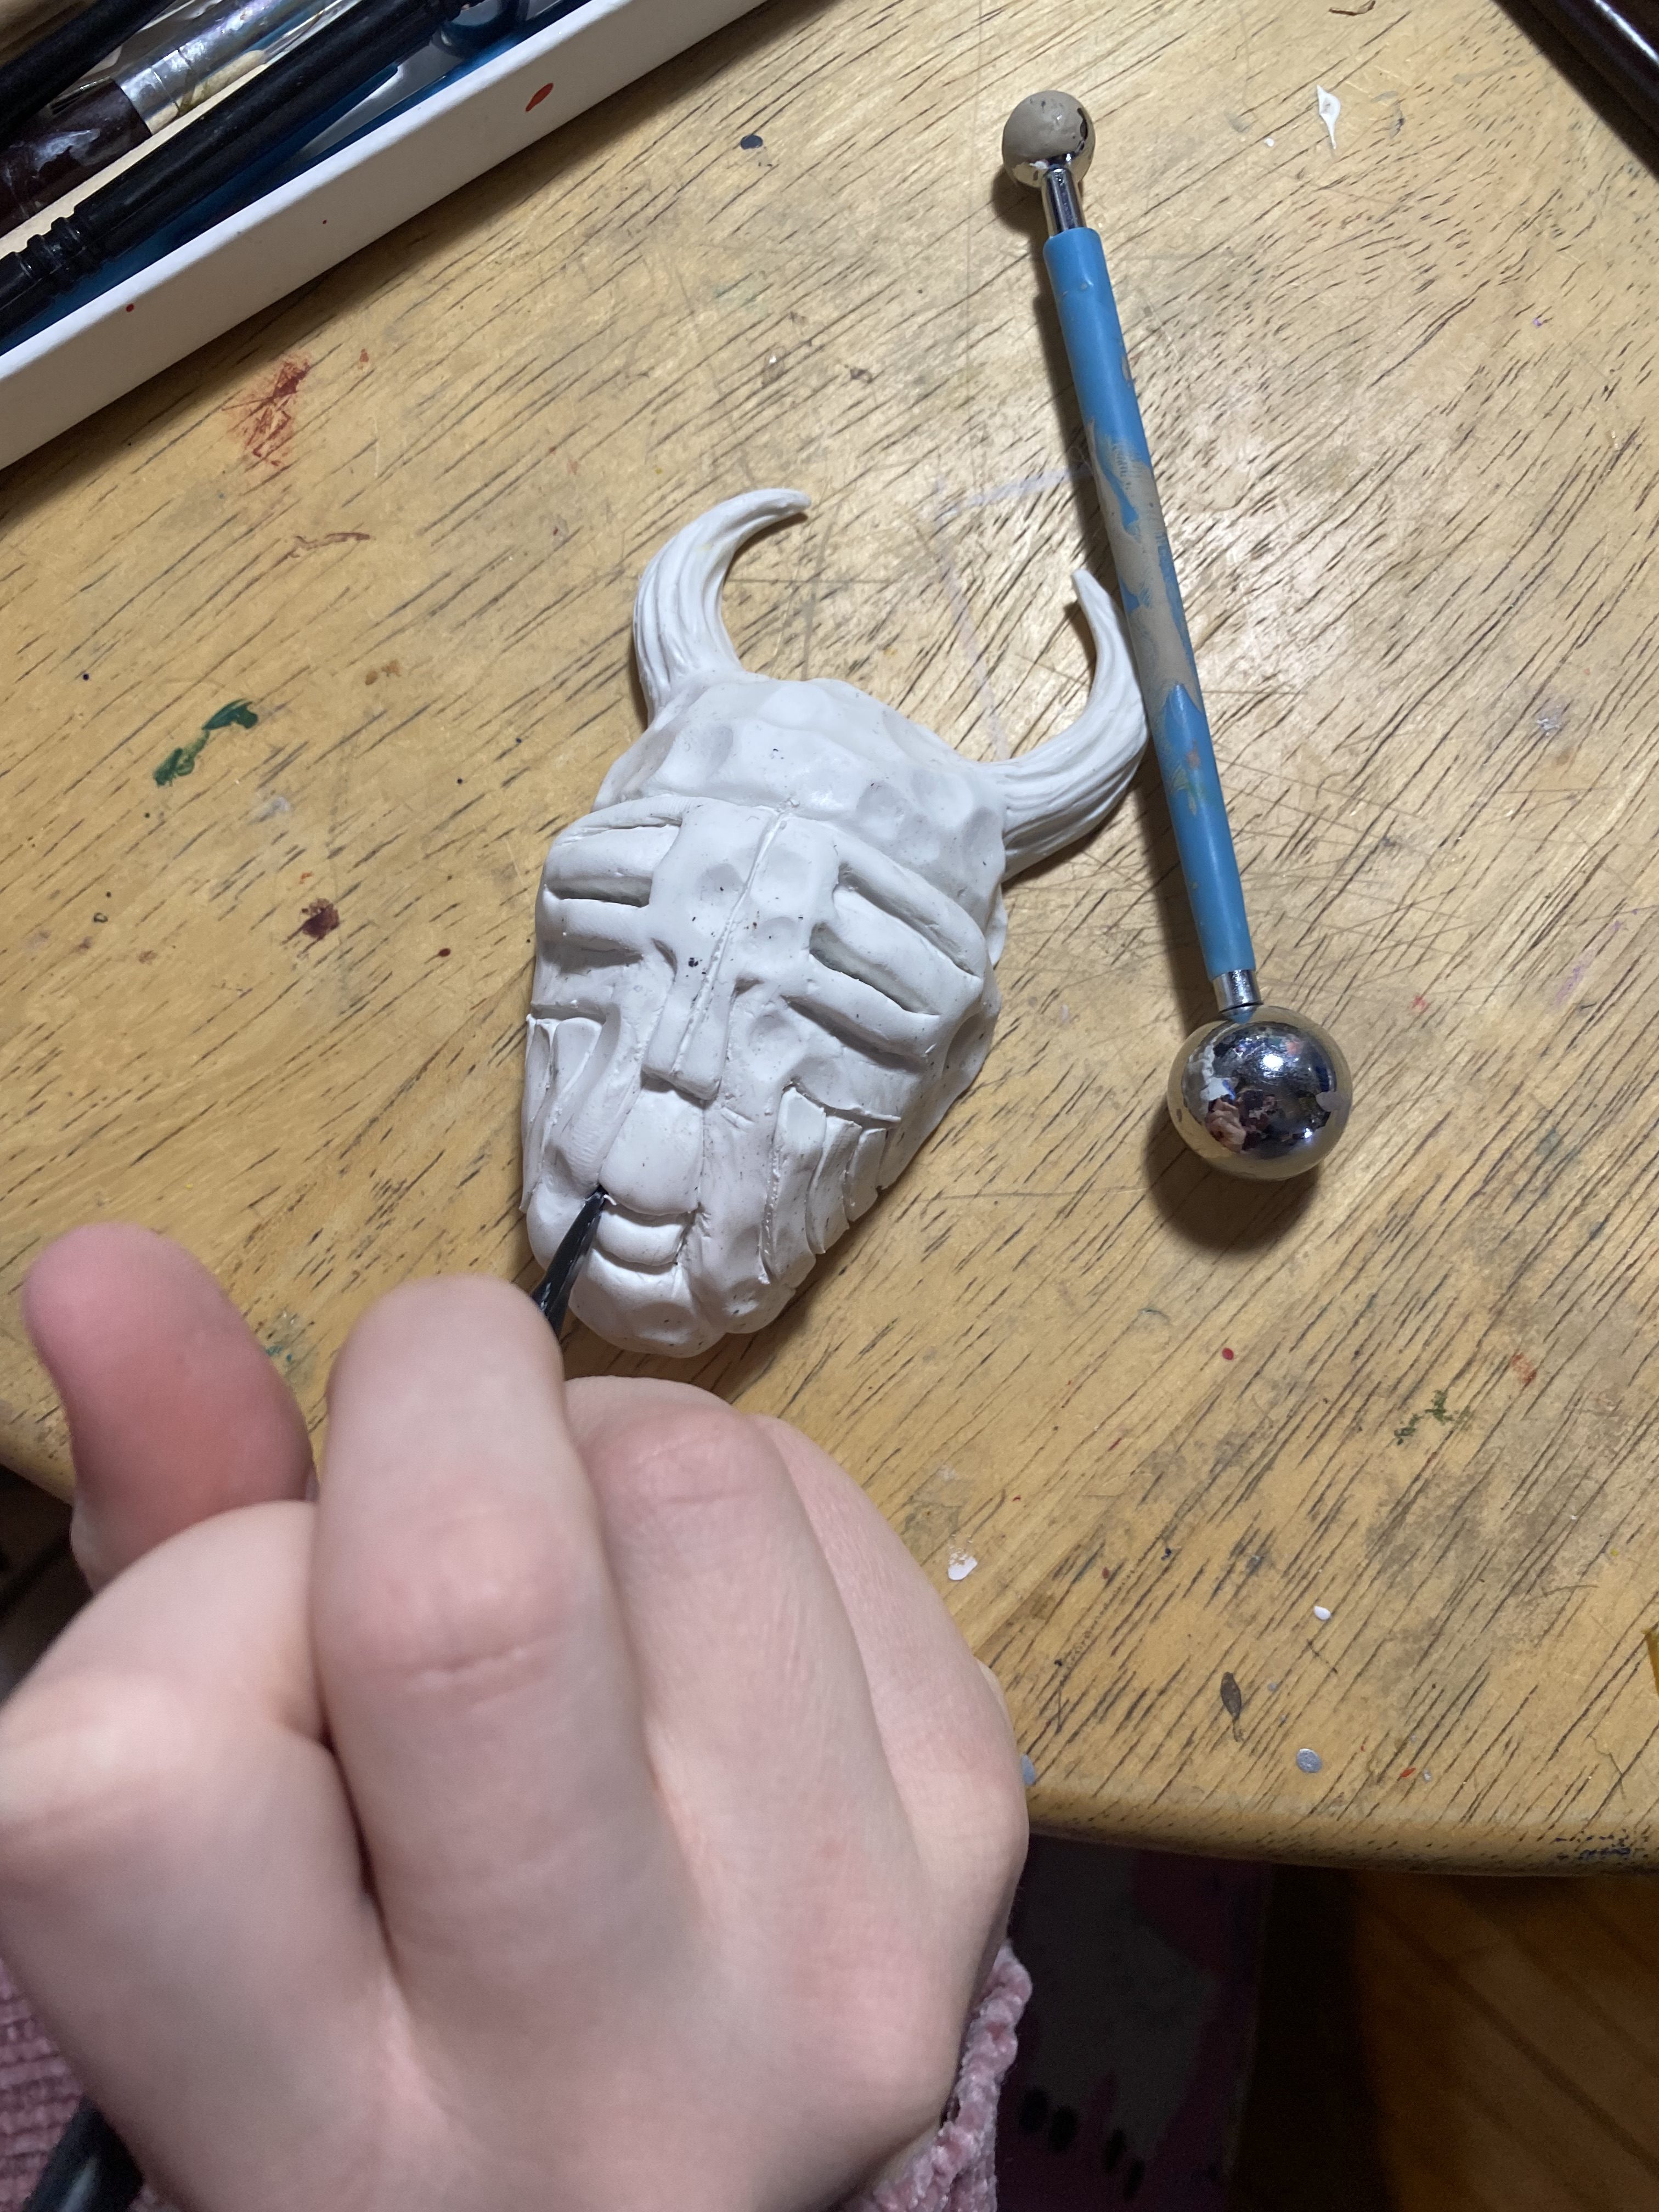
Yep she finished it all under an hour while on a call to Andy. It was about 58 minutes and her mask was in the oven setting.

So with the collaboration in the works, I start to work on the frame, I need Olivia to paint her portion but like any teenager, its on her terms and timeframe. So I started with some ideas I had in my head.
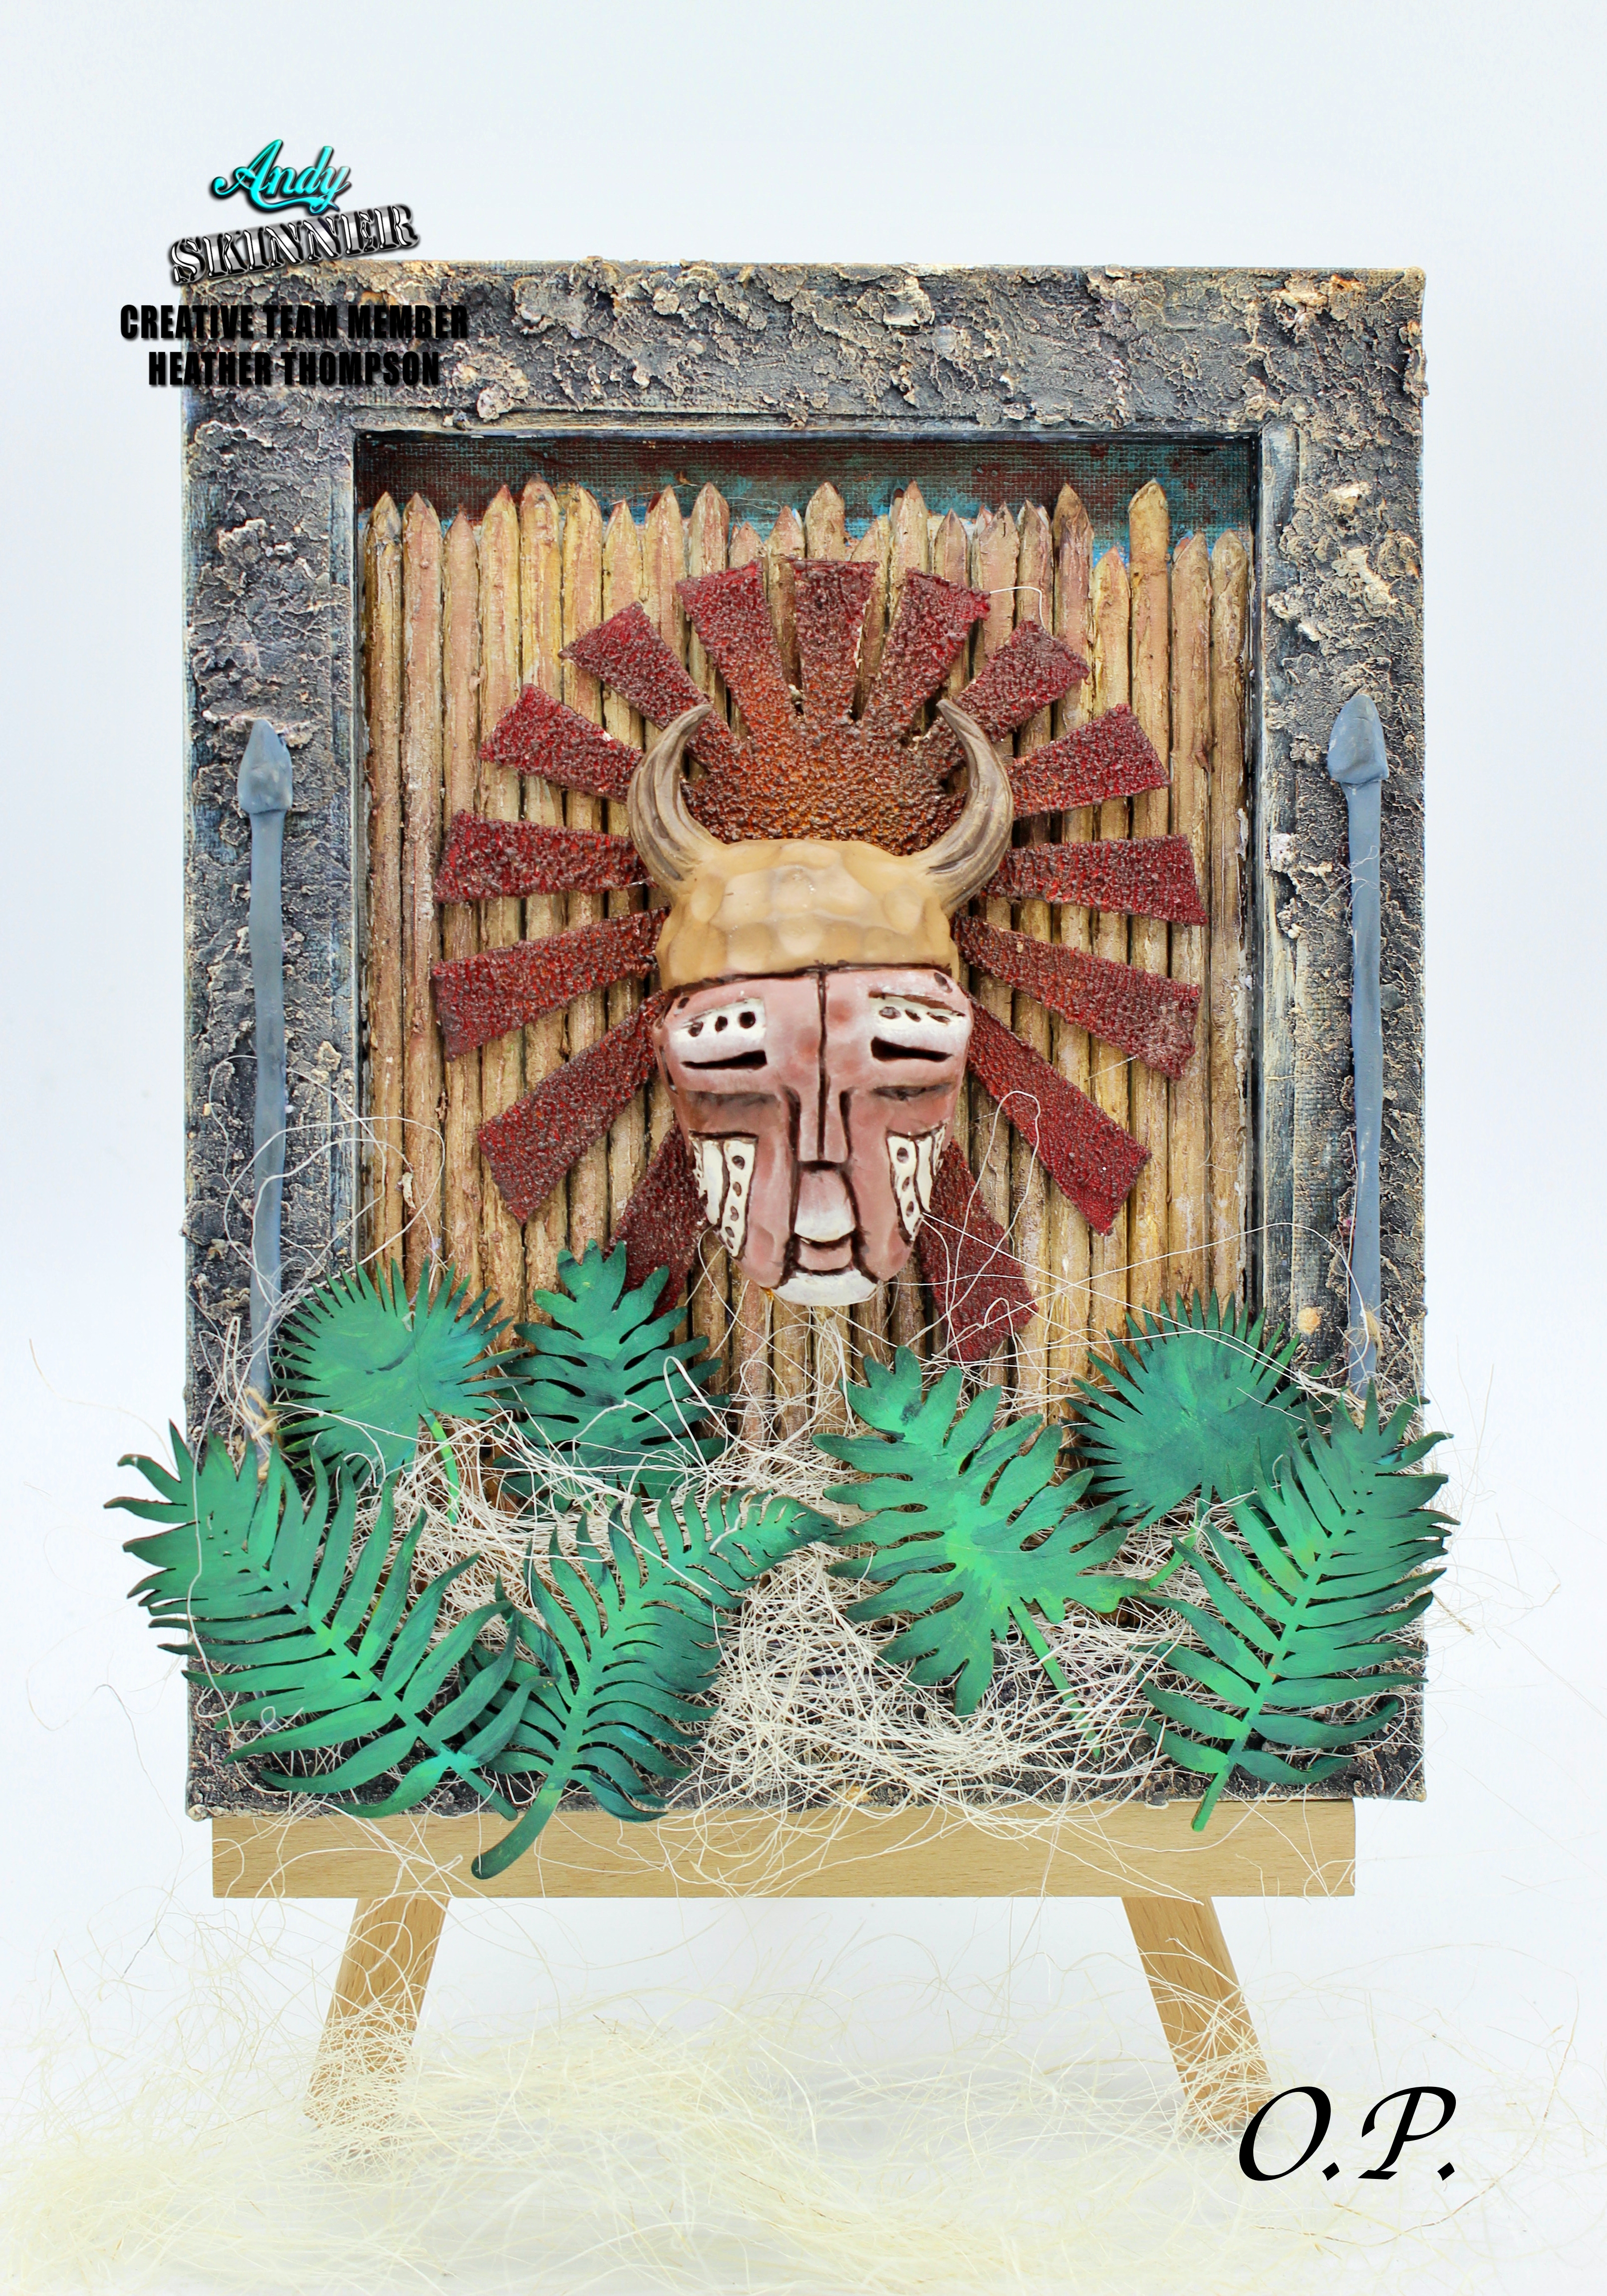
 

Here is the video progression of the photo. This is the first video of Olivia I has shared. It is mesmerising to watch her. No colour wheel for her, she just mixes and gets what she envisions.

We pretty much got the piece done, and it was missing some things. I felt it needed to have more elements from the Congo, Olivia and I talked about it and decided to add some leaves.
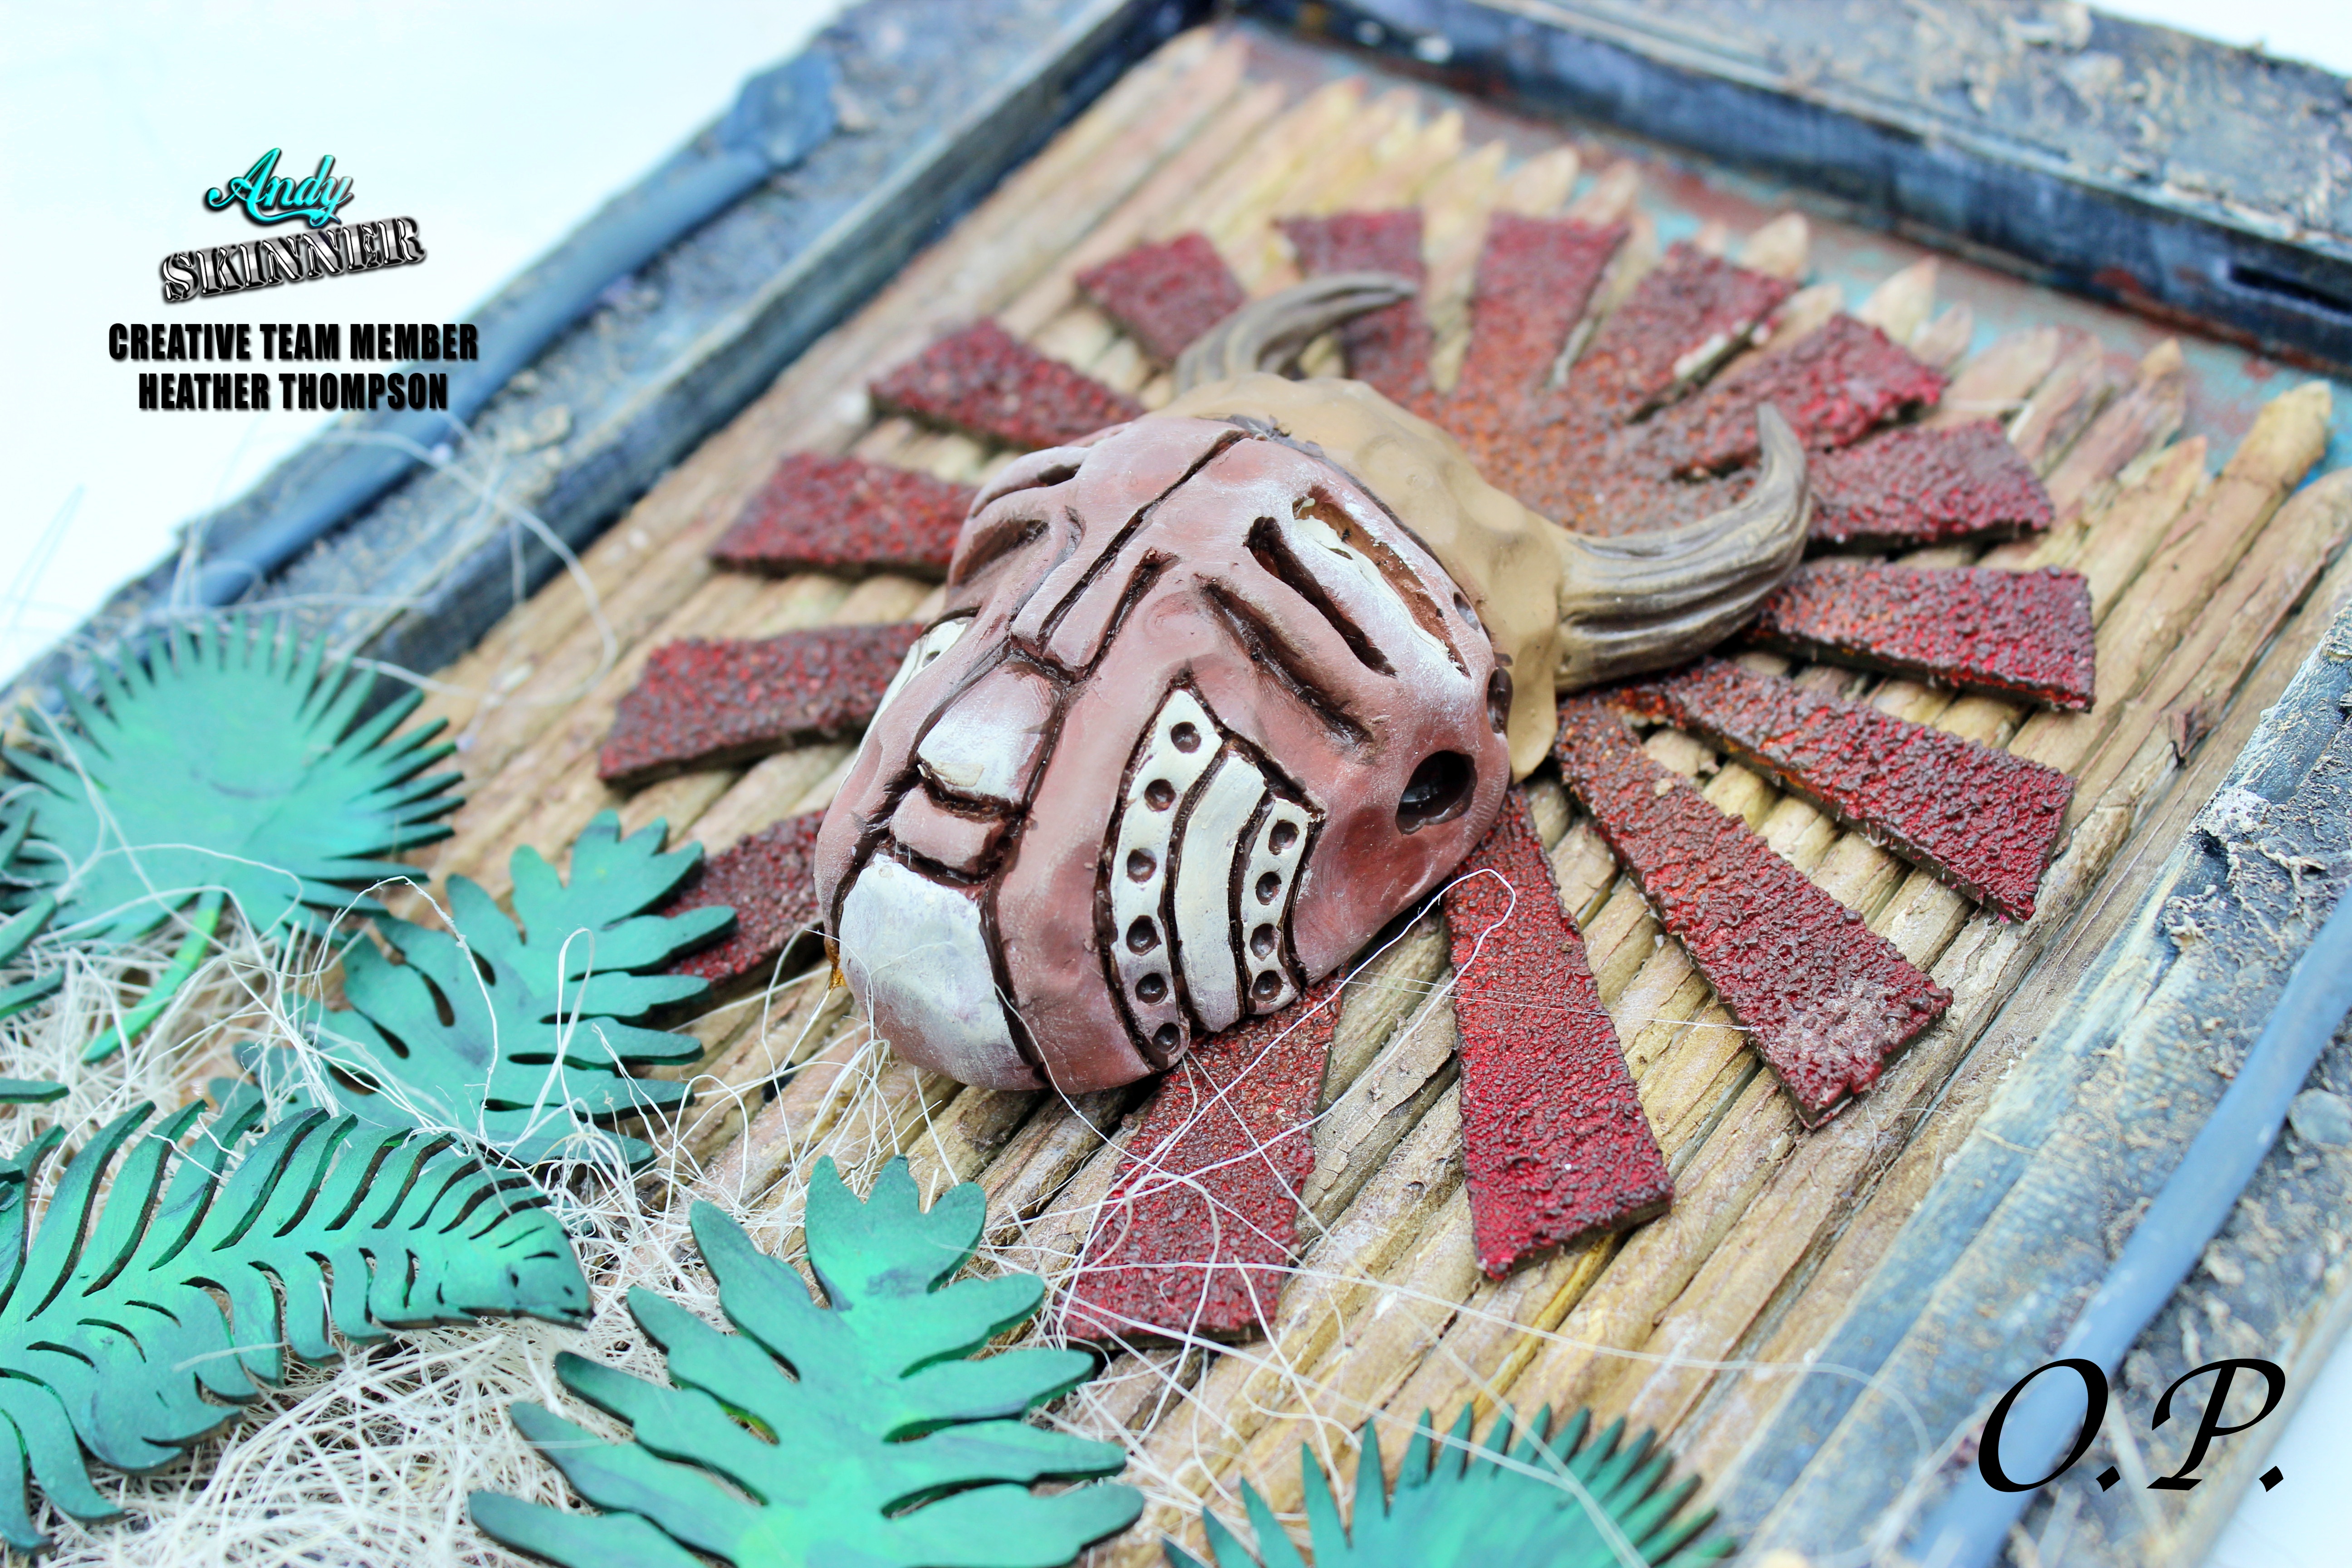
Olivia also didn't like the boldness of the Industrial Wings so using her mixed paint, I softened the look of them with some dry brushing.

I set the piece aside and slept on it. I wanted to add a few more details. Sisal and some spears on the sides would be perfect for this warrior mask.

We discussed that we needed to make the leaves bold to help break up the neutral colours of the frame and background. I bit of blending on my part. (Yes, I need a colour wheel.) I think we both are happy with the outcome of the collaboration.
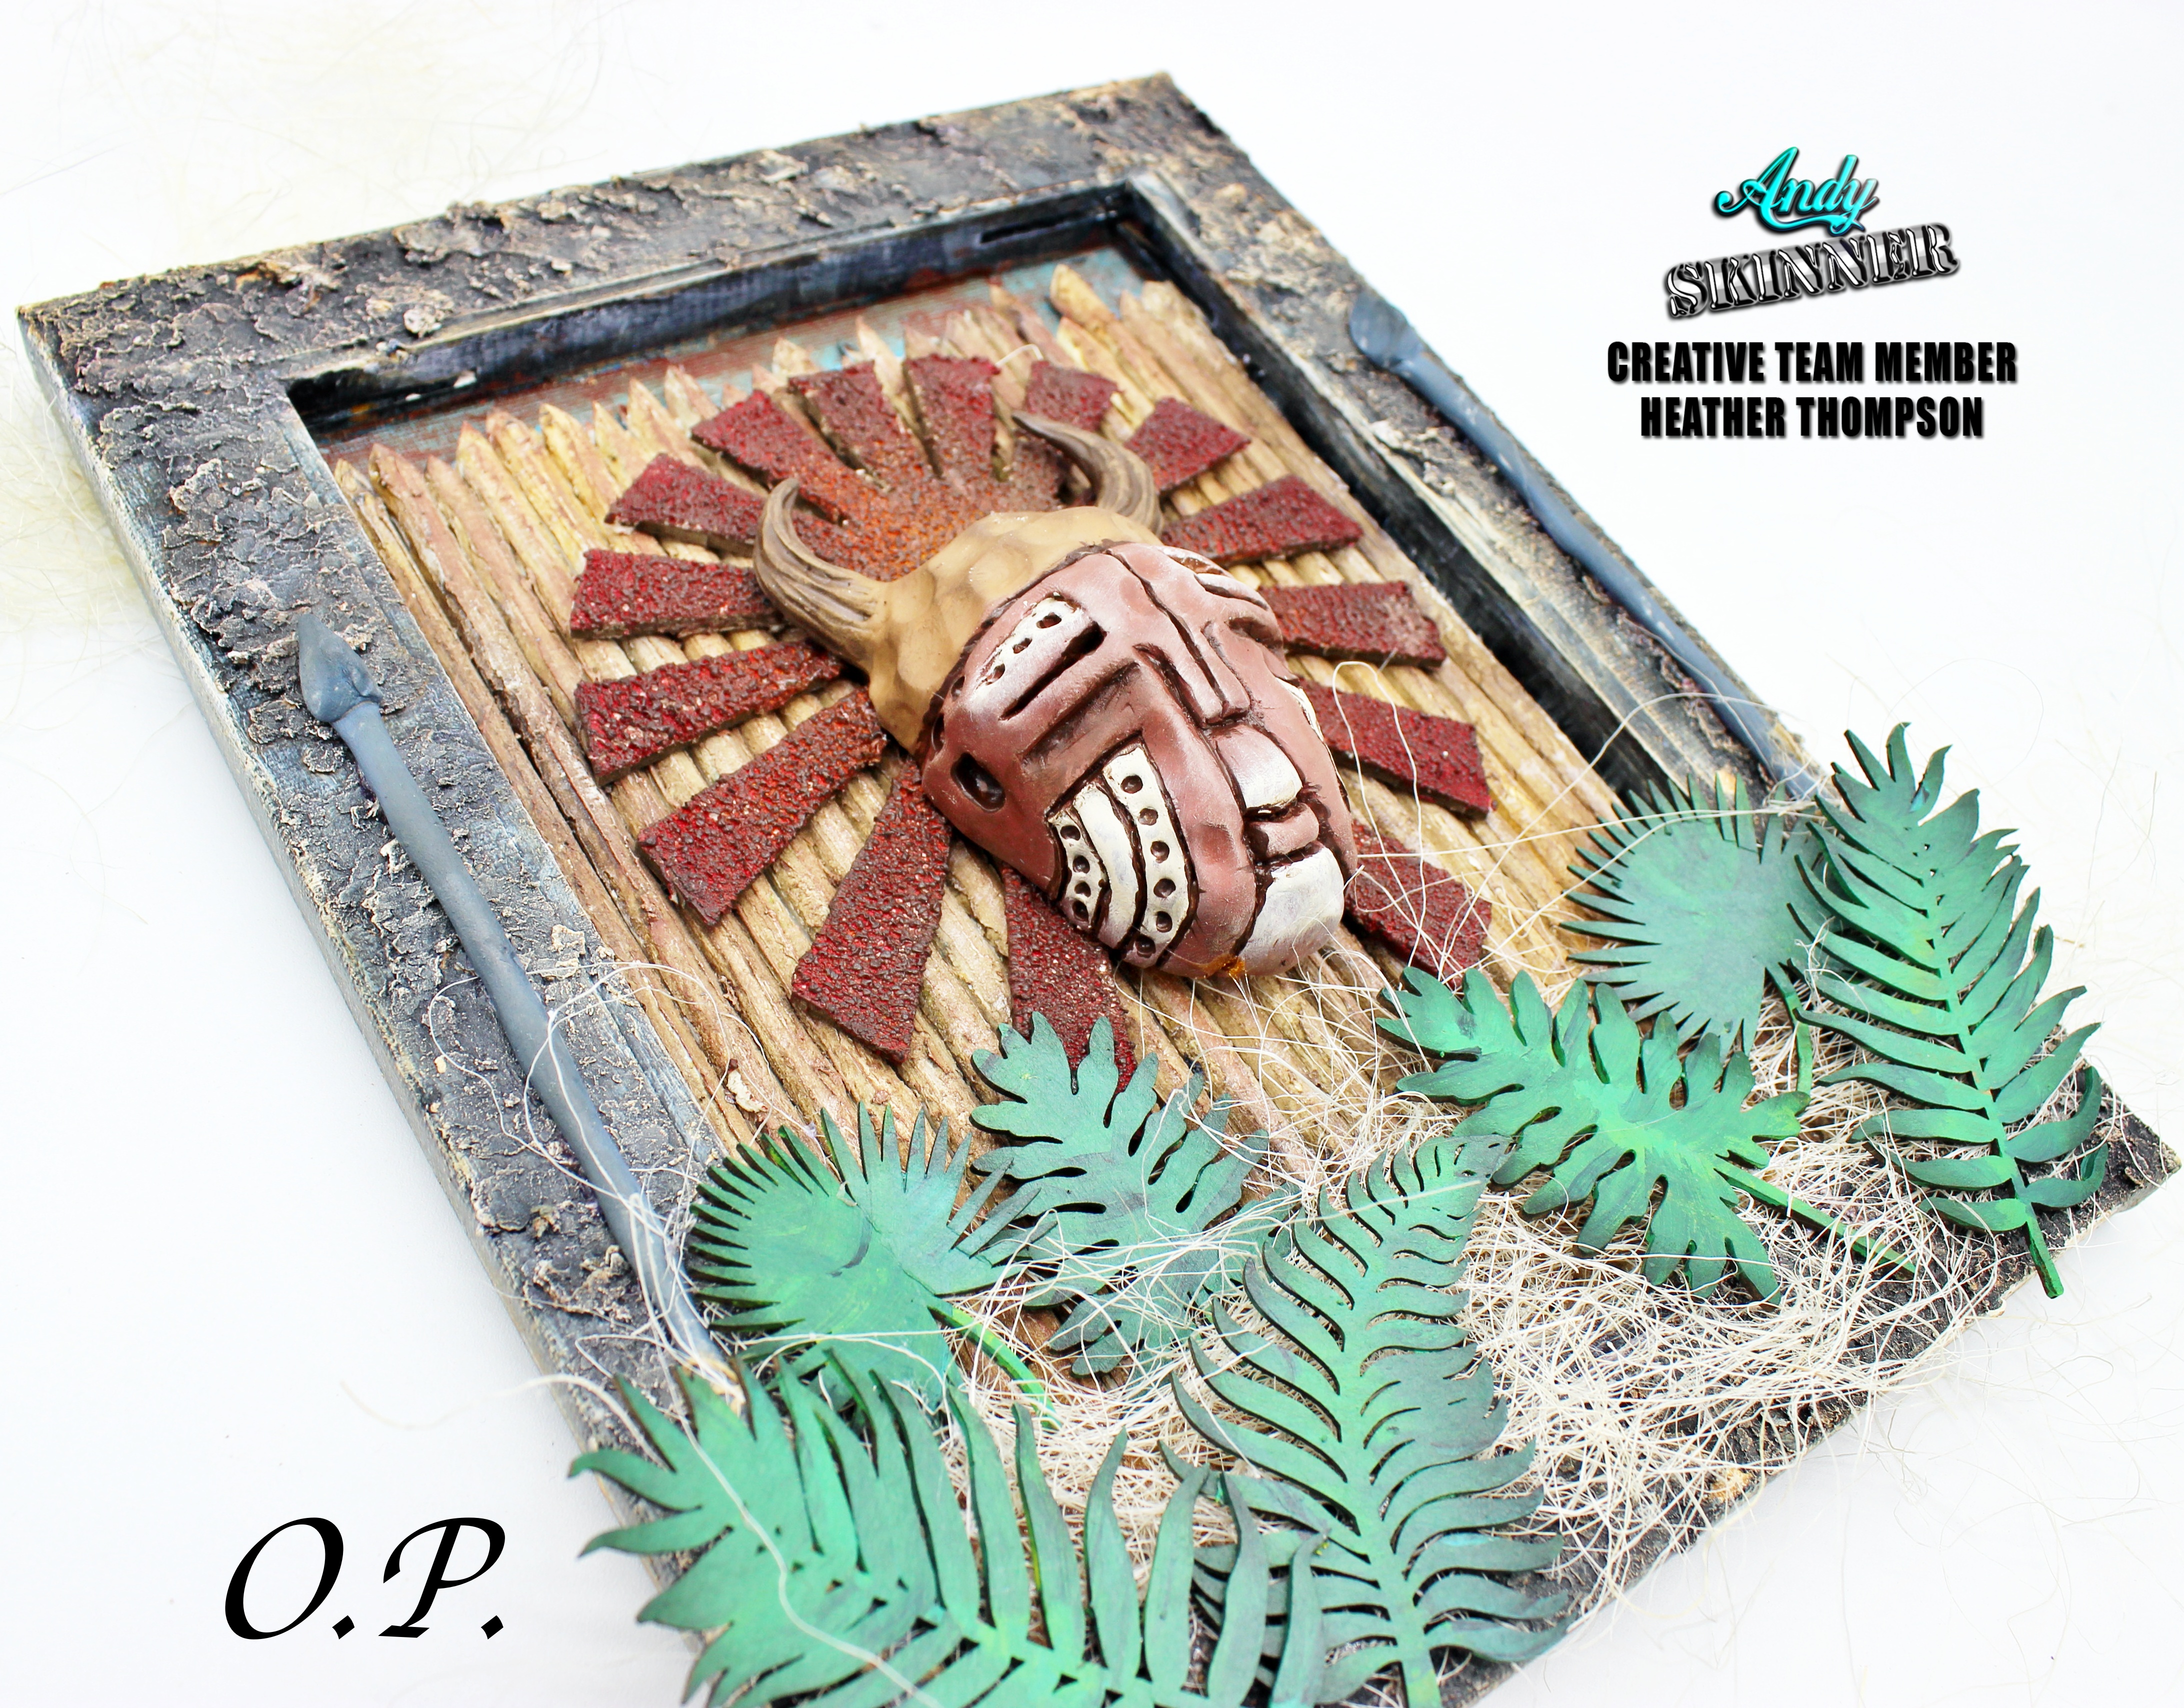
   

Well I hope you enjoy! And we hope you join our challenge this month.


Heather and Olivia

Supplies Mixed Media Pastes/Paints
Paint
Tando Creative  Eldaro


Sunday, 23 February 2020

Andy's London workshop

Hi Everyone.
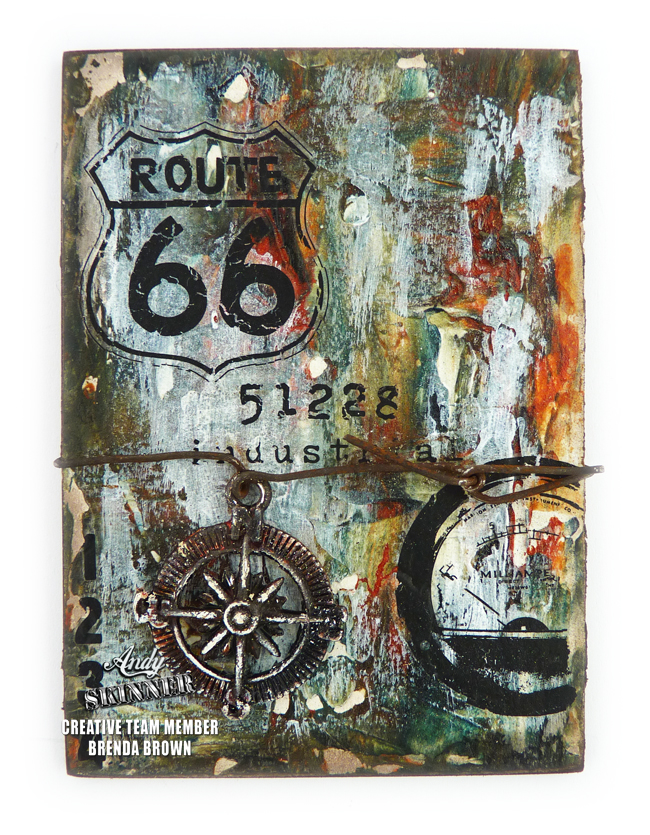
I took myself off to Andy's London workshop yesterday and had a fantastic time creating an ATC box and 5 ATCs using lots of his products including the new pastes. I thought I would show you how I finished the ATCs off at home with more of Andy's and some of my own supplies.


Andy demonstrates his products through Creative Expressions on YouTube and I have given you the link to them with each of the samples below.

Structure Paste
This is a beautiful smooth textured paste great for using with stencils but Andy shows you other fabulous ways to use it which included the background on this sample.
https://www.youtube.com/watch?v=M2OiABlheB8


Strata Paste 
https://www.youtube.com/watch?v=pAYl2vDdTp4
This will give you some incredible textures and on this ATC you can see how well his transfers work even with the bumpy textured surface.


Resist Paste and Rice Papers
https://www.youtube.com/watch?v=dCzXNHYYN0c
Andy's video shows how you how to see the resist paste with two layers of paint but we used it over his rice papers and it worked beautifully.


Lava paste
https://www.youtube.com/watch?v=o0bsUUA-zVw
As you will see on the video Andy demonstrate great ways to use this product which has another amazing texture. At the workshop we used it with a palette knife and a brayer.


I am already looking forward to the next workshop as Andy thinks he will use the London venue again. You have perhaps already seen photos on FaceBook. It was a great room with plenty of space, Di from Tando brought along a pop up shop with lots of gorgeous goodies and lunch provided for extra if you wanted it, just soup and bread but perfect for the day.

Have fun playing with the new pastes and don't forget to take a look at the videos for lots of ideas.

Thanks for stopping by.
hugs Brenda
Bumblebees and Butterflies


Products


You will find all of Andy's products with Creative Expressions HERE
Structure Paste
Strate Paste
Resist Paste
Lava Paste
Rice Papers
Transfers
Stamps
Paints


Friday, 17 January 2020

Upcycled Bottle, Found Treasure and Broken Jewellery

It took just 4 fab products, 3 small rusty found objects and a bit of lace and pearl trim from my stash to give a wine bottle a bit of a facelift. I was just looking for an excuse to use Andy's new rice papers. I added some lava paste through his Crocodile Stencil - that worked well over the papers. Some lace and beaded trim around the neck from my large stash of vintagy bits. Then, I made a dangly charm thingy. For that I used broken jewellery chain with some charms on it, some found rusty objects (safety pin, metal washer and a piece of wire) along with a piece of shrink plastic stamped using Andy's Gypsy Queen stamp. I pinned my dangly decoration through the lace around the neck to secure. Then finished off by adding my candle.
 
 The Lava Paste applies so easily on dimensional surfaces.


 The bottle will work well as a candle holder, and all the drips of wax will add even more texture.
Amazing how different the colours look when photographed during daylight (on the left) and at night (on the right). Thanks so much for looking. You'll find a more detailed step by step here
Rhe products I've used, along with a link to them, are listed below.

Products used:
Floral Grunge Rice Paper
Lava Paste
Gypsy Queen Stamp
Crocodile Stencil

You can find all these products HERE. 


Friday, 26 July 2019

More Than Meets The Eye, by Natassa Blazaki


Hello my friends!

I’m back today with a project inspired by well-known elements of London. 

The idea first hit me, when I was trying to figure out, how to use the pieces that are included in Tando Creative Eldaro Kit. So, I took the larger of the wings and decided to make a structure that would look like the London Eye. From that point on, the project was composed so effortlessly.


I took the tag from the same kit to use it a s a base. Then I cut a bigger one, from 3mm thick greyboard and created little windows. I put the bigger tag on top of the smaller and my phone booth was ready! I added a door plate and a large cog from the Industrial Elements Kit. I shaped the subway sign with a large washer and a book plate from the same set.
For the background, I cut a panel that measured 8.5”x15”. 
Then, I printed the industryas, the old_print1 and the wfblighty_-_trans_background from Andy Skinner’s site. I also printed a subway map from the internet.


I applied a couple of coats of white chalky finish paint and by using the matte medium method, I transferred the clock and the map on the panel. Then, I cut pieces from the other pages and did some collage on top of the transferred images. In addition, I did some stenciling here and there. 


When I was happy with the composition, I used a mixture of matte gel, fluid Transparent White and Transparent Yellow Iron Oxide and created a coat on the surface that looked like melted wax. After that coat was completely dry, I added some mixed media transfers from the Poe Diversity sheet by Creative Expressions.


In the video below, you can see how I treated the greyboard elements. Mostly I wanted to achieve a grungy, rusted and distressed look on all the pieces. And, of course, all these techniques are inspired by Mr. Andy Skinner!


In the center of the London Eye, I used an acrylic pebble on which I glued a printed eye. I wrote the quote, by using letters from Andy Skinner’s new stencil by Creative Expressions, called Redemption.


I really hope you like this.
Happy weekend to all!


You can find Natassa Blazaki - Art Recipes and More in:


8x8 Stencil Made To Measure
Steampunk Stamp Set


Industrial Elements Kits
 Eldaro Kit


Lava Paste
Mixed Media Transfers Poe Diversity
Embossing Powder Granite
Stencil 7"x7" Redemption
Quick Grab Glue


Chalky Finish Carbon, Everlasting

Traditions Quinacridone Gold, Transparent Yellow Iron Oxide, Warm White

Media Fluids PhthaloTurquoise, Paynes Grey, Transparent Yellow Iron Oxide, Transparent White

Americana Acrylics Primary Red, Burgundy

Matte Metallics Aged Bronze

Weathered Wood

Americana Decor Crackle Medium, Wax Cream Golden Brown
Media Ultra Matte Varnish


Other supplies

Soft Matte Gel
Matte Medium
E6000 glue
Flat brushes
Fan brushes

Archival Ink Black


Wednesday, 17 July 2019

Carnival Tag by Nikki K


Morning all,

Today I have a quick and simple tag to share with you, using Andy's new Lava Paste, Embossing Powder and Mixed Media Transfers.  I absolutely love all of these products, and they are super easy to use.


I started by painting a tag with a cream chalk paint, and then a light covering of Dioxazine Purple, making it darker in places to look 'dragged' down the tag.  I took a background stamp, and stamped over with embossing ink, and embossed with clear embossing powder to keep the colour of the tag but give texture.

I added some of Andy's fab transfers in places on the tag, not using all of the transfer but taking it over the edges.  It stood out a bit as my background was quite glossy, and the transfers have a more matte background, so I added some purple ink across the top of the tag to blend the transfers in.  You can still see them perfectly through it.

I had a wooden skull from Halloween last year, so decided to use it, and applied a layer of Lava Paste and heated.  It gave fantastic texture!  To make it stand out even more, I pushed the skull into my embossing ink pad, and embossed with Super Nova embossing powder.
The edge of the tag got the same treatment.  I also added a wash of Dioxazine Purple to the skull so it sank into the crevices of the texture.


Andy's transfers work equally well straight onto Cardstock, so I used the word Carnival, and cut out and inked with a little purple ink, and mounted on the tag.  A dark purple ribbon was added to finish.


Hope it gives you some inspiration. x

Best Wishes,

Nikki K
xxx


If you would like to know
more about my work
You can find me at:

Products Used:

Lava Paste
Embossing Powder - Super Nova
Mixed Media Transfers - Poe Diversity/Alchemy Plus

DecoArt Media - Dioxazine Purple.
Americana Decor - Lace Chalk Paint.

Stampendous - Andy Skinner Texture Stamp.

Other Supplies:
Versamark Embossing Ink.
Versafine Imperial Purple Ink.


Saturday, 8 June 2019

Andy's new Products - by Nikki Killinger


Morning everyone,
.
If you saw Andy on Create & Craft on Thursday, you will know all about his fantastic new products.  And if you didn't, I'm sharing a couple of them here on my project.  I have to say they are pretty cool!

I opted to do a small canvas panel that 'jumped out' at me when I was tidying up, or attempting to find a space to work in more like.

I wanted to play with the new Lava paste, and decided just to palette knife it all over the panel, with no particular pattern.  When you heat this stuff it does it's own amazing thing, depending on how thick or thin you apply it, it gives an amazing texture as you heat dry it.  I gave the whole panel a wash of paint with a bit of Paynes grey media fluid acrylic and water.  Next I painted White Antiquing cream all over, and when dry, rubbed back leaving the white between the texture.  This was followed by some Ultra matte varnish, to seal the Antiquing cream, before giving a 'dirty wash'.


I wanted to add Andy's new transfers, and try them over the texture, which they were made for.  I actually couldn't believe how easy they were to apply, and how well they go over texture.  No more stamping on tissue on uneven surfaces for me.


I built up a background with the transfers, overlapping some of them as well, which works perfectly.  Some neat Quinacridone gold was added to the panel as rust drips, and I darkened the edges.

I stamped and fussy cut the new 'Gypsie Queen' Moth stamp, and added Triple Thick Glaze before curling the wings and adding to the panel.


This was more like a play day than 'making a sample' day, it was great fun seeing what the new products can do.

I also made a quick pair of shrink plastic earrings some of you may have seen already, but thought I'd add them here.  Simply stamped with the Gypsie Queen stamp.


Thanks for stopping by, we appreciate it. x

Best Wishes,

Nikki K.
xxx

Products Used:

Lava Paste - Creative Expressions
'Gypsie Queen' stamp - Creative Expressions
Poe Diversity Transfers - Creative Expressions
Alchemy Plus Transfers - Creative Expressions

DecoArt Media Line: Quinacridone Gold, Paynes Grey, White Antiquing Cream, Ultra Matte Varnish.

Triple Thick Glaze.